

Discovering cracks in your walls can be alarming, but before you call in the professionals, know that many wall cracks can be repaired with a bit of DIY spirit. Wall cracks repair DIY not only saves you money but also empowers you to take immediate action to protect your home’s integrity and aesthetics. Whether it’s due to settling, moisture, or temperature changes, understanding how to address these cracks can prevent further damage and maintain your home’s value. This guide will walk you through identifying the types of cracks, the tools you’ll need, and step-by-step instructions to tackle them head-on. Embrace the challenge and turn those unsightly cracks into a thing of the past with our expert tips and tricks.
Identifying Types of Wall Cracks for DIY Repair
Not all wall cracks are created equal. Some are superficial, while others may indicate serious structural issues. Hairline cracks, often caused by paint or plaster drying, are typically easy to fix. Settlement cracks, appearing as your home adjusts over time, may require more attention but are usually manageable. However, large, horizontal, or stair-step cracks could signal foundation problems. Before attempting any wall cracks repair DIY, assess the crack's size, direction, and location. This initial step ensures you're applying the correct repair method and not overlooking potential red flags that need professional assessment.
Essential Tools and Materials for Wall Cracks Repair DIY
Arming yourself with the right tools is half the battle in wall cracks repair DIY. For most repairs, you'll need a putty knife, sandpaper, spackling paste or joint compound, and paint to match your wall. For larger cracks, consider using a mesh tape for added strength. Safety gear like gloves and goggles is also recommended. Preparing your workspace by cleaning the crack and surrounding area ensures better adhesion of repair materials. Remember, the goal is not just to fill the crack but to blend the repair seamlessly into your wall, making it invisible to the naked eye.
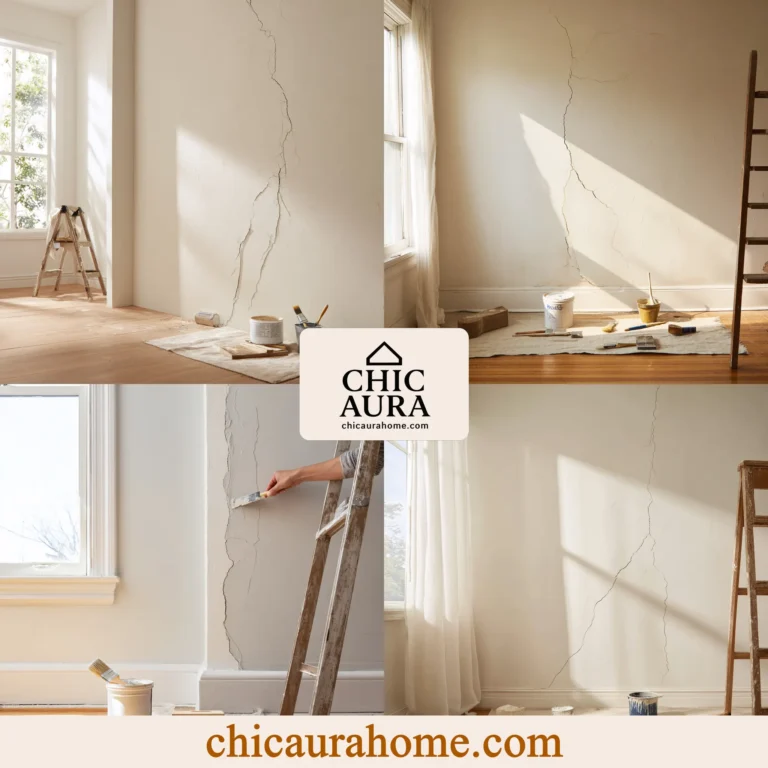
Step-by-Step Guide to DIY Wall Crack Repair
Begin by widening the crack slightly with a utility knife to allow the filler to adhere better. Clean out any loose debris with a brush. Apply a thin layer of spackling paste or joint compound with your putty knife, pressing it firmly into the crack. For larger cracks, apply mesh tape over the first layer before adding a second. Once dry, sand the area smooth. Finish by priming and painting over the repair to match your wall. This method works for most minor cracks, but always monitor the area for any signs of the crack reappearing, as this could indicate a larger issue.
Conclusion
Tackling wall cracks with a DIY approach is not only rewarding but can also be highly effective for minor repairs. By understanding the types of cracks, gathering the right tools, and following a meticulous repair process, you can restore your walls to their former glory. However, it's crucial to recognize when a crack is beyond DIY repair and requires professional intervention. Regular maintenance and early detection are key to preventing further damage. Looking ahead, consider incorporating seasonal checks for cracks as part of your home maintenance routine. For more DIY home improvement tips, visit https://chicaurahome.com/ and explore our extensive guides and tutorials.
Frequently Asked Questions
Q: Can all wall cracks be repaired with DIY methods?
While many minor cracks can be effectively repaired with DIY methods, large or structural cracks may require professional assessment and repair. It's important to evaluate the severity of the crack before proceeding.
Q: How long does it take for wall crack repairs to dry?
Drying times can vary depending on the product used and environmental conditions, but typically, spackling paste or joint compound dries within 24 hours. Always check the manufacturer's instructions for specific drying times.
Q: Will repaired wall cracks be noticeable after painting?
If the repair is done carefully, with proper sanding and painting, the repaired area should blend seamlessly with the rest of the wall, making the crack virtually unnoticeable.