

Weatherstripping is a simple yet effective way to enhance your home’s energy efficiency and comfort. By sealing gaps around doors and windows, you can prevent drafts, reduce energy bills, and keep your living space cozy throughout the year. This DIY guide will walk you through the process of weatherstripping your home, offering practical tips and insights to ensure a tight seal. Whether you’re a seasoned DIY enthusiast or a beginner, this article will provide you with the knowledge and confidence to tackle weatherstripping projects with ease. Discover how a small investment of time and materials can lead to significant savings and a more comfortable home environment.
Choosing the Right Weatherstripping Materials
Selecting the appropriate weatherstripping materials is crucial for a successful DIY project. There are various types available, including adhesive-backed foam, V-strip, and door sweeps, each suited for different applications. Consider factors such as the size of the gap, the location (interior or exterior), and the weather conditions in your area. For example, adhesive-backed foam is ideal for small gaps around windows, while door sweeps are better suited for the bottom of doors. Visit Energy.gov for a comprehensive guide on weatherstripping materials and their best uses.
Step-by-Step Guide to Applying Weatherstripping
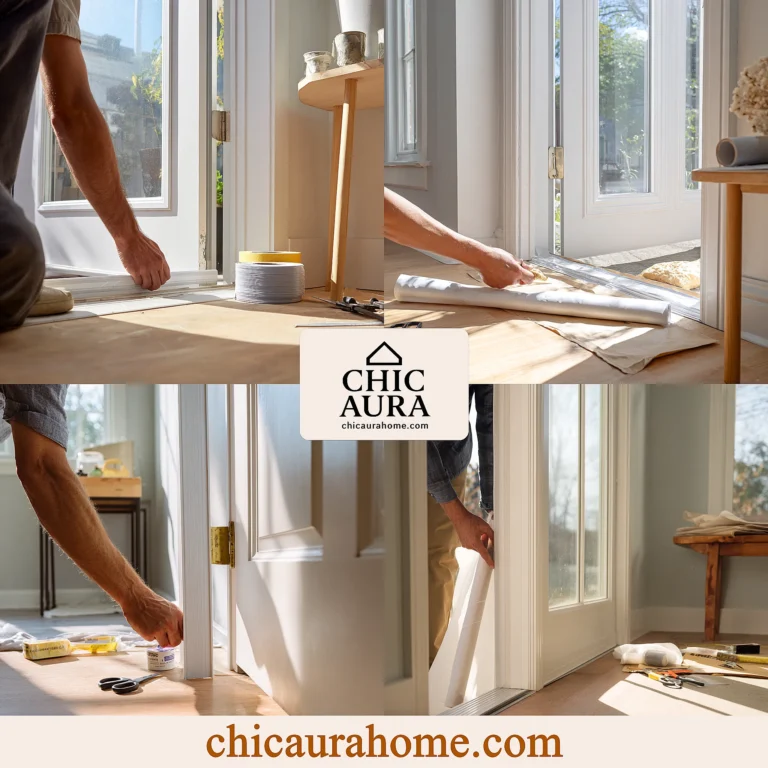
Applying weatherstripping is a straightforward process that can be completed in a few simple steps. First, clean the surface where the weatherstripping will be applied to ensure good adhesion. Next, measure the area to be covered and cut the weatherstripping to size. Peel off the backing and press the weatherstripping firmly into place. For doors, ensure that the sweep makes full contact with the threshold. For windows, apply the weatherstripping to the frame or sash, depending on the type. Follow these steps carefully to achieve a snug fit that will stand the test of time.
Maintaining Your Weatherstripping for Longevity
To maximize the lifespan of your weatherstripping, regular maintenance is key. Inspect your weatherstripping periodically for signs of wear or damage, such as peeling, cracking, or compression. Replace any sections that are no longer effective to maintain a tight seal. Cleaning the weatherstripping with a mild soap solution can also help preserve its adhesive properties and flexibility. By taking these simple maintenance steps, you can ensure that your weatherstripping continues to perform optimally, keeping your home energy-efficient and comfortable year-round.
Conclusion
Weatherstripping your home is a cost-effective and rewarding DIY project that can lead to significant energy savings and enhanced comfort. By choosing the right materials, following a careful application process, and maintaining your weatherstripping over time, you can enjoy a draft-free home and lower utility bills. As energy efficiency becomes increasingly important, taking steps like weatherstripping can make a big difference in your home's overall performance. Consider exploring more DIY projects on our site, such as DIY and Makeovers, to further improve your living space. Start your weatherstripping project today and experience the benefits for yourself!
Frequently Asked Questions
Q: How often should I replace my weatherstripping?
Weatherstripping should be inspected annually and replaced as needed, typically every 3-5 years, depending on the material and exposure to weather conditions.
Q: Can I apply weatherstripping in cold weather?
Yes, but it's best to apply weatherstripping in moderate temperatures to ensure proper adhesion. If applying in cold weather, warm the material slightly before installation.
Q: Is weatherstripping effective for both heating and cooling seasons?
Absolutely. Weatherstripping helps seal your home against drafts year-round, improving energy efficiency during both heating and cooling seasons.