

When it comes to creating a kitchen that feels both classic and fresh, few design elements deliver like bead board walls. This traditional paneling, with its signature vertical grooves and subtle texture, has made a remarkable comeback in modern homes. For homeowners seeking to infuse their kitchen with character without sacrificing functionality, bead board walls offer a versatile solution that bridges rustic charm with contemporary style. In today’s design landscape where kitchens serve as multi-purpose spaces—part cooking hub, part gathering spot, part work zone—the right wall treatment can dramatically impact both aesthetics and atmosphere. Bead board creates visual interest without overwhelming the space, providing a perfect backdrop for everything from sleek stainless steel appliances to vintage farmhouse tables. It’s particularly effective in kitchens because it adds warmth and dimension to what can sometimes become sterile, utilitarian spaces. The vertical lines draw the eye upward, creating an illusion of height in smaller kitchens, while the texture breaks up large, flat surfaces that might otherwise feel monotonous. Unlike some design trends that come and go, bead board has maintained its appeal across decades because it works with so many styles—from coastal cottage to industrial loft to traditional colonial. Whether you’re planning a full kitchen remodel or just looking to refresh your current space, understanding how to incorporate bead board walls can help you create a kitchen that’s both beautiful and practical. This article will guide you through everything you need to know about making bead board work in your kitchen, from installation considerations to design pairing ideas that maximize its impact.
Why Bead Board Walls Kitchen Designs Create Lasting Appeal
The enduring popularity of bead board walls in kitchen spaces isn't accidental—it's rooted in both aesthetic and practical benefits that few other wall treatments can match. At its core, bead board provides texture and visual rhythm through its repeating vertical lines, which create movement and interest without demanding attention. This makes it particularly valuable in kitchens, where too many competing design elements can create visual chaos. The subtle grooves catch light differently throughout the day, adding depth and dimension that flat paint or smooth drywall simply cannot achieve. From a practical standpoint, bead board is surprisingly durable for a wall covering. The tongue-and-groove construction provides structural integrity, and when properly sealed with quality paint or stain, it resists moisture and minor impacts better than standard drywall. This makes it ideal for kitchens where splashes, steam, and daily wear are inevitable. The panels are also easier to repair than drywall—if one section gets damaged, you can often replace just that panel rather than patching and repainting an entire wall. Another significant advantage is how bead board walls kitchen installations can work with various architectural features. They can be installed from floor to ceiling for a traditional wainscoting look, run partway up the wall with a chair rail, or even be used as an accent on just one focal wall. This flexibility means bead board can adapt to different kitchen layouts and sizes, from cozy galley kitchens to expansive open-concept spaces. The material itself is available in different widths and profiles, allowing for customization that matches your specific vision. Real wood versions offer natural warmth and grain variation, while MDF options provide consistent appearance and often better moisture resistance. Whether you choose to paint it crisp white for a clean look, stain it to show off wood grain, or even try a bold color, bead board provides a foundation that supports numerous design directions while maintaining its timeless character.
8 Essential Tips for Installing Bead Board Walls Kitchen Projects
Successfully incorporating bead board into your kitchen requires careful planning and execution. Here are eight essential tips to ensure your project delivers both beauty and longevity. First, assess your kitchen's moisture levels. Kitchens generate significant humidity from cooking and cleaning, so choose materials accordingly. Real wood bead board needs thorough sealing, while moisture-resistant MDF might be better for areas near sinks or dishwashers. Second, consider the installation height. Full-height bead board creates dramatic impact but requires more material and labor. Wainscoting height (typically 32 to 42 inches from the floor) is classic and practical, protecting walls from chair backs and daily wear. Third, prepare your walls properly. Unlike wallpaper or simple paint, bead board needs a smooth, plumb surface for best results. Repair any drywall damage, remove old adhesives, and check for level before beginning installation. Fourth, think about transitions. Where bead board meets other surfaces—like countertops, cabinets, or doorways—plan clean transitions using trim pieces. Quarter-round or shoe molding can cover gaps while adding finished detail. Fifth, select appropriate fastening methods. Use construction adhesive combined with finishing nails for secure attachment. Nail heads can be filled and painted over for a seamless look. Sixth, plan for outlets and switches. You'll need to cut precise openings in the bead board panels for electrical boxes. Consider extending boxes slightly if adding thickness to walls. Seventh, finish before final installation if possible. Painting or staining panels before putting them up often yields cleaner results, especially in the grooves. Eighth, incorporate lighting considerations. Bead board's texture can create interesting shadow patterns under task lighting, so position lights to highlight rather than overwhelm the surface. Following these guidelines will help you avoid common pitfalls and create bead board walls kitchen installations that look professional and last for years. Remember that proper preparation accounts for at least half the project's success—taking time to measure twice, cut once, and think through details will pay dividends in the final result.
Designing with Bead Board Walls Kitchen Accents
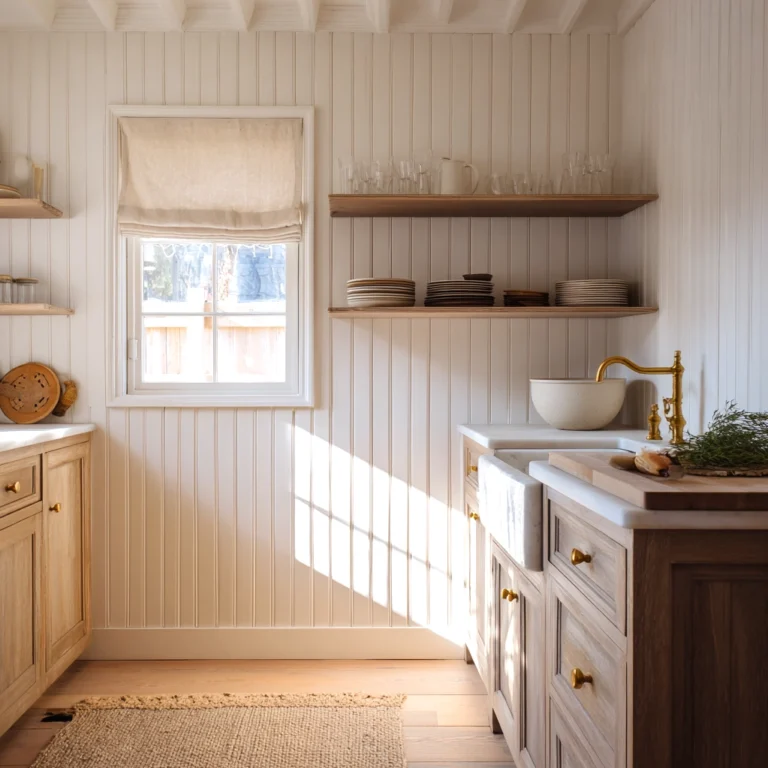
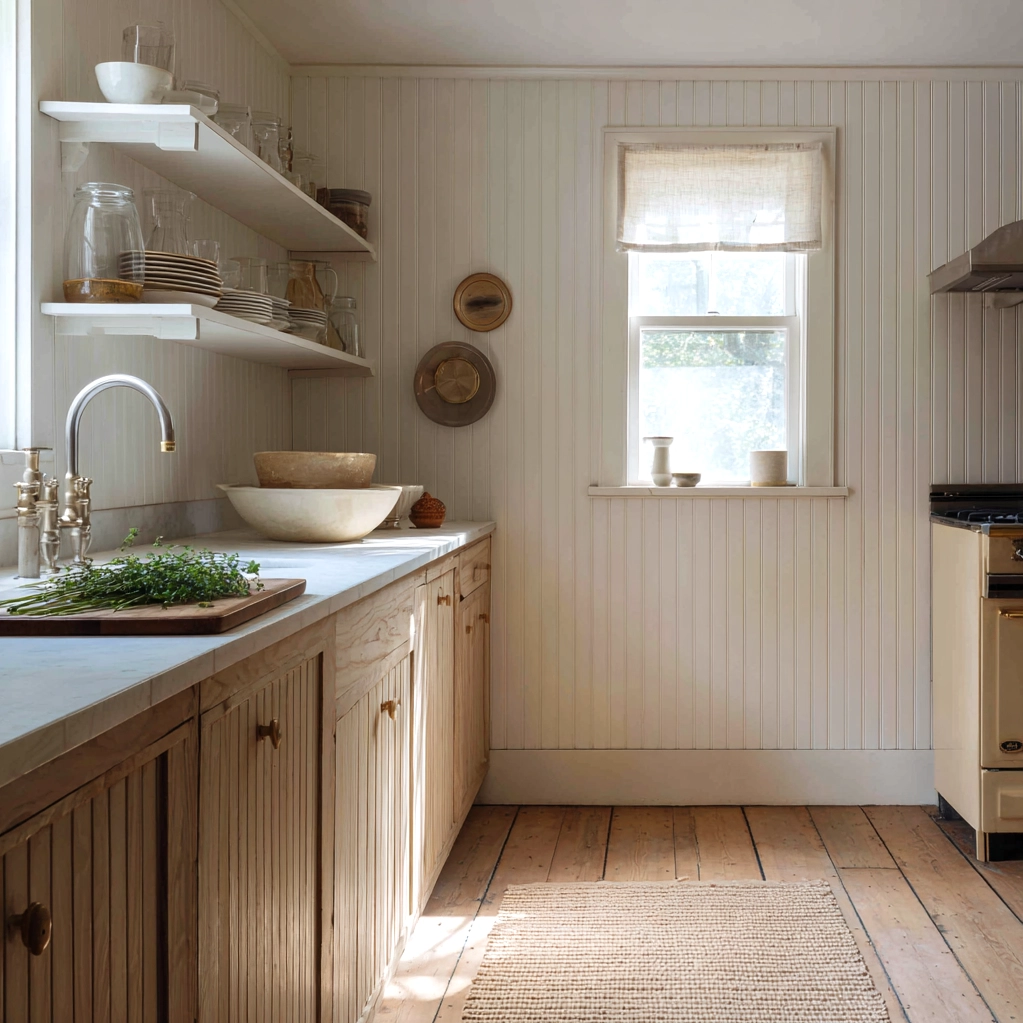
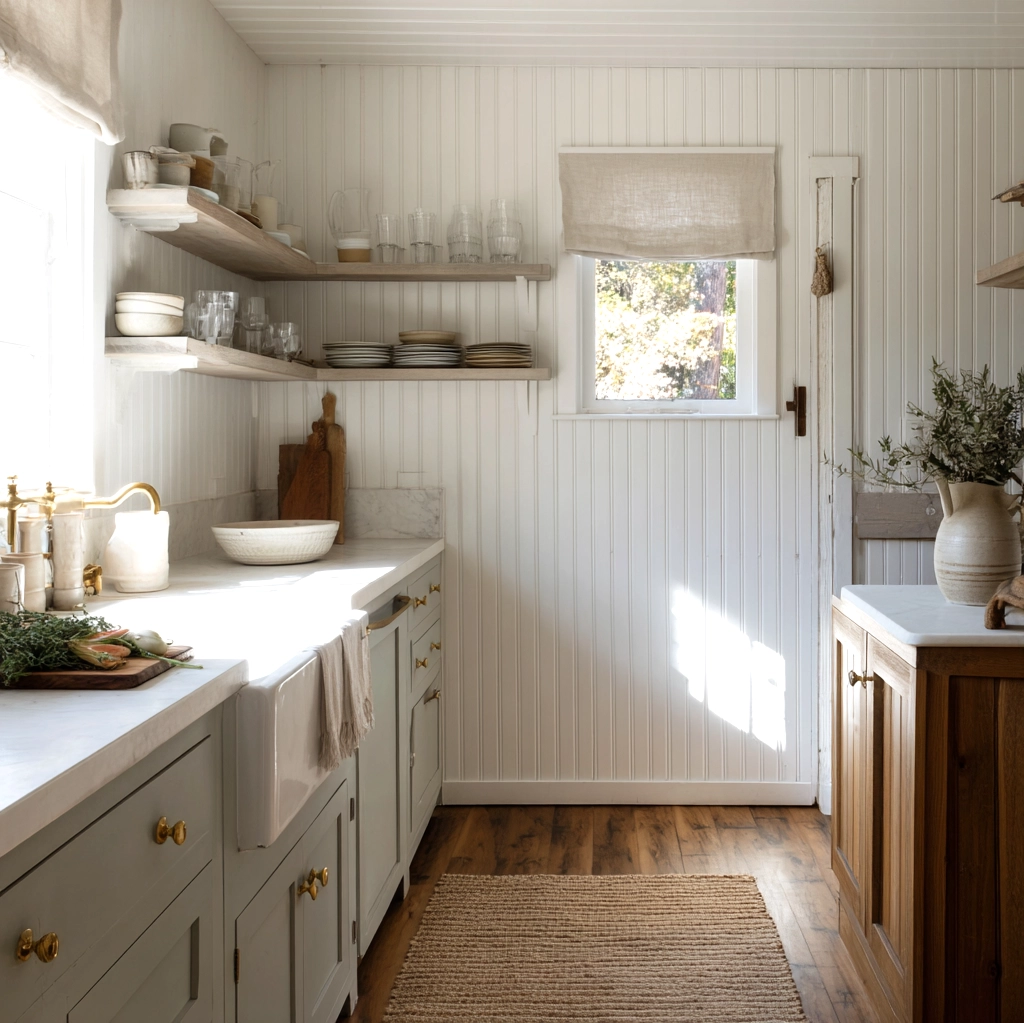
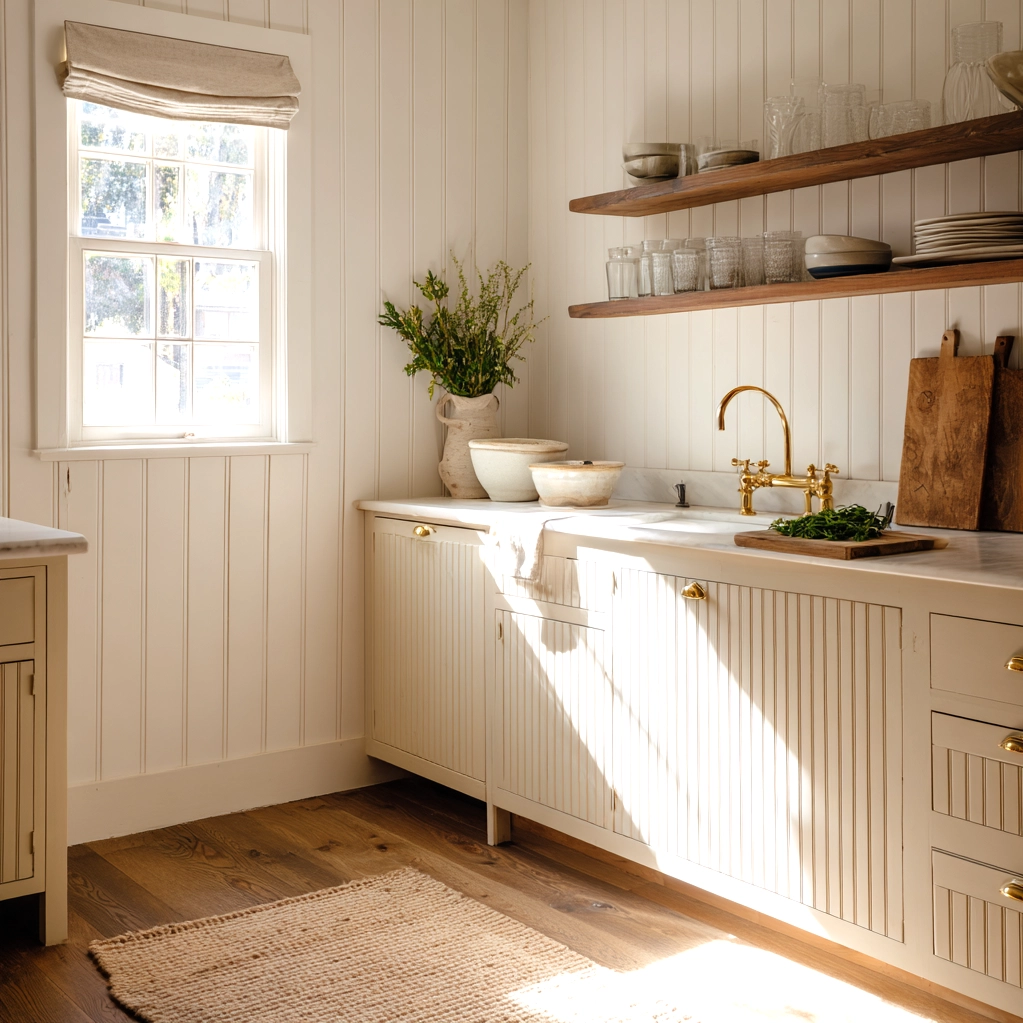
Once you've decided to include bead board in your kitchen, the next step is integrating it thoughtfully with your overall design scheme. The beauty of bead board lies in its ability to complement rather than compete with other elements. For modern farmhouse kitchens, pair white bead board walls with open shelving, apron-front sinks, and butcher block countertops. The vertical lines of the bead board contrast beautifully with horizontal elements like shelves and counter edges, creating visual balance. In coastal-style kitchens, bead board painted in soft blues or greens evokes beach cottage charm. Combine with navy accents, woven textures, and plenty of natural light for a breezy feel. The grooves in the bead board can even be accentuated with slightly darker paint in a technique called "striping" for added dimension. For traditional kitchens, consider staining rather than painting bead board to show off wood grain. Rich walnut or cherry stains paired with classic cabinet styles and marble surfaces create timeless elegance. Bead board can also function as a backsplash in these settings, providing texture behind the range or sink. In industrial-inspired kitchens, bead board adds warmth to what might otherwise feel cold. Pair with exposed brick, metal fixtures, and concrete countertops for interesting contrast. Painting bead board in dark charcoal or black creates dramatic effect while maintaining texture. Don't forget about ceiling applications—bead board on kitchen ceilings adds cozy character, especially in rooms with high ceilings that need visual lowering. When coordinating colors, remember that bead board's texture affects how paint appears. Glossy finishes highlight grooves, while matte finishes minimize them. For small kitchens, light-colored bead board can make spaces feel larger and brighter. For accent walls, consider using bead board behind open shelving or as a backdrop for your range hood—these focal points benefit from the added texture. The key is balance: let bead board enhance your kitchen's existing features rather than overwhelm them. With thoughtful pairing, bead board walls kitchen designs become integral components of a cohesive, inviting space that reflects your personal style while maintaining functional excellence.
Conclusion
Bead board walls bring a unique combination of timeless aesthetics and practical benefits to kitchen spaces, making them a worthwhile consideration for any home renovation or refresh. As we've explored, this classic wall treatment offers versatility across design styles, durability for high-use areas, and visual interest that elevates ordinary kitchens into character-filled gathering spaces. The eight installation tips provided ensure that your bead board project proceeds smoothly from planning to completion, while the design suggestions help integrate this element harmoniously with your overall kitchen vision. Looking forward, bead board's appeal shows no signs of diminishing—if anything, its adaptability positions it perfectly for evolving kitchen trends. As kitchens continue to serve multiple functions beyond just food preparation, surfaces that add warmth and texture become increasingly valuable. Bead board's ability to bridge traditional and contemporary styles means it can adapt to future design shifts without feeling dated. For homeowners contemplating kitchen updates, consider starting with a smaller bead board application—perhaps as a backsplash or accent wall—to experience its impact before committing to larger installations. Remember that quality materials and proper installation are investments that pay off in both appearance and longevity. Whether you're drawn to crisp white panels for a clean look or rich stained wood for traditional warmth, bead board offers a foundation for creating a kitchen that feels both personal and polished. As you plan your kitchen design, keep in mind that sometimes the most impactful elements are those that provide subtle background beauty, allowing your lifestyle and daily rituals to take center stage in a space that's both beautiful and genuinely livable.
Frequently Asked Questions
Q: How do I clean and maintain bead board walls in my kitchen?
Cleaning bead board walls kitchen installations is straightforward with proper care. For routine cleaning, use a soft cloth or microfiber duster to remove surface dust from the grooves and flat areas. For more thorough cleaning, mix mild dish soap with warm water, dampen a soft cloth (never soak it), and gently wipe the surface. Avoid abrasive cleaners or scrub brushes that could damage the finish. For painted bead board, occasional touch-ups may be needed in high-touch areas, but quality paint should withstand normal kitchen conditions. If you have stained bead board, periodically check for wear and reapply protective finish as needed. The grooves can collect dust over time, so using a vacuum with a soft brush attachment can help maintain cleanliness between deeper cleanings.
Q: Can bead board be installed over existing kitchen walls?
Yes, bead board can typically be installed directly over existing kitchen walls if they're in good condition. The key requirements are that the wall surface is smooth, dry, and structurally sound. Remove any loose paint or wallpaper, and ensure there's no moisture damage. You'll need to account for the added thickness—approximately 1/4 to 3/4 inch depending on the bead board material—which may require adjusting outlet boxes, trim, and transitions. Using construction adhesive combined with finishing nails provides secure attachment. However, if your existing walls have significant imperfections, it's often better to remove old wall coverings and start with a clean, level surface. Always check local building codes, especially regarding fire safety and moisture barriers in kitchen areas.
Q: What's the cost difference between real wood and MDF bead board for kitchens?
The cost difference between real wood and MDF bead board for kitchen installations varies based on quality and region, but generally, MDF (medium-density fiberboard) options are more budget-friendly. Real wood bead board, typically made from pine, oak, or poplar, ranges from $1.50 to $4 per square foot for materials alone, with higher-end woods costing more. MDF bead board usually costs $1 to $2.50 per square foot. However, consider long-term value: real wood can be sanded and refinished multiple times, offering decades of use, while MDF cannot be refinished once damaged. MDF often has better moisture resistance and minimal expansion/contraction, which can be advantageous in kitchens. Installation costs are similar for both materials. Factor in finishing costs too—real wood may require more preparation for staining, while MDF typically paints smoothly. Many homeowners choose based on their specific kitchen conditions and design goals rather than price alone.