
Imagine stepping into your backyard to find a space where creativity flows as freely as the mud pies being crafted. A DIY mud kitchen isn’t just another backyard addition—it’s a portal to imaginative play, sensory exploration, and cherished family memories. This charming outdoor feature encourages children to engage with nature, develop fine motor skills, and learn through hands-on experimentation. More than a play area, it becomes a centerpiece for laughter and discovery, turning ordinary afternoons into adventures. Building your own mud kitchen offers endless customization possibilities, allowing you to tailor the design to your space, budget, and aesthetic preferences. Whether you’re a seasoned DIY enthusiast or a beginner looking for a manageable project, creating a mud kitchen is a rewarding endeavor that pays dividends in joy and learning. It’s an investment in your child’s development and your outdoor living experience, blending practicality with whimsy in a way that few projects can. In this article, we’ll guide you through the essentials of planning, building, and enjoying your very own DIY mud kitchen, ensuring it becomes a beloved feature of your home.
DIY Mud Kitchen: Essential Planning and Design Tips
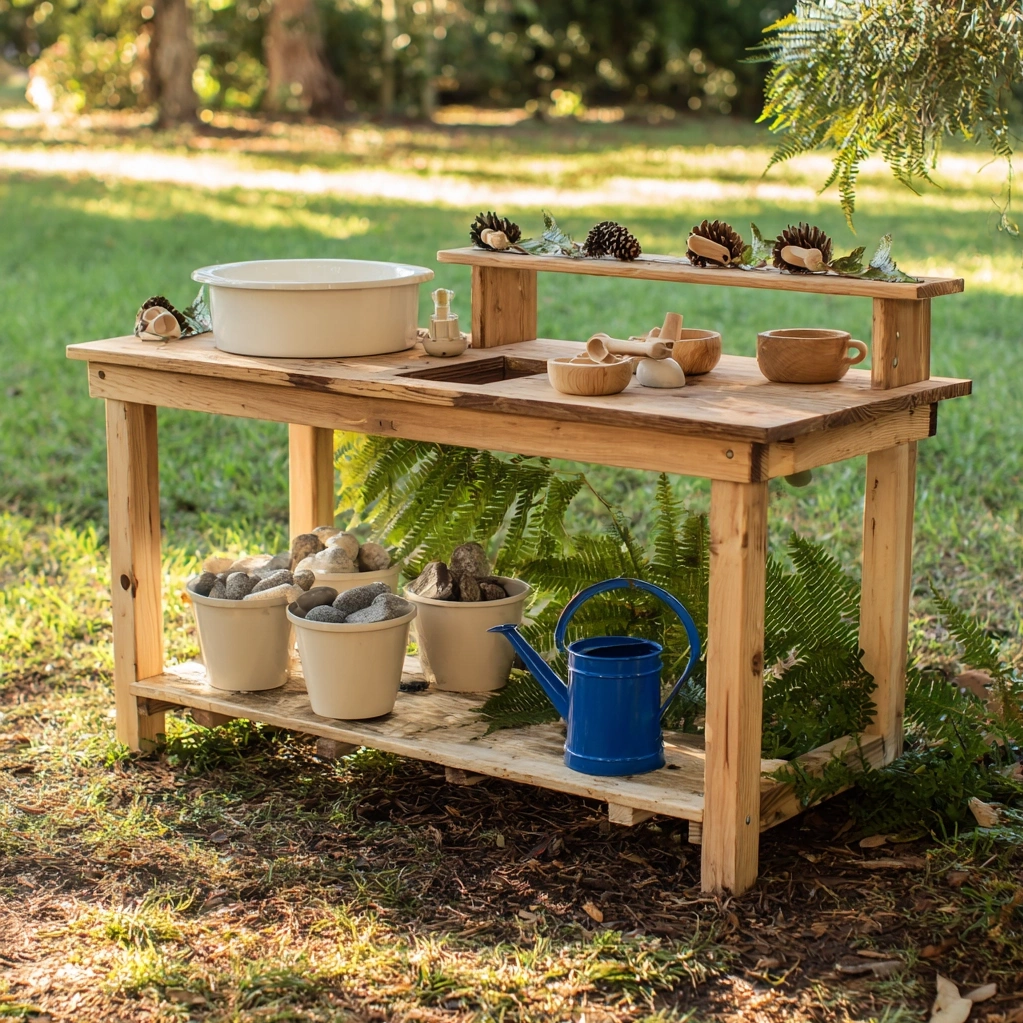
Before you start building your DIY mud kitchen, thoughtful planning ensures a successful and functional outcome. Begin by assessing your available space—consider factors like sunlight, drainage, and proximity to water sources. A level area with good drainage is ideal to prevent water pooling and mud buildup. Next, decide on the size and layout. Compact designs work well for small yards, while larger spaces can accommodate more elaborate setups with multiple stations. Sketch a simple design that includes key components: a countertop for mixing and molding, shelves or hooks for storing utensils, and perhaps a sink area for easy cleanup. Choose durable, weather-resistant materials such as reclaimed wood, pallets, or waterproof plywood. These materials withstand outdoor elements while adding rustic charm. Incorporate child-friendly features like low countertops for easy access and rounded edges for safety. Think about storage solutions—baskets, bins, or built-in compartments keep tools organized and accessible. Finally, consider the aesthetic. Paint colors, decorative tiles, or natural finishes can personalize your mud kitchen to match your backyard style. With a solid plan in place, you'll build a space that's both practical and inviting.
DIY Mud Kitchen: Step-by-Step Building Instructions
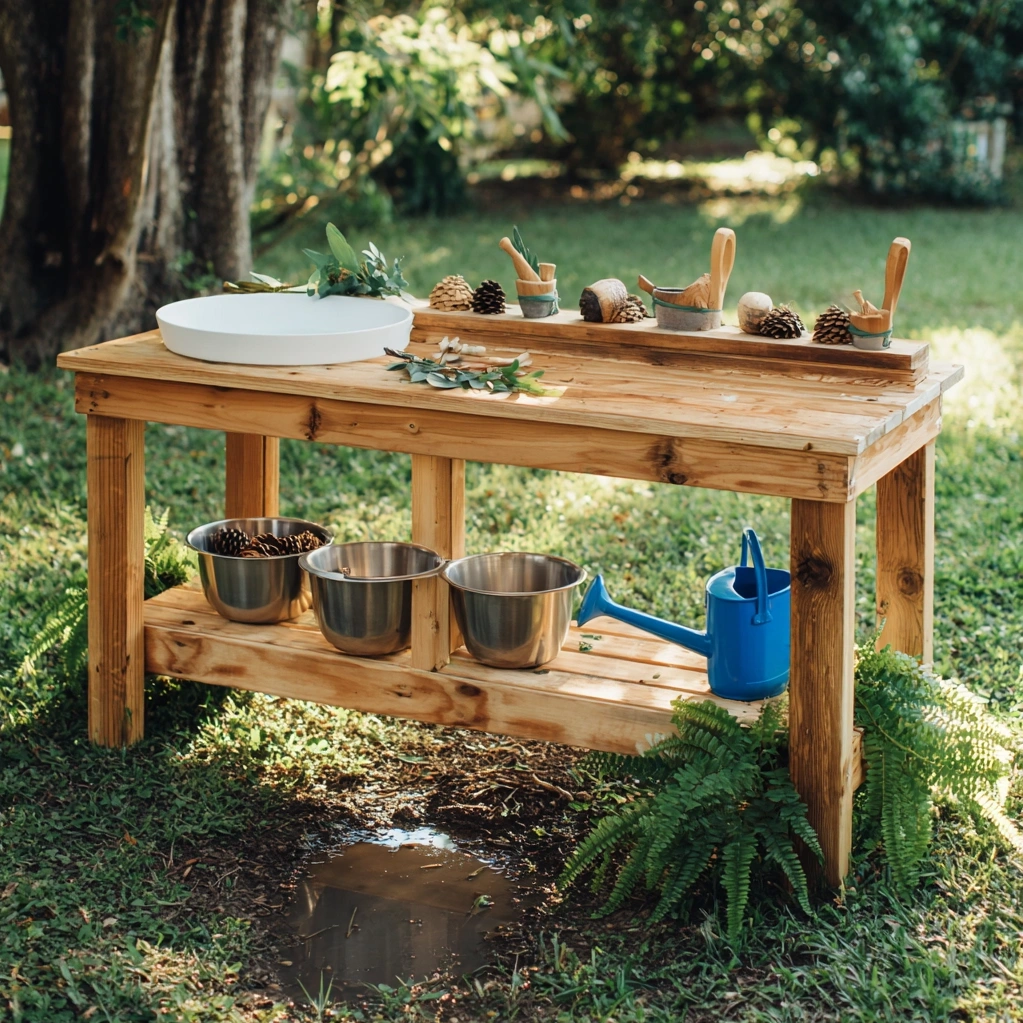
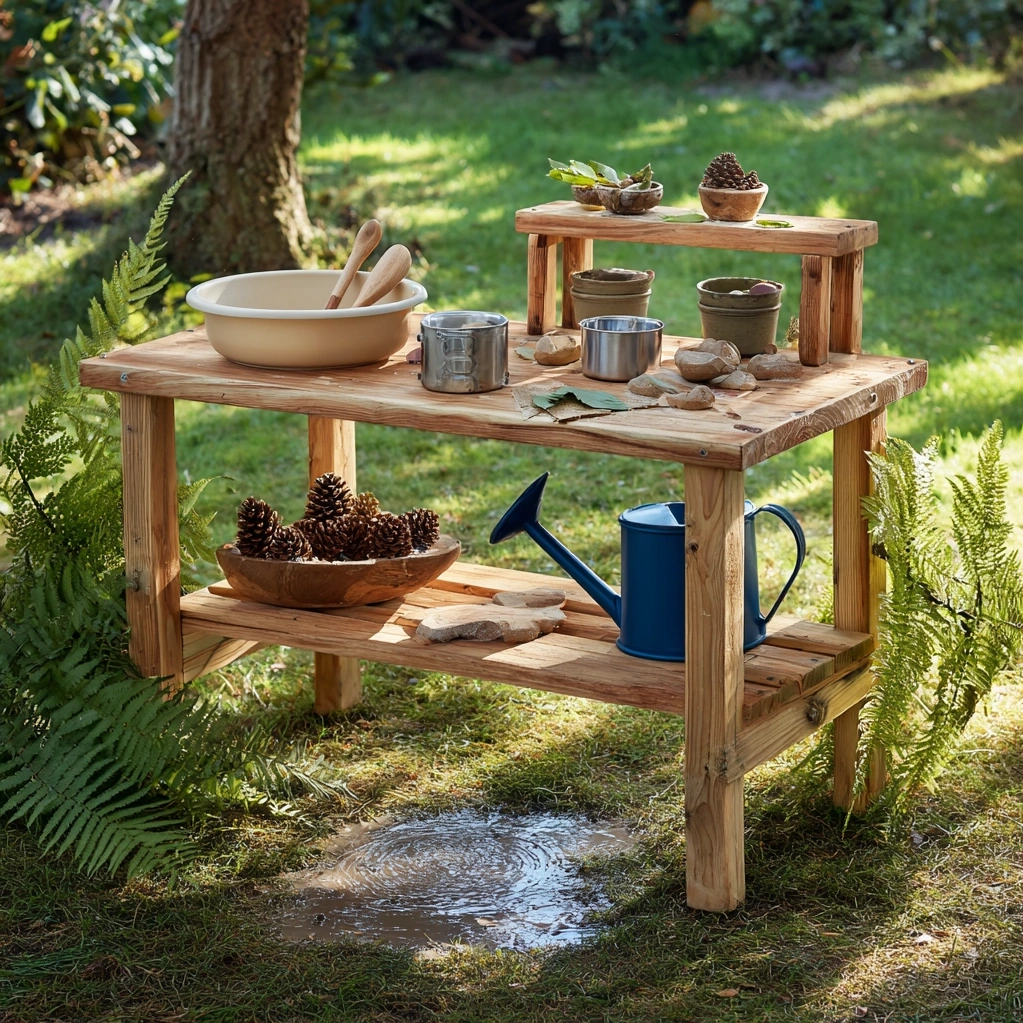
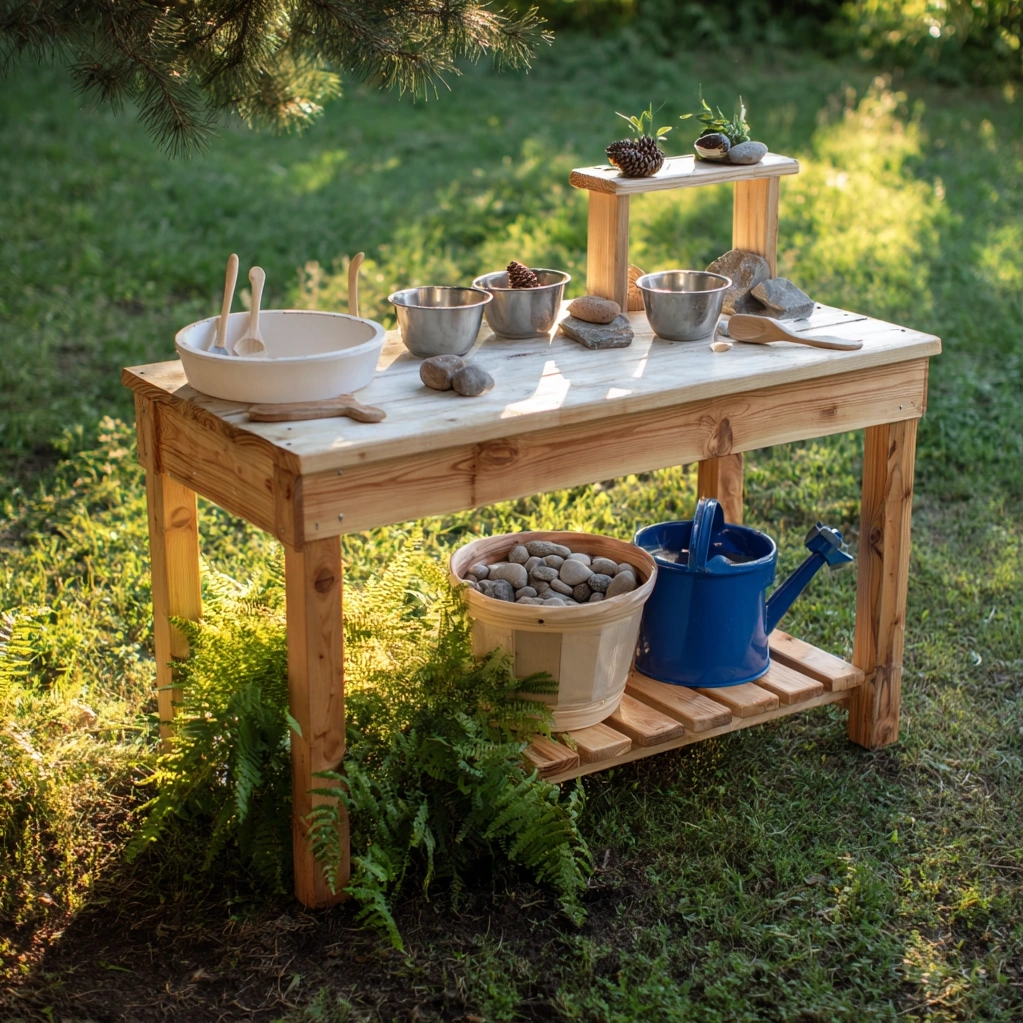
Building a DIY mud kitchen is a straightforward project that can be completed in a weekend with basic tools. Start by gathering your materials: wood planks, screws, a saw, drill, sandpaper, and optional paint or sealant. First, construct the frame. Cut the wood to your desired dimensions, ensuring stability by creating a sturdy base. Assemble the frame using screws, checking for levelness as you go. Next, add the countertop. A smooth, flat surface is key for mud pie creation—use plywood or a repurposed tabletop. Secure it firmly to the frame. Then, install shelves or hooks. These provide storage for pots, pans, and utensils, keeping the area tidy. If including a sink, cut a hole in the countertop for a basin or use a large bowl. Attach a simple drainage system, like a hose leading to a garden bed, to manage water runoff. Sand all surfaces to remove splinters, ensuring a safe play environment. Finally, apply a weatherproof finish or paint in vibrant colors to protect the wood and add visual appeal. Test the structure for stability before letting children play. This hands-on process not only results in a functional mud kitchen but also offers a sense of accomplishment and customization.
DIY Mud Kitchen: Creative Ideas for Customization and Fun
Customizing your DIY mud kitchen elevates it from a simple play area to a personalized outdoor haven. Start with functional add-ons. Install a chalkboard panel on one side for recipe notes or artistic doodles. Add hooks for hanging aprons and towels, keeping things organized. Consider incorporating natural elements like a small herb garden nearby, allowing children to mix mud with real plants for sensory play. For aesthetic flair, use mosaic tiles on the countertop or paint patterns that inspire creativity. Upcycle old kitchen items—think mismatched bowls, spoons, and measuring cups—to stock your mud kitchen with authentic tools. These items add character and encourage imaginative role-playing. Another idea is to create themed zones, such as a bakery station with muffin tins or a science lab with beakers and funnels. Ensure accessibility by including step stools for younger children and adjustable features as they grow. Don't forget lighting—solar-powered string lights can extend playtime into the evening. By tailoring your mud kitchen to your child's interests, you foster a space that sparks endless adventures and learning opportunities.
Conclusion
Creating a DIY mud kitchen is more than just a weekend project; it's an investment in joyful, educational play that brings your backyard to life. Throughout this article, we've explored how to plan, build, and customize a mud kitchen that suits your space and style. From selecting durable materials to adding personalized touches, each step contributes to a functional and enchanting play area. The benefits extend beyond aesthetics—children develop creativity, problem-solving skills, and a connection to nature through hands-on exploration. As you enjoy watching mud pies take shape and imaginations soar, remember that this simple addition can transform ordinary days into memorable experiences. Looking ahead, consider seasonal updates like adding a canopy for shade in summer or incorporating waterproof storage for winter. Share your creations with friends and family to inspire others to embark on their own DIY adventures. Embrace the mess and the magic—your DIY mud kitchen is a testament to the power of simple, creative projects in enriching home life.
Frequently Asked Questions
Q: What materials are best for building a durable DIY mud kitchen?
For a durable DIY mud kitchen, choose weather-resistant materials that can withstand outdoor conditions. Reclaimed wood or pressure-treated lumber is excellent for the frame, as it resists rot and insects. Use waterproof plywood or marine-grade boards for countertops and shelves to prevent warping. Metal hardware like galvanized screws ensures longevity. For finishes, opt for exterior-grade paint or sealant to protect against moisture and UV rays. Avoid materials that splinter easily or degrade quickly, such as untreated softwoods.
Q: How can I make my DIY mud kitchen safe for children?
Safety is paramount when building a DIY mud kitchen. Start by sanding all wood surfaces to remove splinters and sharp edges. Ensure the structure is stable and level to prevent tipping. Use non-toxic, lead-free paints and finishes. Keep tools and utensils age-appropriate—avoid small parts that could be choking hazards. Install the kitchen in a shaded area to protect from sun exposure, and consider adding a canopy or umbrella. Supervise play, especially with water, to prevent slips. Regularly inspect for wear and tear to maintain a safe environment.
Q: Can I build a DIY mud kitchen on a budget?
Absolutely! Building a DIY mud kitchen on a budget is entirely possible with creativity and resourcefulness. Use reclaimed materials like old pallets, scrap wood, or discarded furniture—check local listings or recycling centers. Upcycle kitchen items such as bowls, spoons, and pots from thrift stores. Instead of buying new, repurpose items like an old table or sink. Keep the design simple to minimize costs. Basic tools like a saw and drill are often already owned or can be borrowed. With a little effort, you can create a functional and fun mud kitchen without breaking the bank.