
Clay pots have been a staple in homes and gardens for centuries, serving as functional containers for plants and decorative elements in living spaces. But what if you could transform these humble vessels into personalized works of art? Painting clay pots has emerged as one of the most accessible and rewarding DIY projects, allowing anyone to add color, personality, and style to their indoor and outdoor spaces. This creative practice combines the tactile satisfaction of working with clay with the expressive freedom of painting, resulting in unique pieces that reflect individual taste and creativity. The importance of painting clay pots extends beyond mere decoration. In today’s world, where mass-produced items dominate our surroundings, hand-painted pots offer a meaningful connection to the creative process and a way to express personal identity through home decor. These customized containers can transform ordinary plants into focal points, coordinate with existing color schemes, or create cohesive themes throughout living spaces. Whether you’re looking to brighten a dull corner, create thoughtful handmade gifts, or simply engage in a relaxing artistic activity, painting clay pots provides endless possibilities for enhancing your environment while developing your creative skills.
Essential Supplies for Painting Clay Pots Successfully
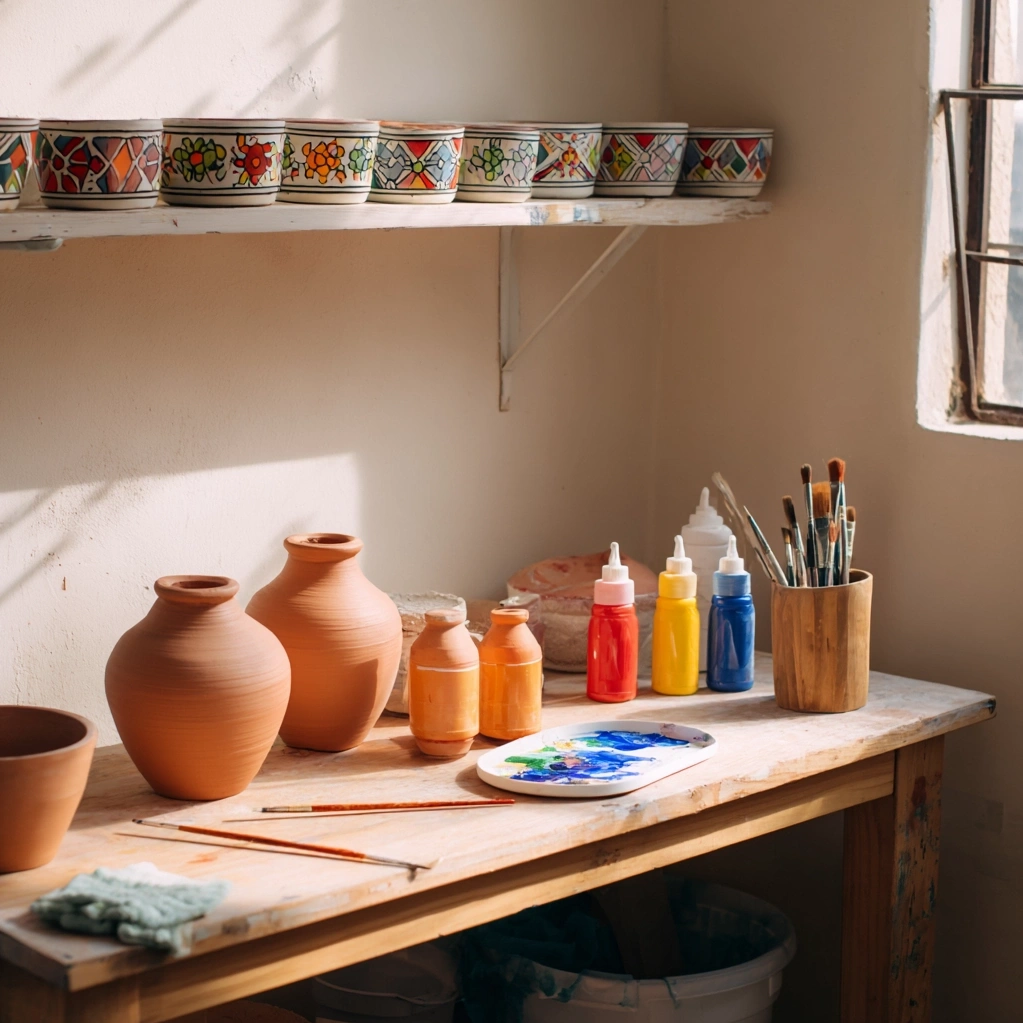
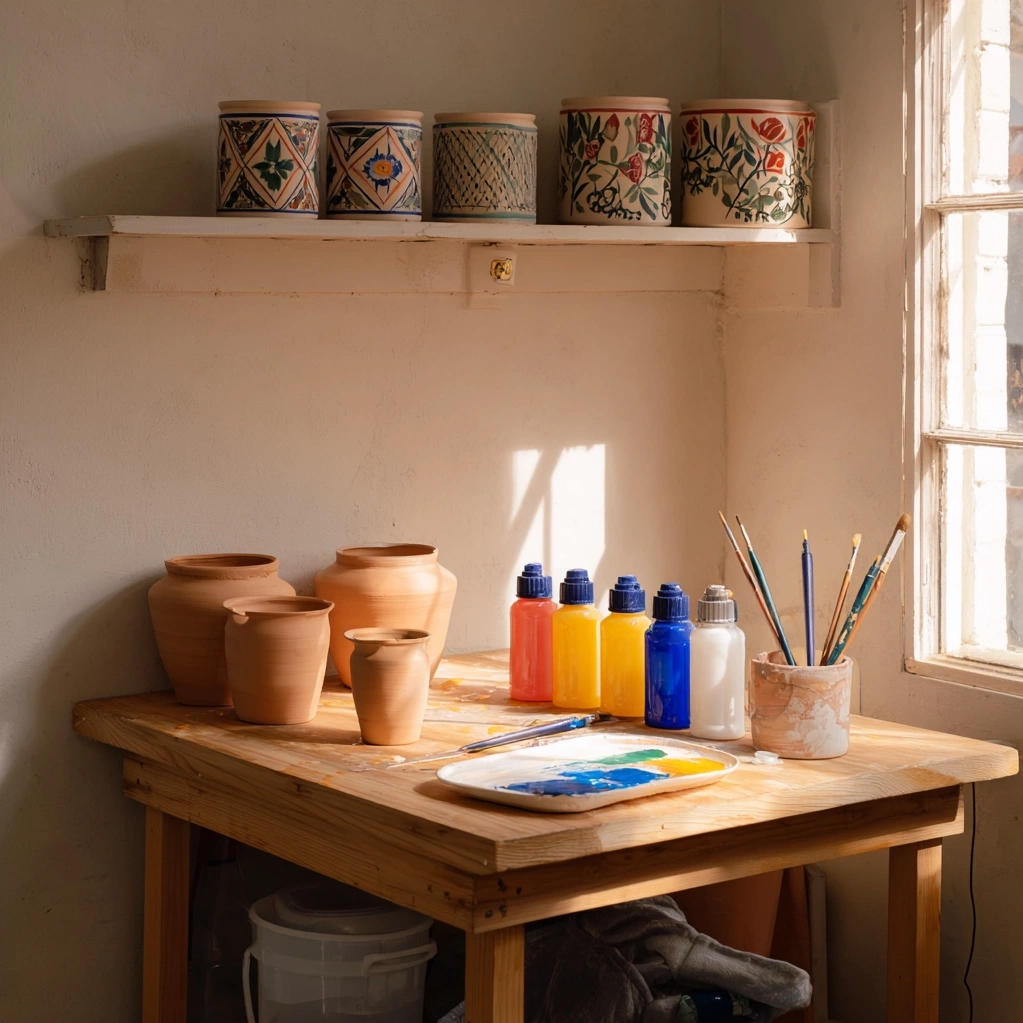
Before you begin painting clay pots, gathering the right materials will ensure your project turns out beautifully and lasts for years. Start with clean, unglazed terracotta pots, which provide the ideal porous surface for paint adhesion. For brushes, invest in a variety of sizes: small detail brushes for intricate designs, medium brushes for general coverage, and larger brushes for backgrounds. Acrylic paints are the most popular choice for painting clay pots because they're water-based, quick-drying, and available in countless colors. Look for outdoor-rated acrylics if your pots will be exposed to weather. Sealants are crucial for protecting your artwork. A clear acrylic sealer, available in matte, satin, or glossy finishes, will shield your design from moisture and UV damage. For preparation, you'll need sandpaper to smooth rough edges, a clean cloth for dusting, and primer if you want an ultra-smooth base. Optional supplies include painter's tape for clean lines, stencils for precise patterns, and palette knives for texture effects. Remember that quality doesn't mean expensive – many successful projects use basic craft paints and household brushes. The key is choosing materials appropriate for your pot's intended location. Indoor pots can use standard acrylics and sealers, while outdoor pots require weather-resistant products. Always test paints and techniques on a small area first to ensure compatibility with your clay surface. Proper preparation, including cleaning and priming if necessary, will help your paint adhere better and create more vibrant results.
Step-by-Step Techniques for Painting Clay Pots Like a Pro
Mastering the process of painting clay pots involves following systematic steps that guarantee professional-looking results. Begin by thoroughly cleaning your pot with warm water and a soft brush to remove dust and debris. Allow it to dry completely, which may take several hours for terracotta. If your pot has rough spots, lightly sand them with fine-grit sandpaper and wipe away residue. Some painters prefer to apply a coat of primer, especially when working with dark-colored clay or wanting extremely bright colors. When painting clay pots, start with your base coat. Apply paint in thin, even layers using a medium brush, working from the rim downward. Let each layer dry completely before adding another – typically 1-2 hours for acrylics. Two to three coats usually provide solid coverage. For designs, sketch your pattern lightly with pencil or use painter's tape to create geometric sections. When painting intricate designs, work from the center outward and use smaller brushes for details. Blending colors directly on the pot can create beautiful gradients, but practice on paper first. Allow all paint to cure for 24 hours before sealing. Apply sealant in a well-ventilated area using smooth, overlapping strokes. Two thin coats of sealer, dried between applications, offer better protection than one thick coat. For outdoor pots, consider adding a second sealant layer specifically formulated for exterior use. Different techniques yield varied effects: sponge painting creates textured backgrounds, while dot painting with the end of a brush handle produces playful patterns. Experiment with layering colors, adding metallic accents, or incorporating natural elements like pressed leaves into your design. The beauty of painting clay pots lies in the flexibility to develop your unique style through practice and experimentation.
Creative Design Ideas for Painting Clay Pots
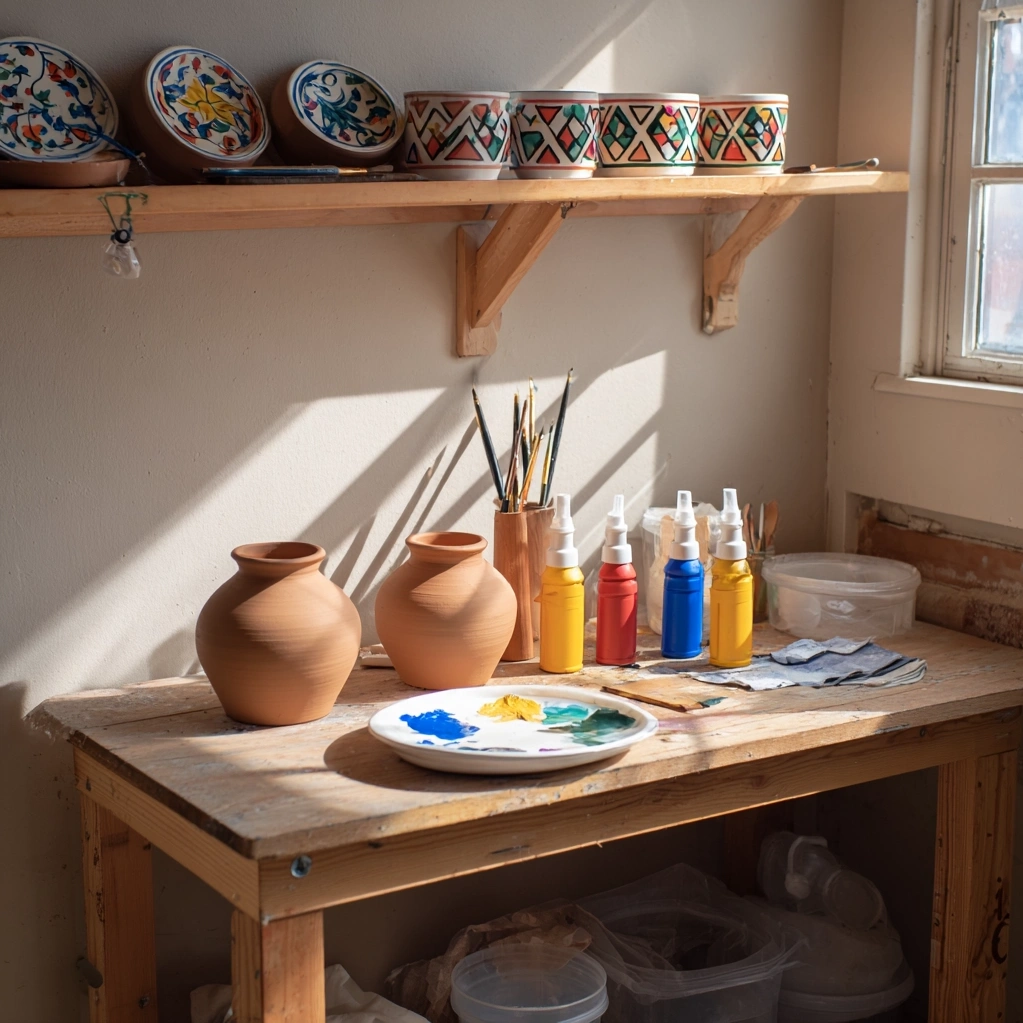
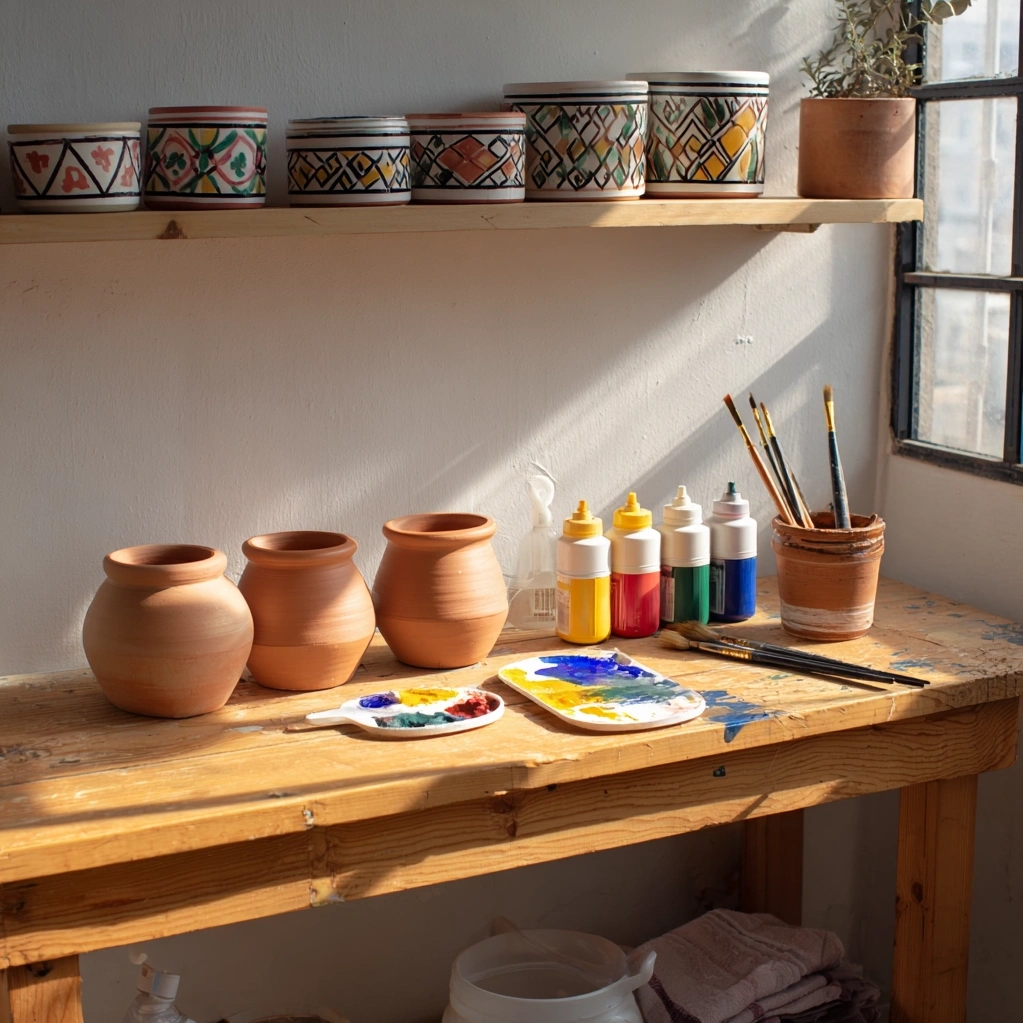
Once you've mastered basic techniques for painting clay pots, explore these creative design ideas to inspire your next project. For a minimalist aesthetic, try solid colors in muted tones like sage green, terracotta pink, or slate gray, accented with simple geometric patterns in contrasting shades. Modern abstract designs using overlapping shapes and bold color blocks can transform ordinary pots into contemporary art pieces. Nature-inspired themes remain popular for painting clay pots. Consider botanical patterns like ferns, succulents, or floral vines winding around the pot's surface. You can create ombre effects that transition from dark to light, mimicking sunset skies or ocean depths. Seasonal designs offer rotating decor opportunities: pastel patterns for spring, bright citrus motifs for summer, warm earthy tones for autumn, and icy blue-white schemes for winter. For children's spaces or playful gardens, paint clay pots with animal faces, cartoon characters, or rainbow stripes. Mediterranean styles featuring intricate mosaic patterns or Greek key borders add elegance to patio arrangements. When painting clay pots for specific plant types, coordinate colors with foliage or blooms: deep blues for lavender plants, vibrant yellows for sunflowers, or variegated patterns for colorful coleus. Don't forget functional designs like herb labels painted directly on pots or measurement markers for watering guidance. Mixed media approaches can elevate your painting clay pots projects. Add texture with modeling paste before painting, incorporate decoupage with decorative papers, or attach beads, shells, or tiles after sealing. Themed collections create visual impact when displayed together – consider painting a set of clay pots in coordinating patterns for windowsills or shelf displays. Remember that design continuity matters: repeating colors or motifs across multiple pots creates cohesive arrangements that enhance rather than compete with your plants.
Conclusion
Painting clay pots represents more than just a craft project – it's a gateway to personalizing your living spaces, developing artistic skills, and creating meaningful connections with your home environment. Throughout this guide, we've explored the essential supplies needed, step-by-step techniques for success, and countless design ideas to spark your creativity. The true beauty of painting clay pots lies in its accessibility; regardless of artistic experience, anyone can transform simple terracotta into expressive pieces that reflect their unique style. As you continue your journey with painting clay pots, remember that practice leads to improvement. Don't be discouraged by early attempts – each painted pot teaches valuable lessons about color mixing, brush control, and design composition. Consider documenting your progress through photographs or keeping a journal of color combinations and techniques that work well. Looking forward, painting clay pots can evolve into more ambitious projects like creating coordinated sets for gift-giving, developing seasonal collections for your garden, or even exploring pottery painting as a small business venture. The skills you develop transfer to other DIY projects, from furniture refinishing to mural painting. Most importantly, painted pots create lasting memories – that first pot you decorated, gifts for loved ones, or containers that held special plants become tangible reminders of creative moments. As you place your hand-painted pots throughout your home, you're not just adding decor; you're infusing your space with personality, care, and the satisfaction of having created something beautiful with your own hands.
Frequently Asked Questions
Q: What type of paint is best for painting clay pots that will be placed outdoors?
For outdoor clay pots, use acrylic paints specifically formulated for exterior use, often labeled as 'outdoor' or 'all-weather' acrylics. These contain additives that resist fading from UV exposure and withstand temperature fluctuations. After painting, apply two to three coats of a clear, waterproof sealant designed for outdoor surfaces. For maximum durability, look for sealants with UV protection. Always ensure pots have proper drainage holes to prevent water accumulation that could damage paint from the inside. Even with quality materials, some color fading may occur over several seasons, so consider placing pots in partially shaded areas or bringing them indoors during extreme weather.
Q: Do I need to seal clay pots after painting them, and if so, what type of sealer should I use?
Yes, sealing is essential for protecting your painted design. Unsealed paint on porous clay will absorb moisture, leading to peeling, fading, and damage. For indoor pots, use a clear acrylic sealer in your preferred finish (matte, satin, or glossy). Apply two thin coats with a brush or spray, allowing complete drying between coats. For outdoor pots, choose a waterproof polyurethane or exterior-grade acrylic sealer with UV protection. Always seal in a well-ventilated area and allow the sealer to cure fully (usually 48-72 hours) before using the pot. Reapply sealant every 1-2 years for outdoor pots exposed to elements.
Q: Can I paint glazed ceramic pots, or does this technique only work on unglazed clay?
You can paint both unglazed and glazed pots, but the preparation differs significantly. Unglazed terracotta is ideal for painting as its porous surface readily accepts paint without primer. For glazed ceramic pots, you must first lightly sand the glossy surface to create texture for paint adhesion, then apply a bonding primer designed for slick surfaces. After painting, use a sealer compatible with both the paint and ceramic surface. Glazed pots may require more frequent touch-ups as paint adheres less permanently than to porous clay. Many crafters prefer starting with unglazed pots for easier, more durable results when painting clay pots.