
Imagine stepping into your backyard and being greeted by the joyful sight of a custom swing set that perfectly fits your family’s needs and style. Building your own DIY swing set isn’t just about saving money—it’s about creating a personalized space that becomes the heart of outdoor memories. As families seek meaningful ways to connect and children need active play options, having a dedicated play structure takes on new importance. The modern backyard has evolved from mere grass and patio furniture to an extension of our living spaces, and a swing set serves as a focal point for fun, relaxation, and family bonding. While store-bought options offer convenience, they often lack character and may not fit your specific space or aesthetic preferences. A DIY swing set allows you to design exactly what you want, whether that’s a simple two-swing structure or an elaborate play fortress with slides and climbing walls. The process might seem daunting at first, but with careful planning and the right approach, you can create something that not only delights your children but also enhances your property’s value and appeal. This article will guide you through the entire process, from initial planning to final touches, ensuring your project results in a safe, beautiful, and functional addition to your home.
Planning Your Perfect DIY Swing Set
Before you pick up a single tool, thoughtful planning is essential for a successful DIY swing set project. Start by assessing your available space—measure the area where you want to install the structure, considering both the footprint and the necessary clearance around swings and other moving parts. Most backyard swing sets need at least 6 feet of clearance on all sides and should be positioned on level ground away from obstacles like trees, fences, or power lines. Next, determine your budget realistically, accounting for all materials including lumber, hardware, swings, and safety surfacing. Pressure-treated lumber or cedar are excellent choices for durability and weather resistance. Consider your family's needs: How many children will use it? What ages are they? Do you want just swings, or would you like to incorporate other elements like a slide, climbing wall, or playhouse? Sketch your design, keeping safety as the top priority—ensure all connections are secure, edges are rounded, and hardware is properly installed. Check local building codes and homeowners association rules, as some areas have specific requirements for play structures. Finally, gather your tools and materials in advance. Having everything ready before you start will make the building process smoother and more enjoyable. Proper planning transforms what could be a stressful project into an organized, achievable goal that results in a backyard centerpiece your family will cherish for years.
Essential Tools and Materials for Building a DIY Swing Set
Gathering the right tools and materials is crucial for constructing a safe and durable DIY swing set. For tools, you'll need basic carpentry equipment including a circular saw or handsaw for cutting lumber, a drill with various bits for making pilot holes and driving screws, a level to ensure posts are plumb, a measuring tape, a square for accurate angles, and a wrench or socket set for tightening bolts. Safety equipment like gloves, safety glasses, and ear protection should never be overlooked. When selecting materials, pressure-treated lumber is popular for its resistance to rot and insects, while cedar offers natural beauty and durability without chemical treatments. For the main structure, 4×4 or 6×6 posts provide stability for the swing set frame, with 2×6 or 2×8 beams for cross supports. Use galvanized or stainless steel hardware—lag bolts, carriage bolts, washers, and nuts—to prevent rust and ensure longevity. For the swings themselves, choose high-quality swing hangers with sealed bearings for smooth motion, and select swing seats appropriate for your children's ages: belt seats for younger kids, flat seats for older ones, or even a tire swing for added fun. Don't forget about safety surfacing beneath the swing set; options include mulch, rubber mats, or sand, which should extend at least 6 feet from the structure in all directions. Having all these materials prepared before starting will streamline your building process and help you avoid frustrating mid-project trips to the hardware store.
Step-by-Step Construction of Your DIY Swing Set
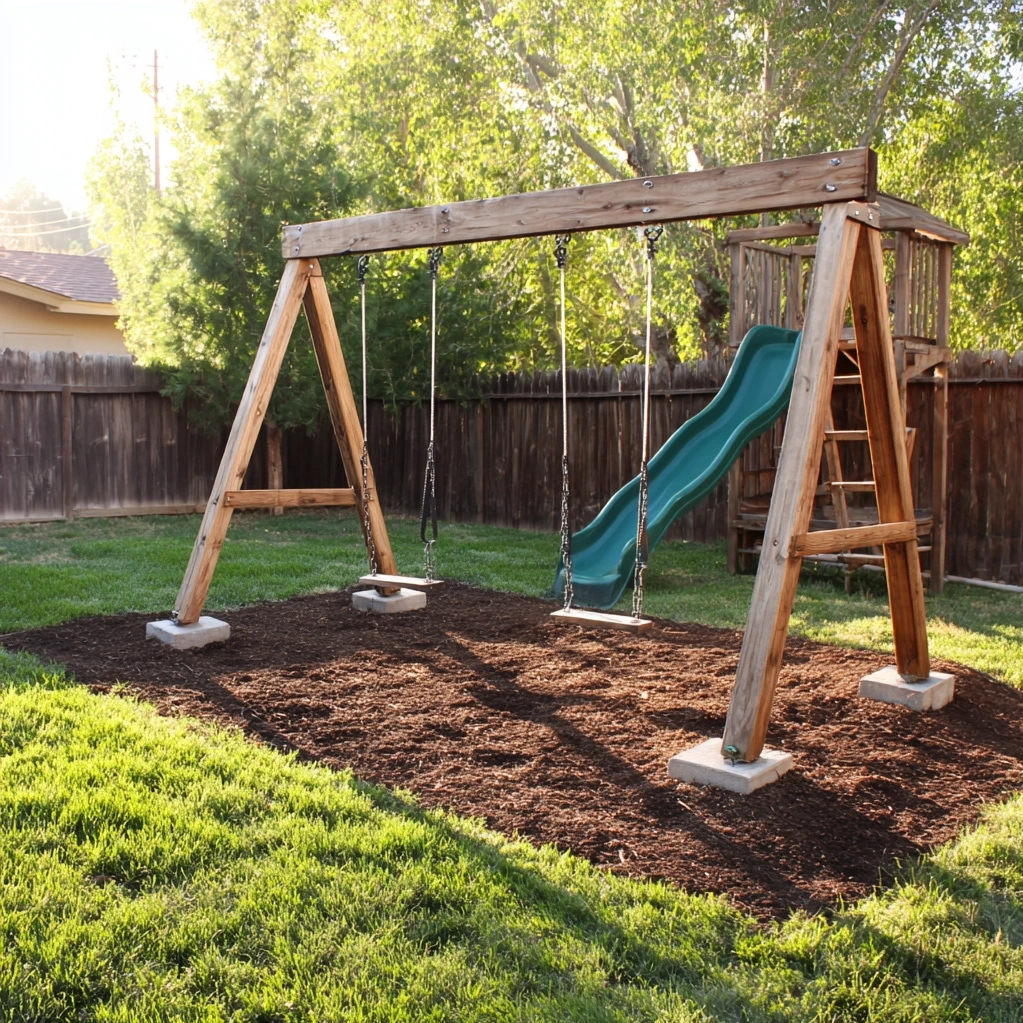
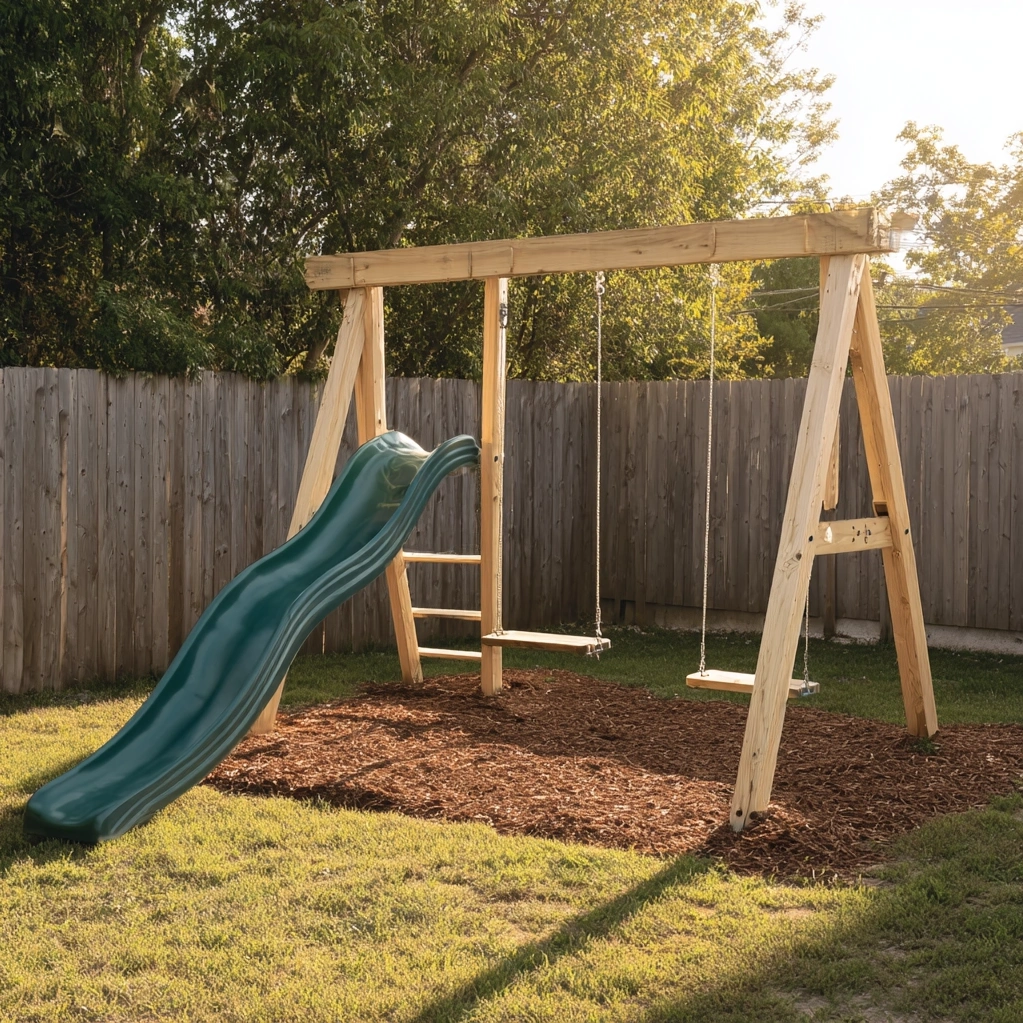
Building your DIY swing set involves systematic steps that ensure safety and stability. Begin by preparing the site: clear the area of debris, level the ground, and mark where your posts will go. For a basic A-frame swing set, dig post holes at least 24 inches deep (or below your local frost line) and set your 4×4 or 6×6 posts in concrete, using a level to keep them perfectly vertical. Allow the concrete to cure completely—usually 24-48 hours—before proceeding. Next, install the crossbeam that will support the swings. This typically involves attaching a 2×8 or 2×10 beam across the tops of the posts using heavy-duty galvanized brackets or through-bolts for maximum strength. Reinforce this connection with diagonal braces if your design calls for them. Once the main frame is secure, attach the swing hangers to the crossbeam according to the manufacturer's instructions, spacing them appropriately (usually 18-24 inches apart) and ensuring they're level. Hang your swing seats using high-quality chains or ropes, adjusting the height for your children's comfort and safety. If you're adding additional features like a slide or climbing ladder, attach these to the main structure using the provided hardware or additional brackets. Finally, install your chosen safety surfacing around the entire swing set area, creating a cushioned zone that reduces injury risk from falls. Test each component thoroughly before allowing children to play, checking for stability, secure connections, and smooth operation. This careful construction process results in a swing set that's both fun and fundamentally safe.
Creative Customization Ideas for Your DIY Swing Set
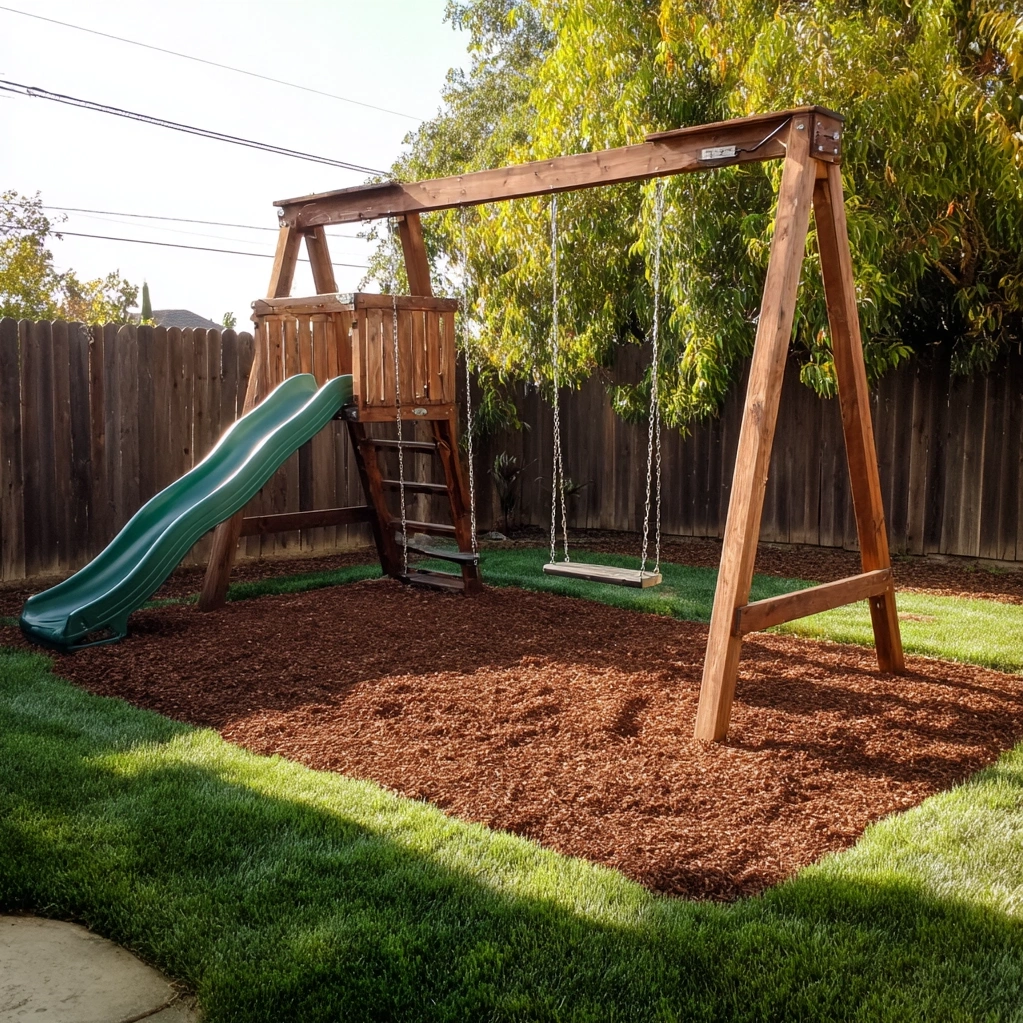
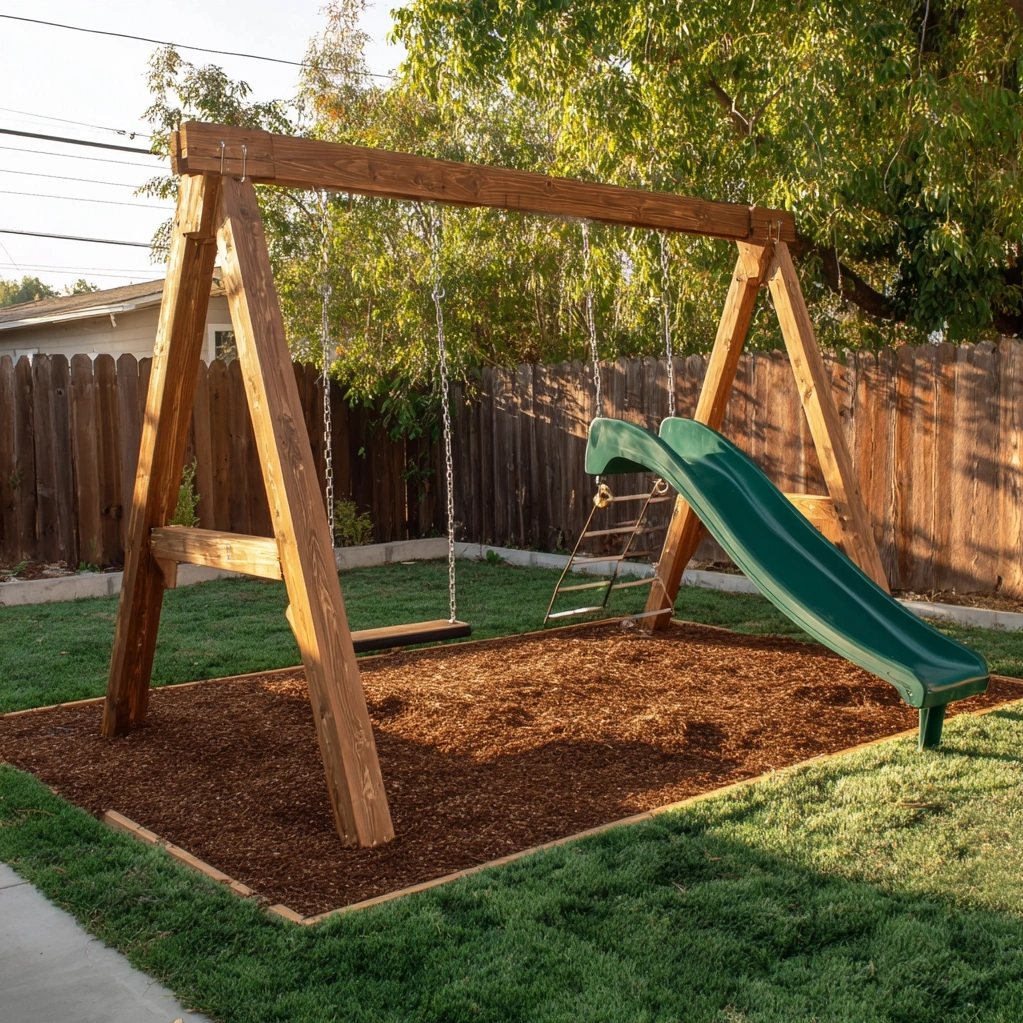
One of the greatest advantages of building your own DIY swing set is the ability to customize it to match your family's interests and your backyard's aesthetic. Beyond basic swings, consider incorporating a climbing wall using treated plywood and rock climbing holds, which adds physical challenge and variety. A slide attachment provides thrilling descents, while a playhouse or fort underneath the main structure creates imaginative play spaces. For a multi-functional design, include a trapeze bar, rope ladder, or even a simple telescope for backyard exploration. Aesthetic customization can transform your swing set from purely functional to visually stunning: paint it in cheerful colors that complement your home, add decorative cutouts or trim, or incorporate natural elements like a living roof with drought-tolerant plants. For older children or adults, consider adding a porch swing or hammock chair to one side, creating a relaxing reading nook. Lighting is another creative touch—solar-powered string lights or LED strips can make evening play possible and create magical ambiance. If you have limited space, a compact design with vertical elements maximizes play value without dominating your yard. Remember that customization should always prioritize safety: ensure all additions are securely attached, edges are smooth, and materials are weather-appropriate. These creative touches not only enhance the play experience but also make your DIY swing set a unique expression of your family's personality, turning your backyard into a destination that everyone enjoys.
Conclusion
Building a DIY swing set is more than just a weekend project—it's an investment in family memories, outdoor activity, and personalized home improvement. By following the planning, construction, and customization steps outlined here, you can create a safe, durable, and delightful structure that becomes the centerpiece of your backyard. The satisfaction of watching your children play on something you built with your own hands is immeasurable, and the skills you develop during the process can be applied to future home projects. As outdoor living continues to grow in importance for family wellness and connection, having a dedicated play space encourages physical activity, imaginative play, and quality time together. Looking forward, consider how your swing set might evolve with your family's changing needs—perhaps adding features as children grow, or incorporating elements for adult relaxation. Regular maintenance, like checking hardware tightness and refreshing safety surfacing, will ensure years of safe enjoyment. Whether you opt for a simple design or an elaborate play structure, your DIY swing set represents a tangible expression of care for your family's happiness and well-being. Start planning today, and transform your backyard into an oasis of joy and connection that will be cherished for seasons to come.
Frequently Asked Questions
Q: How much does it typically cost to build a DIY swing set?
The cost of a DIY swing set varies widely based on size, materials, and features. A basic two-swing structure with pressure-treated lumber typically costs between $200 and $500 for materials. More elaborate designs with slides, climbing walls, or playhouses can range from $800 to $2,000 or more. Factors affecting cost include the type of wood (cedar is more expensive than pressure-treated pine), quality of hardware and swing components, and whether you need to purchase tools. Safety surfacing adds additional expense—mulch or sand is relatively inexpensive, while rubber mats or poured rubber surfaces cost more. Planning your budget carefully and shopping for materials during sales can help manage costs while still creating a safe, durable structure.
Q: What is the best type of wood to use for a backyard swing set?
The best wood for a DIY swing set depends on your priorities. Pressure-treated lumber is a popular choice because it's resistant to rot, insects, and decay, making it durable and long-lasting with minimal maintenance. It's also generally more affordable than other options. Cedar is another excellent choice—it's naturally resistant to moisture and insects, has a beautiful appearance that weathers to a silver-gray patina, and doesn't require chemical treatments. Cedar is more expensive but offers aesthetic appeal. Avoid using untreated pine or other softwoods that aren't rated for ground contact, as they'll deteriorate quickly outdoors. Whichever wood you choose, ensure it's rated for outdoor use and properly sealed or treated to withstand weather conditions in your area.
Q: How do I ensure my DIY swing set is safe for children?
Safety should be the top priority when building and maintaining a DIY swing set. Start with proper installation: set posts in concrete below the frost line, use galvanized or stainless steel hardware to prevent rust, and ensure all connections are tight and secure. Design with safety in mind—round all sharp edges, maintain proper spacing between swings (at least 18 inches), and ensure there's adequate clearance around moving parts. Install appropriate safety surfacing beneath and around the swing set, such as mulch, sand, or rubber mats, to cushion falls. The surfacing should extend at least 6 feet in all directions and be maintained at proper depth. Regularly inspect the structure for loose hardware, worn swing components, or wood damage, and make repairs immediately. Follow manufacturer guidelines for swing weight limits and age appropriateness. Finally, supervise children during play, especially when they're first using the new structure, to ensure they understand how to use it safely.