

As the days grow longer and flowers begin to bloom, there’s something magical about bringing that fresh spring energy indoors. Spring pot painting offers a delightful way to celebrate the season while adding personal touches to your home decor. This isn’t just about painting flower pots – it’s about creating vessels that hold living beauty, expressing your creativity, and transforming ordinary containers into cherished pieces that tell your story. The ritual of painting pots connects us to nature’s renewal cycle, allowing us to participate actively in the seasonal transition. Whether you’re a seasoned artist or someone who hasn’t picked up a brush since elementary school, this accessible craft welcomes all skill levels. The beauty of spring pot painting lies in its simplicity and profound impact – with just a few basic supplies, you can create pieces that brighten your windowsills, enhance your patio, or make thoughtful gifts for friends and family. This activity combines artistic expression with practical gardening, bridging indoor comfort with outdoor vitality. As you prepare to embrace this creative journey, remember that each painted pot becomes more than just a container; it becomes a symbol of growth, renewal, and personal expression. Let’s explore how this simple activity can transform not just your pots, but your entire approach to seasonal decorating.

Essential Spring Pot Painting Techniques for Beginners
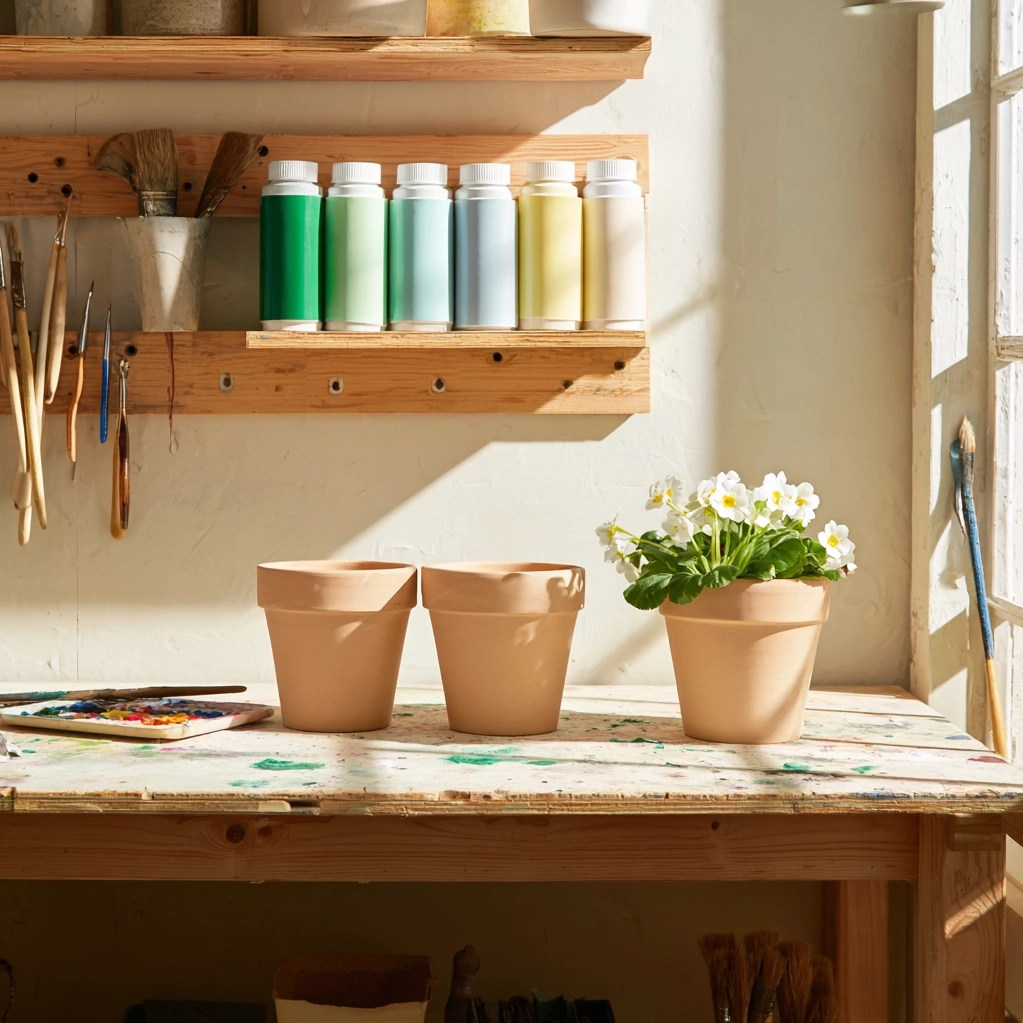
Starting your spring pot painting journey doesn't require extensive artistic training or expensive materials. The beauty of this craft lies in its accessibility. Begin with clean, dry terracotta pots – these provide the perfect porous surface for paint adhesion. Priming your pots with gesso or a specialty pottery primer creates a smooth base that helps colors appear more vibrant and prevents absorption. For beginners, acrylic paints offer the most forgiving medium with quick drying times and easy cleanup. Consider starting with simple techniques like sponge painting for textured effects, or try the popular dip-dye method where you partially immerse pots in thinned paint. Stenciling provides another accessible approach – use pre-made botanical stencils or create your own with contact paper. When planning your spring pot painting designs, think about color schemes that reflect the season. Soft pastels like mint green, pale yellow, and sky blue capture spring's gentle awakening, while brighter hues like coral and lavender add cheerful pops of color. Don't forget to seal your creations with outdoor-safe varnish if they'll face the elements. This protective layer ensures your spring pot painting projects withstand watering and sunlight while maintaining their vibrant appearance season after season. The key is to start simple, experiment freely, and remember that imperfections often add character to handmade pieces.
Design Inspiration for Your Spring Pot Painting Projects
Finding inspiration for your spring pot painting projects can come from countless sources in your environment. Look to nature's own palette – observe how spring blossoms present themselves in your garden or local park. Cherry blossoms might inspire delicate pink gradients, while tulip fields could suggest bold stripes or ombre effects. Consider thematic approaches that go beyond simple color application. Botanical motifs like hand-painted leaves, flowers, or vines create organic connections between container and contents. Geometric patterns offer a modern twist – try painting crisp white lines or colorful triangles that contrast with the natural curves of pots. For a more personal touch, incorporate meaningful symbols or words that resonate with your spring intentions. Your spring pot painting designs can also reflect specific gardening purposes. Herb pots might feature painted labels or culinary motifs, while larger planters destined for flowering annuals could showcase more elaborate floral designs. Don't limit yourself to traditional paint applications – mixed media elements like decoupage with botanical prints, embedded natural materials, or textured additions with modeling paste can elevate your spring pot painting projects. Consider creating coordinated sets with complementary but not identical designs, allowing for visual harmony while maintaining individual character. The most successful spring pot painting designs often emerge from combining different techniques – perhaps a solid base color with delicate hand-painted details, or a textured background with crisp stenciled patterns. Let the season's energy guide your creative choices.
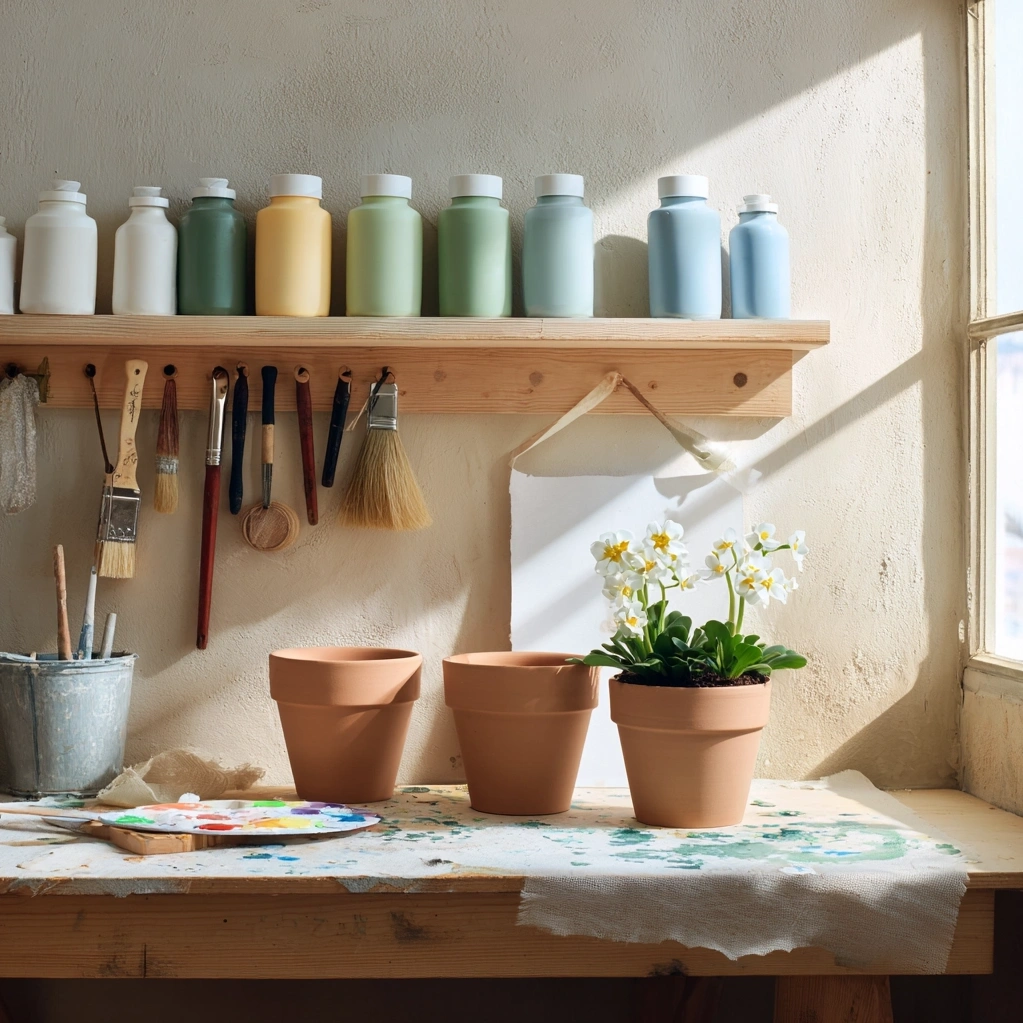
Choosing Materials for Successful Spring Pot Painting
Selecting the right materials significantly impacts your spring pot painting results and longevity. Start with the foundation – your pots. Terracotta remains the classic choice for its breathability and traditional appearance, but don't overlook ceramic, concrete, or even upcycled containers. Each material requires different preparation – terracotta needs thorough cleaning and possible sealing before painting, while glazed ceramics might require light sanding for better paint adhesion. Your paint selection deserves careful consideration. For indoor spring pot painting projects, standard acrylics work beautifully and offer extensive color options. For outdoor containers exposed to weather, invest in specialty outdoor acrylics or enamel paints formulated to withstand moisture and UV exposure. Brushes represent another critical choice – natural bristle brushes work well with thicker paints, while synthetic brushes provide smoother application for detailed work. Include various sizes from broad wash brushes for background coverage to fine liners for intricate details. Beyond basic painting supplies, consider additional materials that enhance your spring pot painting projects. Quality sealants protect your work – matte finishes offer natural appearance, while gloss or satin finishes provide enhanced protection with slight sheen. Specialty products like crackle medium can create aged effects perfect for vintage-inspired spring pot painting. Don't forget practical tools like painter's tape for clean lines, palette knives for mixing and texturing, and drop cloths to protect your workspace. When planning multiple spring pot painting sessions, proper storage of partially completed projects and materials ensures consistency and prevents waste. Investing in quality materials from the beginning makes the process more enjoyable and yields professional-looking results that last through seasons.
Conclusion
Spring pot painting represents more than just a seasonal craft – it's a meaningful practice that connects creativity with nature's rhythms. Throughout this exploration, we've discovered how accessible techniques, thoughtful design inspiration, and proper material selection can transform simple containers into personalized works of art. The true magic of spring pot painting lies in its dual purpose: you create beautiful objects while preparing vessels for living plants that will grow alongside your artistic expression. As you continue your spring pot painting journey, remember that each painted pot tells a story – of the season's renewal, of creative exploration, and of your personal aesthetic vision. These handmade pieces become integral parts of your home's seasonal transition, bringing the freshness of spring indoors long before your garden reaches full bloom. Looking forward, consider how your spring pot painting skills might evolve. Perhaps you'll experiment with more advanced techniques, collaborate with friends for painting parties, or expand into decorating other garden elements. The practice you develop now can become an annual tradition, with each year's creations reflecting your growing expertise and changing inspirations. Most importantly, spring pot painting reminds us that beauty often emerges from simple acts of creation – a brush, some paint, and a humble pot can become sources of daily joy and seasonal celebration.
Frequently Asked Questions
Q: What type of paint works best for outdoor spring pot painting?
For outdoor spring pot painting projects that will face weather elements, specialty outdoor acrylic paints or enamel paints provide the most durable results. These formulations contain additives that resist fading from UV exposure and withstand moisture from watering and rain. Always apply two to three coats of outdoor-rated sealant over your finished spring pot painting to create a protective barrier. For best adhesion on porous materials like terracotta, use a primer designed for outdoor surfaces before painting. Allow each layer to dry completely according to manufacturer instructions, and avoid placing freshly painted pots outside until fully cured – typically 48-72 hours depending on conditions.
Q: How do I prepare terracotta pots for spring pot painting?
Proper preparation ensures your spring pot painting adheres well and lasts. Start by thoroughly cleaning terracotta pots with warm water and a stiff brush to remove dust, dirt, and mineral deposits. For previously used pots, soak in a solution of one part vinegar to four parts water for 30 minutes to eliminate algae or mold, then scrub clean. Allow pots to dry completely for at least 24 hours – moisture in the clay can cause paint to bubble or peel. Many artists recommend applying a primer or gesso specifically formulated for porous surfaces, which creates a smooth base and prevents the terracotta from absorbing too much paint. For spring pot painting projects destined for plants, consider sealing the interior with a waterproofing product before painting the exterior to protect both your artwork and the plant's roots.
Q: Can I use regular house paint for my spring pot painting projects?
While you can technically use leftover house paint for spring pot painting, it's not ideal for several reasons. Interior house paint lacks the flexibility and weather resistance needed for pots that expand and contract with temperature changes or face outdoor conditions. Exterior house paint might work better but often contains chemicals unsuitable for plant containers. For successful spring pot painting, acrylic craft paints or specialty pottery paints provide better results – they're formulated for adhesion to curved surfaces, offer vibrant color selection, and are generally non-toxic when dry. If you do use house paint, ensure it's labeled for exterior use and completely cured before adding plants, and always apply a compatible sealant. For the best spring pot painting experience and longest-lasting results, investing in proper materials yields superior outcomes.