
Transforming your patio into a comfortable, usable space throughout the year can feel like an expensive dream. The harsh sun or unexpected drizzle often sends us retreating indoors, leaving our beautiful outdoor areas neglected. That’s where the power of a DIY patio awning comes in. This project isn’t just about adding shade; it’s about reclaiming your home’s potential and creating a seamless extension of your living space. Imagine enjoying your morning coffee, hosting summer barbecues, or reading a book in the afternoon, all protected from the elements. A patio awning elevates your home’s functionality and aesthetic appeal. The thought of hiring a professional might seem daunting due to cost, but building your own is a surprisingly achievable and rewarding endeavor. It offers complete customization to match your home’s style, your specific needs for sun coverage, and your budget. This guide will walk you through the essential steps, from planning and material selection to construction and finishing touches, empowering you to build a durable and beautiful structure that enhances your lifestyle and adds value to your property.
Planning Your Perfect DIY Patio Awning
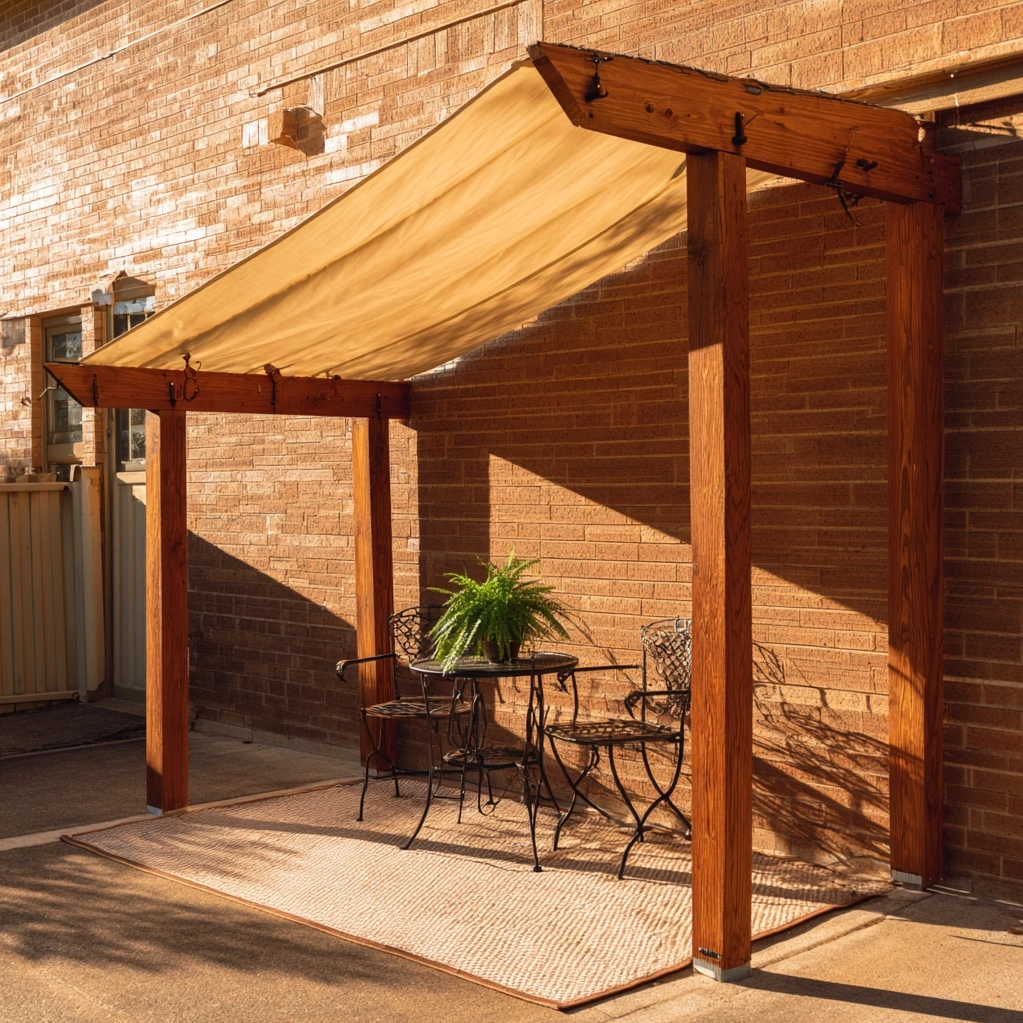
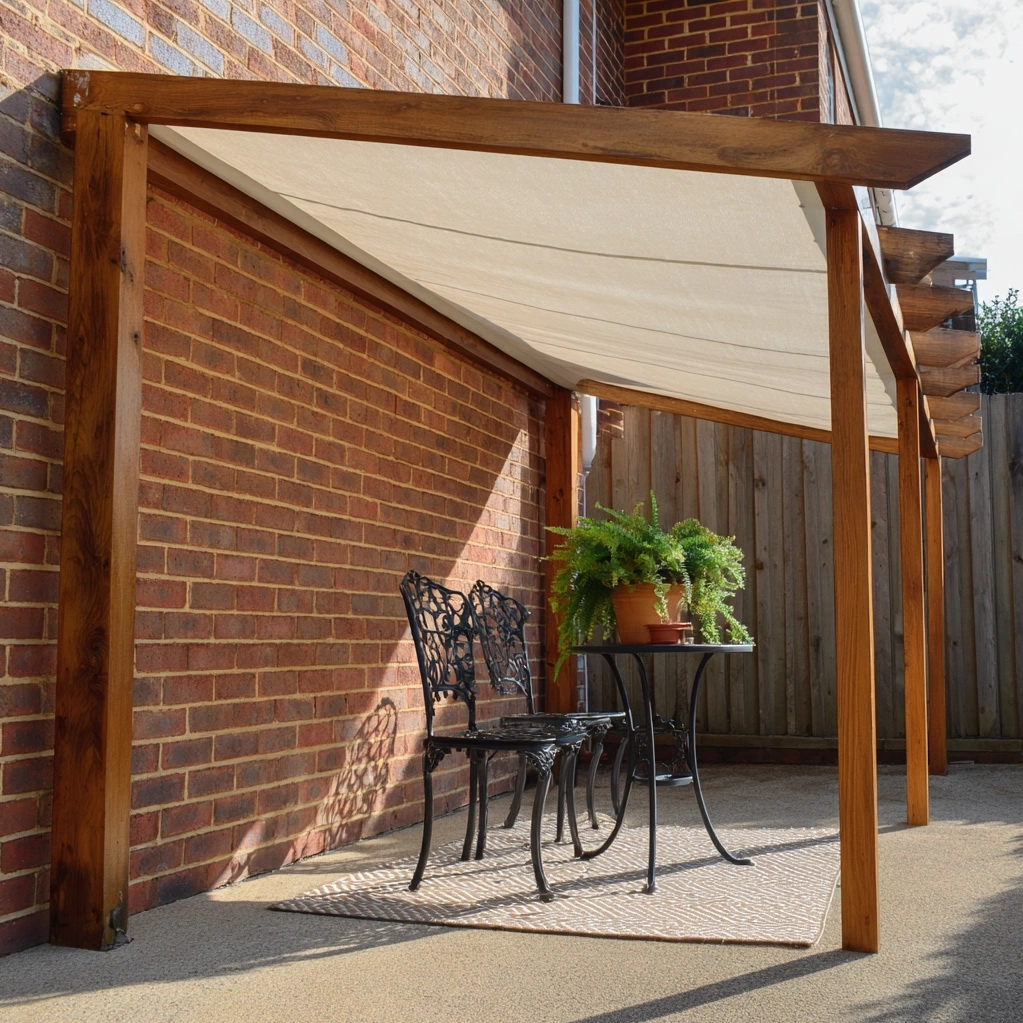
The success of your DIY patio awning project hinges on thorough planning. Start by assessing your space. Measure the exact area you want to cover, considering the height of your home's exterior wall where it will attach. Decide on the awning's primary purpose: is it for full sun block, light shade, or rain protection? This will influence the fabric or material you choose. Next, select a design. A simple, slanted frame attached to the house is the most common and beginner-friendly DIY patio awning. You might also consider a freestanding structure if attaching to the house isn't feasible. Check local building codes and homeowners association rules; you may need a permit. Sketch your design, noting all dimensions. This is also the time to choose your materials. Pressure-treated wood is a popular, affordable, and durable choice for the frame. For the canopy, options range from waterproof polyester fabric and canvas to more permanent polycarbonate panels or even a wooden lattice for dappled shade. Gather all necessary tools: a drill, saw, level, measuring tape, wrench set, and safety gear like goggles and gloves. Having a clear plan and all materials ready before you start will make the construction process smooth and efficient.
Building a Sturdy DIY Patio Awning Frame
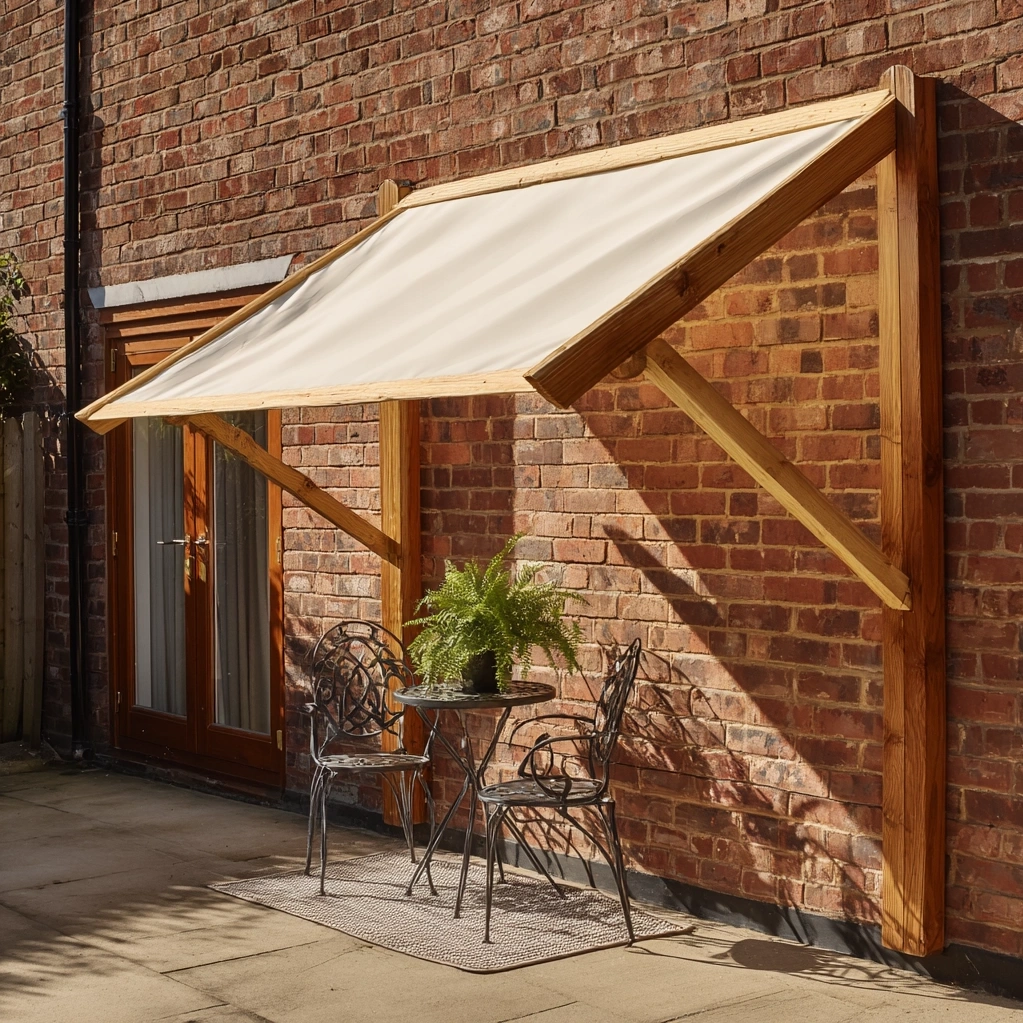
Constructing a robust frame is the most critical step in ensuring your DIY patio awning is safe and long-lasting. Begin by marking and pre-drilling holes on your home's ledger board—the horizontal beam that will be securely fastened to your house's exterior wall. Use lag screws and washers to attach this ledger board into the wall studs for maximum strength. This board forms the main support. Next, cut your rafters—the angled beams that extend outward from the ledger board. The angle, or pitch, should be sufficient for water runoff, typically a minimum of a 15-degree slope. Attach one end of each rafter to the ledger board using sturdy metal brackets or joist hangers. The other ends will be supported by your front beam. This front beam runs parallel to the house and connects the ends of all the rafters. Support this beam with vertical posts. Dig post holes below the frost line, set the posts in concrete, and ensure they are perfectly plumb before the concrete sets. Once the posts are secure, attach the front beam to them. Finally, add cross-bracing or purlins between the rafters for extra stability and to provide a surface for attaching the canopy material. Always double-check every connection with a level to ensure your frame is square and solid before proceeding.

Installing and Finishing Your DIY Patio Awning
With the frame complete, it's time to install the canopy, the defining feature of your DIY patio awning. If using fabric, lay it over the frame, ensuring it's centered and has enough overhang on all sides for proper coverage and water diversion. Pull it taut to prevent sagging and pooling water. Secure the fabric to the frame using a combination of methods: stainless steel screws with washers, a batten strip (a thin piece of wood screwed over the fabric's edge), or a specialized awning track system for a sleek, professional look. For a more permanent roof, like polycarbonate panels, follow the manufacturer's instructions for overlapping and fastening, typically using screws with rubber washers to prevent leaks. Once the canopy is secure, apply the finishing touches. Sand any rough edges on the wooden frame and apply a weather-resistant stain or paint to protect it from moisture and UV rays. This not only prolongs the life of your awning but also allows you to match or complement your home's color scheme. Consider adding optional features like gutter channels along the front beam to direct rainwater away from the seating area, or outdoor-rated string lights attached to the frame's underside for evening ambiance. A final, thorough inspection ensures every bolt is tight and the structure is ready for years of enjoyment.
Conclusion
Building your own DIY patio awning is a profoundly satisfying project that pays dividends in comfort, beauty, and home value. You've moved from a blank patio space to a crafted outdoor room, tailored precisely to your vision and needs. This new sanctuary provides a cool retreat on hot days, a dry spot during rain showers, and an inviting area for relaxation and entertainment. The skills and confidence gained from this build can inspire further outdoor improvements. Looking ahead, your awning can evolve with your lifestyle. You might later add side curtains for increased privacy and wind protection, integrate a retractable mechanism for adjustable shade, or even train climbing plants like jasmine or clematis up the posts for a living, green canopy. Remember, regular maintenance—like cleaning the fabric, checking for loose fasteners, and reapplying sealant to wood—will keep your awning looking great and functioning perfectly for a decade or more. Take pride in your accomplishment; you haven't just built a structure, you've expanded the heart of your home into the great outdoors.
Frequently Asked Questions
Q: What is the most cost-effective material for a DIY patio awning canopy?
For a balance of affordability, durability, and ease of installation, waterproof polyester or acrylic canvas fabric is often the most cost-effective choice for a DIY patio awning canopy. These fabrics are widely available at hardware stores, come in many colors and patterns, and are relatively easy to cut and secure to a wooden frame. They provide excellent sun protection and are water-resistant. While not as permanent as wood or polycarbonate, a quality fabric canopy can last several years with proper care and is much simpler for a first-time builder to handle compared to rigid panel systems.
Q: How do I ensure my DIY patio awning is stable in high winds?
Wind stability is crucial. First, ensure your frame is incredibly sturdy. Use thick, pressure-treated lumber for all main beams (ledger, rafters, front beam). Securely anchor the ledger board into the wall studs of your house, not just the siding. For freestanding awnings or those with support posts, set the posts deep in concrete footings that extend below the local frost line. Incorporate cross-bracing between rafters and from the posts back to the house to prevent lateral sway. When attaching the canopy, pull it very taut; a loose fabric will catch wind like a sail. For added security in very windy areas, you can install removable support poles or guy-wires from the front beam corners down to ground anchors that can be deployed during storms.
Q: Can I build a DIY patio awning without attaching it to my house?
Yes, absolutely. A freestanding DIY patio awning is a great option if you cannot or prefer not to attach to your home's exterior, or if you want to cover a patio space farther from the house. This design relies entirely on its own support structure, typically four or more sturdy posts set in concrete. The frame construction is similar, but instead of a ledger board on the house, you build a complete rectangular or square frame supported by the posts at all corners. This design offers more flexibility in placement and can often cover a larger area. It requires careful planning to ensure the entire structure is self-supporting and level. The construction process involves more post-hole digging and concrete work but results in a versatile and robust outdoor shelter.