

Spring is a season of renewal, and what better way to welcome its vibrant energy than with a beautiful DIY spring wreath adorning your door? This timeless craft project offers far more than just decorative appeal—it’s an opportunity to express your creativity, connect with the changing seasons, and create something uniquely yours without breaking the bank. In today’s fast-paced world, taking time to craft a handmade wreath provides a therapeutic break from digital screens and daily stresses. The process of selecting materials, arranging elements, and seeing your vision come to life offers genuine satisfaction that store-bought decorations simply can’t match. A DIY spring wreath becomes more than decor; it’s a personal statement that welcomes both your family and guests with warmth and personality. Whether you’re an experienced crafter or trying your first project, creating a spring wreath is accessible to everyone. The beauty lies in its flexibility—you can tailor it to your exact taste, home style, and budget. From rustic farmhouse designs to elegant floral arrangements, the possibilities are endless. Plus, making your own wreath ensures you get exactly what you want, rather than settling for whatever stores have available. This article will guide you through everything you need to create your perfect DIY spring wreath, from gathering materials to finishing touches that make it truly special.
Essential Materials for Your DIY Spring Wreath
Before diving into your DIY spring wreath project, gathering the right materials is crucial for success. Start with the foundation: a wreath base. Grapevine wreaths offer a rustic, natural look and are incredibly versatile. Straw or foam wreath bases provide smooth surfaces perfect for attaching delicate elements. For floral wreaths, consider a wire frame that allows for easy insertion of stems. Next, select your decorative elements. Fresh or artificial flowers are the heart of any spring wreath. Tulips, daffodils, cherry blossoms, and peonies capture the season perfectly. Mix different sizes and textures for visual interest. Foliage like eucalyptus, fern, or ivy adds lush greenery and volume. Don't forget about accents—ribbons, berries, moss, or decorative eggs can elevate your design. You'll also need basic tools: floral wire, hot glue gun with glue sticks, wire cutters, and scissors. Floral wire is essential for securing heavier elements, while hot glue works well for lightweight decorations. Wire cutters help trim stems cleanly. Consider adding a wreath hanger or loop for easy display. For those wanting to incorporate natural elements, collect branches, pinecones, or dried flowers from your garden. Remember, quality materials don't have to be expensive—thrift stores often have great finds, and nature provides free treasures. Organize everything before starting to ensure a smooth crafting experience.

Step-by-Step Guide to Creating Your DIY Spring Wreath
Creating your DIY spring wreath is a rewarding process when approached methodically. Begin by preparing your workspace. Cover a table with newspaper or craft paper to protect surfaces. Lay out all materials within easy reach. If using a grapevine wreath, you might want to spray it with sealant to prevent shedding. Start with the largest elements first. Arrange your main flowers or focal points around the wreath, spacing them evenly. For symmetrical designs, place matching elements opposite each other. For asymmetrical looks, cluster elements on one side for visual balance. Use floral wire to secure stems by wrapping it around the wreath base and twisting tightly. Cut excess wire with wire cutters. Next, add secondary flowers and foliage. Tuck stems into the base or attach with hot glue. Layer elements to create depth—place smaller flowers behind larger ones, and let some greenery trail naturally. Work your way around the wreath, stepping back occasionally to check proportions. Once flowers are placed, incorporate accents. Tie a beautiful bow at the bottom or top using wired ribbon that holds its shape. Add berries, moss, or decorative picks for texture. Secure everything firmly—your wreath will hang vertically, so elements must stay in place. Finally, create a hanging mechanism. Attach a loop of ribbon or wire to the back, ensuring it's strong enough to support the weight. Let hot glue dry completely before handling. Your DIY spring wreath is now ready to display!
Creative Design Ideas for Your DIY Spring Wreath
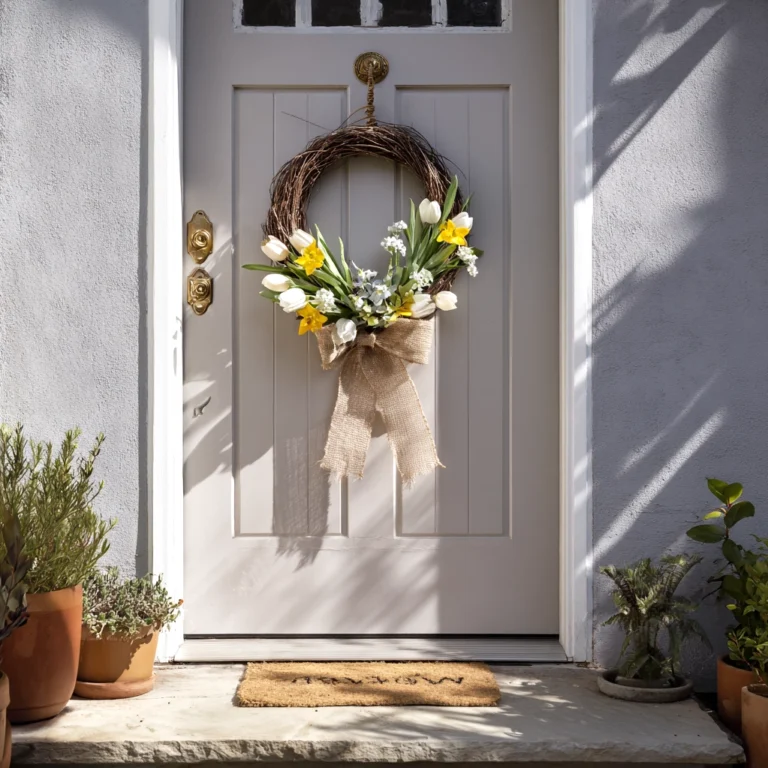
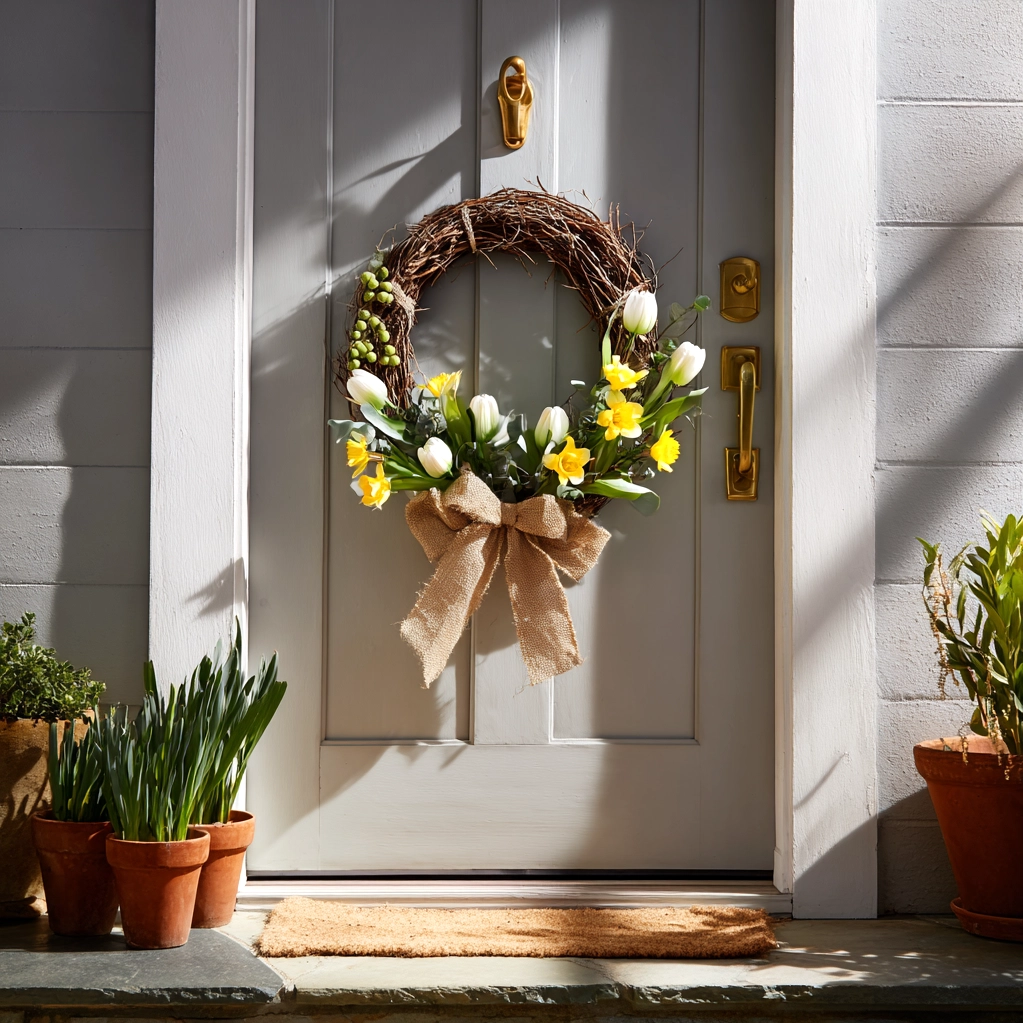
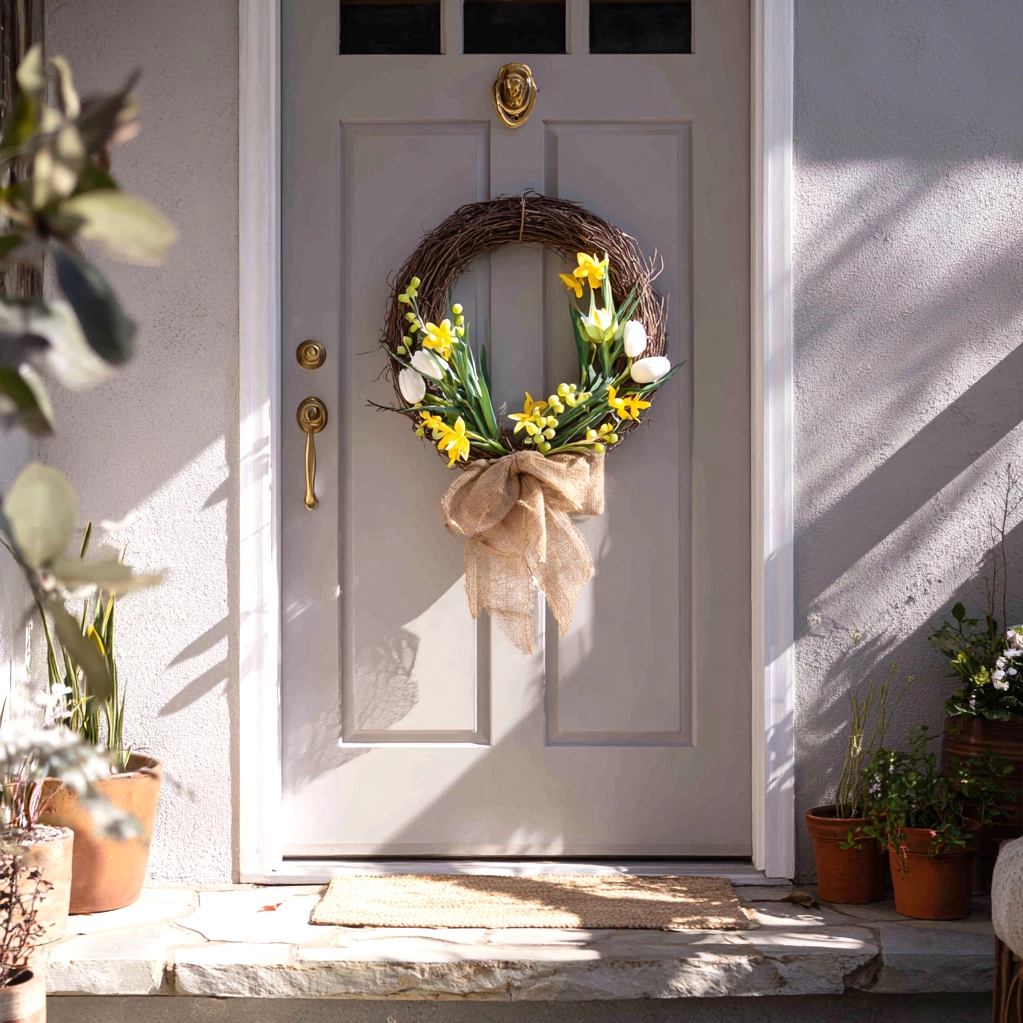
Your DIY spring wreath can reflect any style with creative design ideas. For a rustic farmhouse look, use a grapevine base with dried lavender, baby's breath, and burlap ribbon. Add small wooden eggs or a chalkboard tag for charm. This style feels cozy and welcoming, perfect for country homes. If you prefer elegance, try a floral-focused design. Use a foam wreath base covered in moss. Arrange silk peonies, roses, and ranunculus in soft pastels. Incorporate pearl accents or gold-dipped leaves for sophistication. Hang it on a glossy door for maximum impact. For modern minimalism, choose a simple metal hoop wreath. Attach a few bold branches like pussy willow or eucalyptus. Add a single statement flower or geometric ornament. This clean design suits contemporary homes beautifully. Seasonal themes offer endless inspiration. Create an Easter-themed wreath with pastel eggs, bunny figurines, and spring blooms. Or celebrate Earth Day with recycled materials—use newspaper flowers, fabric scraps, and natural twine. For longevity, consider a neutral base with interchangeable accents you can swap seasonally. Don't forget about non-traditional placements. Hang your DIY spring wreath indoors above a mantel, on a wall, or even as a centerpiece with a candle in the middle. Smaller wreaths make lovely window decorations or gift toppers. The key is personalization—choose colors and elements that make you happy every time you see them.
Maintaining and Storing Your DIY Spring Wreath
Proper care ensures your DIY spring wreath remains beautiful for seasons to come. For wreaths with artificial flowers, maintenance is straightforward. Dust accumulates over time, so gently clean your wreath every few weeks. Use a soft brush or hairdryer on cool setting to blow away debris. Avoid placing in direct sunlight, which can fade colors. If elements become loose, reinforce with additional glue or wire. For wreaths incorporating fresh flowers, expect shorter longevity—typically one to two weeks. Mist lightly with water to prolong freshness, but avoid soaking. Consider using preserved or dried flowers instead for similar beauty with lasting power. When spring ends, storing your wreath properly protects it for next year. First, remove any delicate decorations that might break. Wrap the wreath in tissue paper or bubble wrap to prevent crushing. Place in a sturdy box labeled with contents. Store in a cool, dry place away from humidity and pests. Attics or closets work well. Avoid plastic bags, which can trap moisture and cause mildew. For wreaths with natural materials like grapevine, check for insects before storing. If needed, freeze the wreath in a sealed bag for 48 hours to eliminate pests. When retrieving your wreath next spring, fluff flowers and rearrange any displaced elements. With good care, your DIY spring wreath can become a cherished seasonal tradition, evolving as you add new touches each year.
Conclusion
Creating a DIY spring wreath is more than just a craft project—it's a joyful way to embrace the season and personalize your home decor. Throughout this guide, we've explored everything from gathering essential materials to designing wreaths that reflect your unique style. The process offers therapeutic benefits, allowing you to unwind while producing something beautiful and functional. Whether you opt for rustic charm, elegant florals, or modern simplicity, your handmade creation will welcome spring with warmth and creativity. Remember that perfection isn't the goal; the beauty lies in the handmade touches that make your wreath uniquely yours. As you gain confidence, experiment with different techniques and materials. Try incorporating foraged branches, heirloom ribbons, or seasonal themes that resonate with your family traditions. Each year, you can build upon your skills, perhaps creating matching wreaths for multiple doors or gifting them to loved ones. Looking ahead, consider expanding your seasonal decor with other DIY projects that complement your wreath, like coordinating porch pots or indoor floral arrangements. The skills you develop here—color coordination, material selection, and assembly techniques—translate to countless other crafting endeavors. Most importantly, enjoy the process. Your DIY spring wreath isn't just decor; it's a celebration of renewal, creativity, and home. Hang it proudly, knowing you've created something special that brightens both your space and your spirit.
Frequently Asked Questions
Q: How long does it take to make a DIY spring wreath?
The time required varies based on complexity and experience. A simple wreath with basic materials might take 30-60 minutes for assembly. More intricate designs with multiple layers, detailed arrangements, or handmade elements could take 2-3 hours. Preparation time—gathering materials, cutting stems, organizing workspace—adds another 30 minutes. For beginners, allow extra time for planning and adjustments. Many crafters enjoy spreading the project over a weekend, working in stages: one day for design and preparation, another for assembly. The key is not to rush; enjoy the creative process.
Q: What's the estimated cost for a DIY spring wreath?
Costs range significantly depending on materials. A budget-friendly wreath using a basic grapevine base ($5-10), artificial flowers from discount stores ($10-15), and simple accents can total $15-25. Mid-range projects with higher-quality silk flowers, specialty ribbons, and decorative picks might cost $30-50. Luxury wreaths with premium preserved flowers, unique bases, or custom elements can exceed $75. To save money, repurpose materials from old decor, forage natural elements, or shop sales at craft stores. Remember, DIY wreaths often cost less than store-bought equivalents while offering superior customization.
Q: Can I make a DIY spring wreath if I'm not crafty?
Absolutely! DIY spring wreaths are beginner-friendly. Start with a simple design using pre-made floral picks that easily attach to a base. Many craft stores sell wreath kits with instructions. Focus on basic techniques: using hot glue for lightweight items and floral wire for security. Choose forgiving materials like artificial flowers that don't require precise arrangement. Online tutorials offer step-by-step visual guidance. Remember, imperfections add charm—your wreath doesn't need to look store-perfect. As you gain confidence, try more advanced techniques. The joy is in creating something with your own hands, regardless of skill level.