
Imagine stepping into a room bathed in gentle, filtered light instead of harsh glare. Picture your furniture protected from sun damage and your energy bills dropping as your home stays cooler naturally. This isn’t a fantasy reserved for luxury homes—it’s the remarkable transformation you can achieve with a DIY window awning project. Many homeowners overlook their windows as mere openings, but they’re actually prime opportunities to enhance comfort, style, and efficiency in one fell swoop. An awning isn’t just a practical addition; it’s a statement of thoughtful design that extends your living space outward. The beauty of tackling this as a DIY project lies in the complete customization it offers. You choose the materials, colors, dimensions, and style that perfectly match your home’s architecture and your personal taste. No more settling for generic store-bought options that never quite fit right or look the part. Beyond aesthetics, a well-placed window awning provides tangible benefits year-round. During summer, it blocks intense solar heat, reducing air conditioning strain. In milder weather, it creates a sheltered spot that blurs the line between indoors and out. And unlike permanent structural changes, a DIY awning project lets you experiment and adapt as your needs evolve. This guide will walk you through everything from planning to completion, empowering you to create shade that’s both beautiful and functional.
Planning Your Perfect DIY Window Awning: Essential First Steps
Before you pick up a single tool, successful awning installation begins with thorough planning. Start by assessing your window's dimensions and orientation. South-facing windows receive the most direct sun and benefit greatly from awnings, while north-facing ones might need less coverage. Measure carefully: you'll need the width of the window frame and the desired projection (how far the awning extends outward). Consider the awning's pitch angle—typically 15 to 25 degrees for proper water runoff. Next, choose your materials wisely. Popular options include aluminum for durability and lightweight maintenance, canvas for traditional charm and breathability, or polycarbonate panels for modern transparency. Each material affects the project's cost, tools needed, and final appearance. Don't forget structural considerations. Your awning needs secure mounting, whether attaching directly to the wall studs, using mounting brackets, or for brick surfaces, proper anchors. Check local building codes—some areas have regulations about projections or require permits. Also evaluate what tools you'll need: basic ones like a drill, level, measuring tape, and saw, plus potentially specialized items like a rivet gun for metal frames. Create a detailed materials list and sketch your design, noting all measurements. This planning phase might feel tedious, but it prevents costly mistakes and ensures your DIY window awning project proceeds smoothly from concept to reality.
Building Your DIY Window Awning: A Step-by-Step Construction Guide
With your plan in hand, it's time to bring your DIY window awning to life. Begin by constructing the frame. For a simple metal awning, cut aluminum struts to your planned dimensions using a hacksaw or metal cutter. Assemble the rectangular frame with corner brackets, securing joints with rivets or bolts. Add cross-braces for stability—these prevent sagging under rain or snow load. If using wood, pressure-treated lumber resists weather well; assemble with exterior-grade screws and reinforce corners with metal plates. Next, prepare the mounting surface. Mark drill points on your wall where the awning brackets will attach, ensuring they align with wall studs for maximum strength. Use a level religiously; even slight tilts become obvious once the awning is extended. Drill pilot holes and secure heavy-duty brackets with lag bolts. Now attach the frame to the brackets temporarily to check fit and levelness. Once satisfied, make it permanent. The covering comes next. For fabric awnings, cut your canvas or acrylic material slightly larger than the frame to allow for hemming. Use a waterproof sewing machine or outdoor adhesive to create clean edges and attach grommets for securing. Stretch the fabric taut over the frame, securing it with screws and washers or specialized awning clips. For solid covers like polycarbonate, pre-drill holes to prevent cracking and attach with rubber-gasketed screws that allow for expansion. Finally, install any finishing touches: end caps for metal frames, sealant around wall penetrations, and perhaps decorative trim. Take your time with each step—precision here ensures your DIY window awning not only looks professional but stands up to years of weather.
Design Ideas and Customization for Your DIY Window Awning
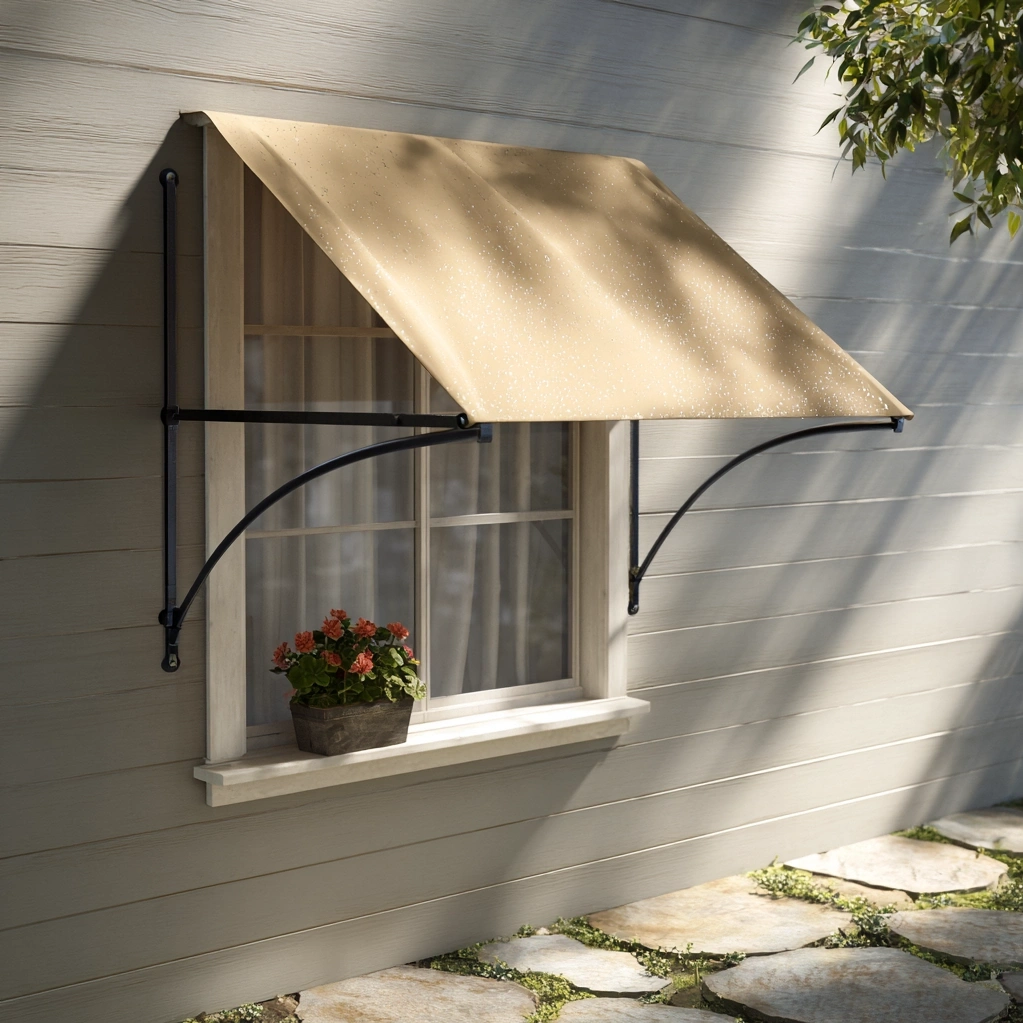
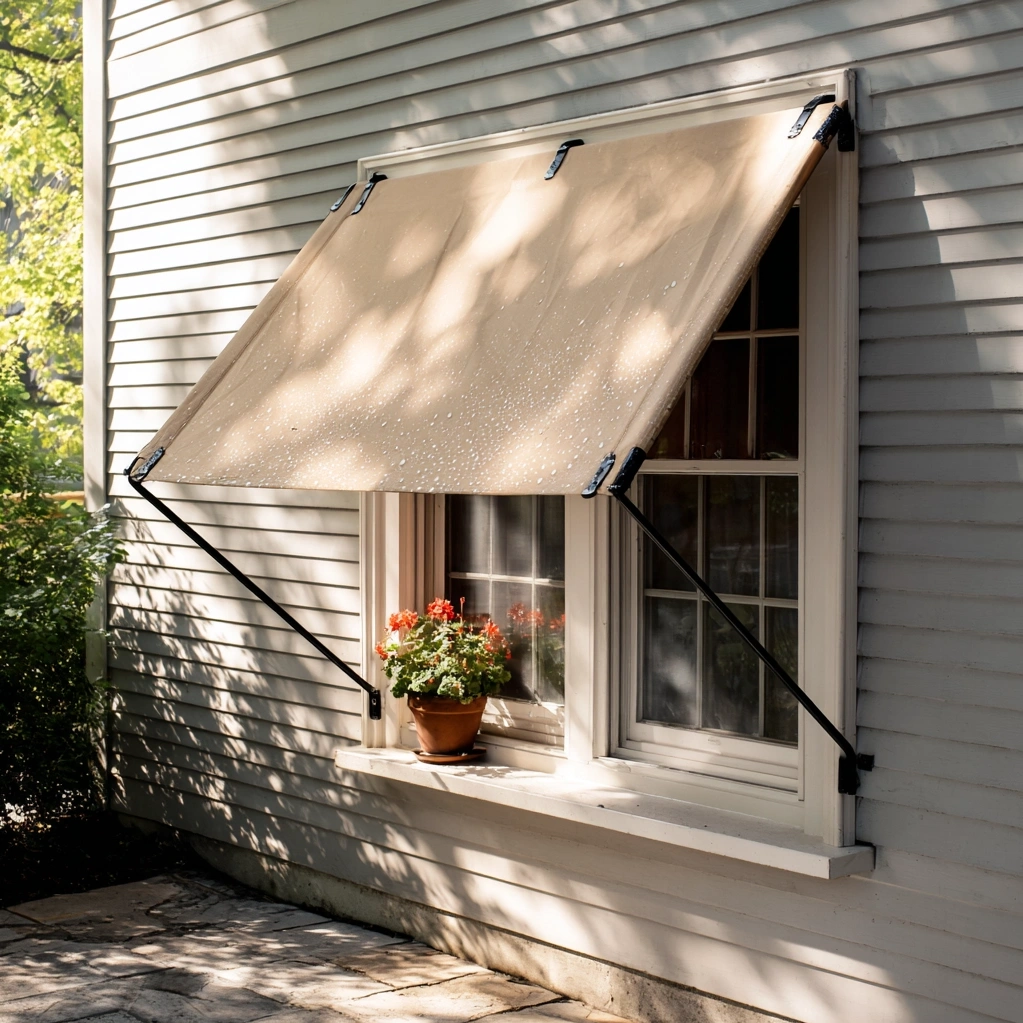
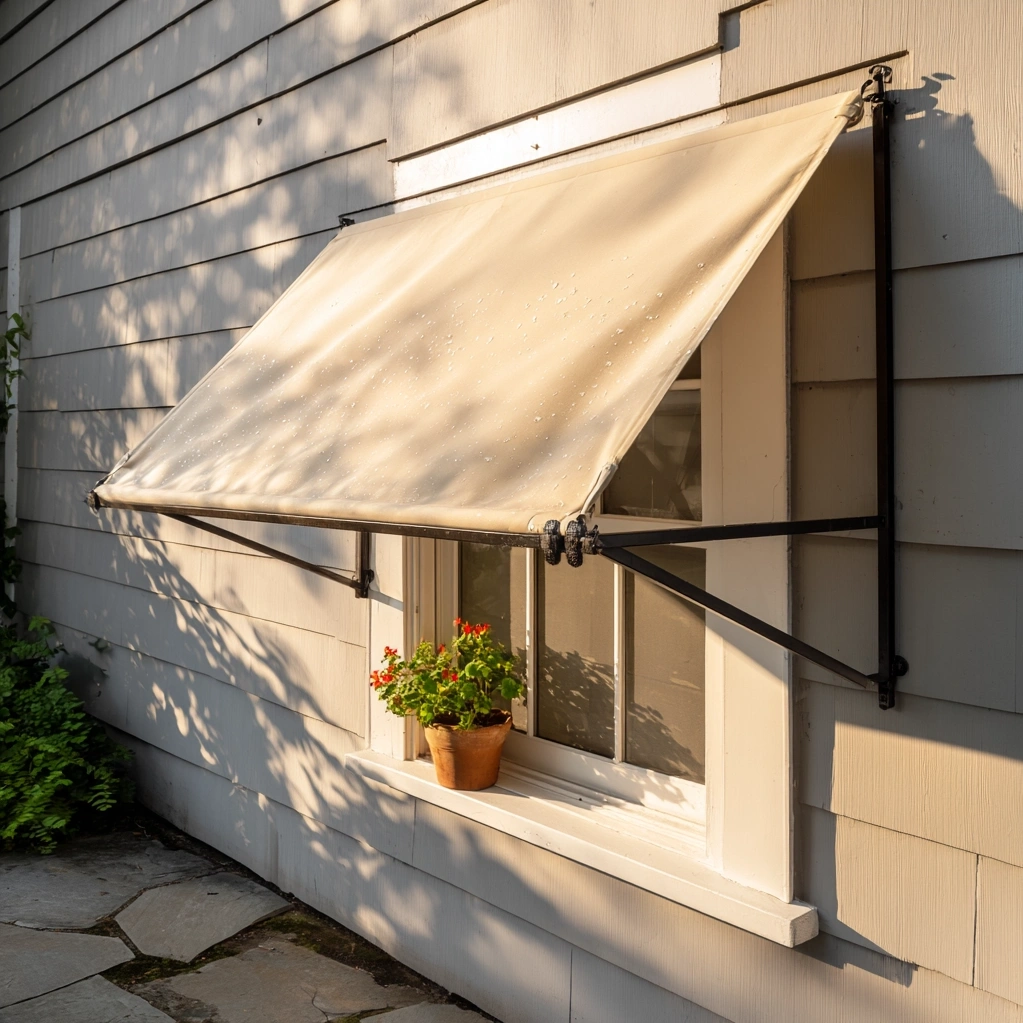
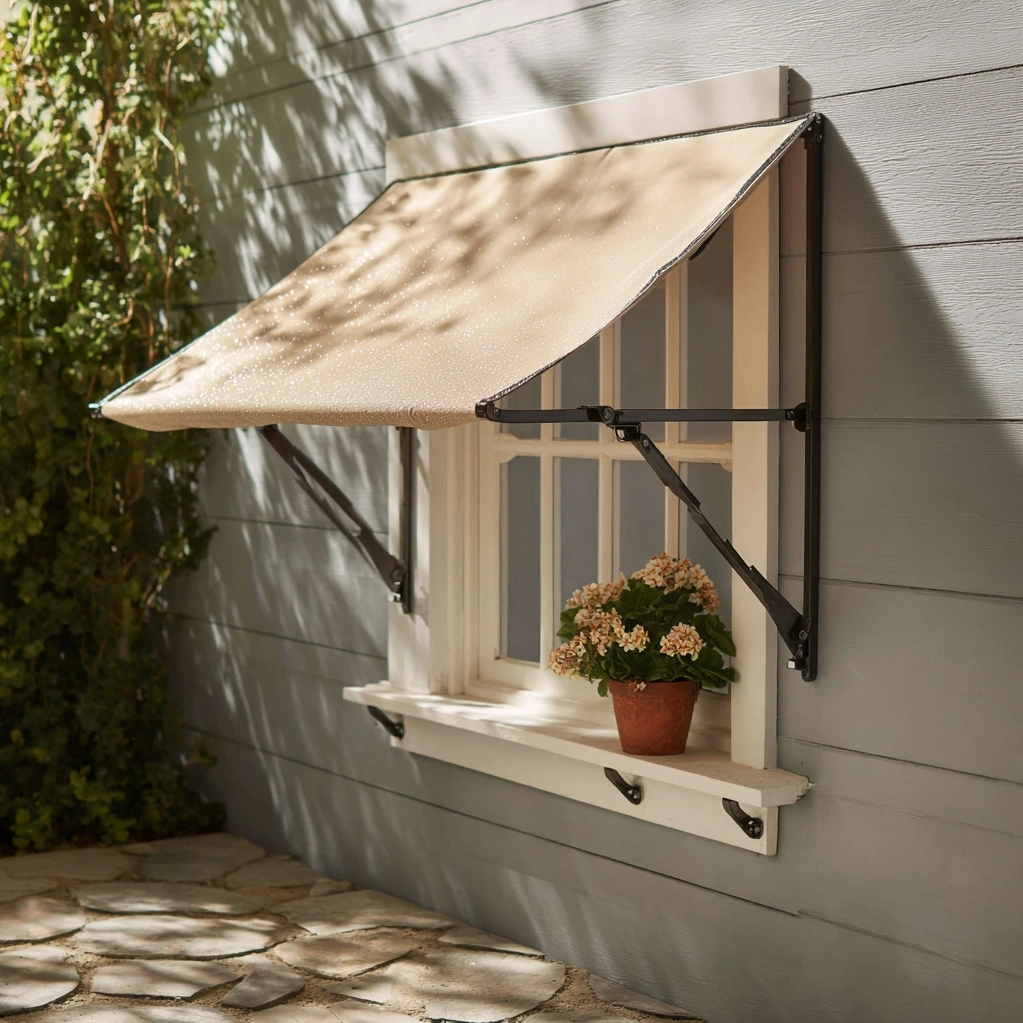
Your DIY window awning should reflect your home's personality while meeting practical needs. Start with shape: traditional stationary awnings often feature a simple sloping design, but you might opt for a convex style that curves gracefully, or a dome shape for a quaint cottage look. For larger windows, consider a gable awning with peaked sides that add architectural interest. Color choice dramatically impacts appearance. Neutral tones like beige, gray, or forest green blend seamlessly with most exteriors, while bold reds or blues make a vibrant statement. Remember that darker colors absorb more heat—sometimes desirable for winter warmth, but lighter shades reflect sunlight better for cooling. Patterns can inject whimsy; stripes or geometric designs on fabric awnings create visual texture. Don't neglect functional customization. Incorporate retractable mechanisms if you want flexibility—manual crank systems are DIY-friendly, allowing you to roll up the awning during storms or winter. Add side panels or curtains for enhanced privacy and wind protection. For a truly integrated look, match your awning's material to other exterior elements: copper accents if you have copper gutters, or wood stains that complement your trim. In rainy climates, ensure adequate pitch and consider gutter attachments that channel water away from foundations. In sunny regions, opt for UV-resistant fabrics that won't fade quickly. Even small details matter: decorative brackets, scalloped valances along the front edge, or LED strip lighting underneath for evening ambiance. Your DIY window awning becomes a signature element when thoughtfully customized—transforming standard shelter into personalized artistry.
Conclusion
Embarking on a DIY window awning project delivers rewards far beyond simple shade. You gain a custom solution that precisely fits your home's needs, enhances curb appeal, and provides year-round comfort. The process itself cultivates valuable skills—from precise measuring and cutting to secure installation—that empower future home improvements. More importantly, you create a tangible barrier against heat and glare that makes indoor spaces more enjoyable and protects furnishings from sun damage. Looking ahead, consider how your awning might evolve. As you become more confident, you could expand the project to cover multiple windows or even a patio door, creating a cohesive exterior aesthetic. Explore smart home integrations: motorized retraction systems operated by remote or smartphone app, or sensors that automatically deploy the awning when sunlight intensifies. For sustainability, investigate solar panel attachments that turn your awning into an energy generator. Remember that maintenance extends your creation's lifespan. Clean fabric covers with mild soap and water annually, inspect metal frames for rust spots, and tighten any loose fasteners seasonally. In winter climates, retract or reinforce awnings against snow load. Your DIY window awning isn't just a weekend project—it's an investment in your home's functionality and beauty that pays dividends every sunny day. Start planning yours today, and discover how a little shade can make a world of difference.
Frequently Asked Questions
Q: What is the easiest material to use for a beginner DIY window awning?
For beginners, aluminum frames with a pre-made polycarbonate or acrylic panel cover are often the simplest approach. Aluminum is lightweight, easy to cut with basic tools, and doesn't require painting if you choose pre-finished pieces. Polycarbonate panels come in standard sizes, are rigid enough to install without complex stretching, and attach directly to the frame with screws. This combination minimizes sewing or complicated fabric work, allowing you to focus on solid construction and mounting. It's durable, weather-resistant, and provides clear instructions for first-timers.
Q: How much does a typical DIY window awning project cost?
Costs vary widely based on materials and size, but a basic DIY window awning typically ranges from $150 to $500. Inexpensive options using PVC pipe and canvas might cost under $200, while aluminum frames with commercial-grade fabric or polycarbonate panels often land in the $300-$500 range. Factors affecting price include: material quality (marine-grade canvas costs more than basic cotton), size (larger windows need more materials), and hardware (sturdy brackets and corrosion-resistant fasteners add expense). Compared to professional installation, which often starts at $800+, DIY offers significant savings.
Q: Can I install a DIY window awning on any type of exterior wall?
Most exterior walls can support a DIY window awning with proper mounting techniques. For wood or vinyl siding, you must locate and anchor into wall studs using long screws or bolts—never rely on siding alone. For brick or masonry, use concrete anchors or expansion bolts drilled into the mortar joints or brick itself. Stucco walls require careful drilling to avoid cracking, often with sleeve anchors. Always check your wall's construction and use appropriate hardware; when in doubt, consult a hardware store expert. Avoid mounting on fragile materials like thin aluminum siding without reinforcement.