
Flower pot painting is more than just a craft—it’s a gateway to transforming your living space with personalized creativity. In a world where mass-produced decor often lacks soul, custom-painted pots offer a unique opportunity to infuse your home with character and charm. This delightful DIY activity allows you to breathe new life into ordinary containers, turning them into stunning focal points that reflect your personal style. Whether you’re decorating a sunny windowsill, creating a cozy balcony garden, or adding warmth to your indoor spaces, painted flower pots provide an affordable and rewarding way to enhance your environment. The process itself is therapeutic, offering a creative outlet that reduces stress while producing beautiful results. With minimal investment in basic supplies, anyone can master this art form and enjoy the satisfaction of displaying their handmade creations. From vibrant patterns to subtle textures, each painted pot tells a story and adds a personal touch to your plant displays. This guide will walk you through everything from choosing materials to mastering techniques, empowering you to create pots that truly bloom with personality.
Essential Flower Pot Painting Supplies for Beginners
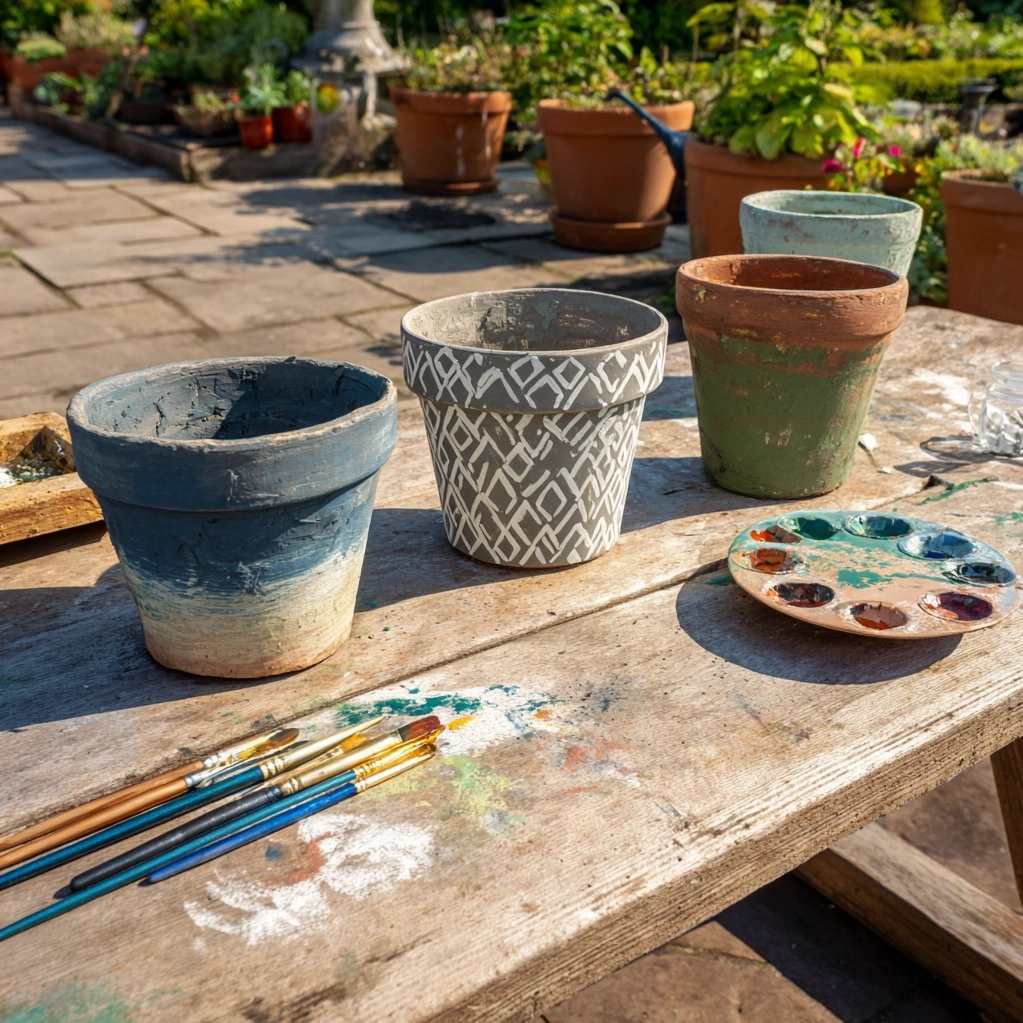
Before diving into your flower pot painting project, gathering the right supplies is crucial for success. Start with terracotta pots, which are ideal for painting due to their porous surface that accepts paint well. Choose pots in various sizes to create visual interest in your arrangements. For paints, acrylic options work beautifully—they're water-resistant, come in countless colors, and dry quickly. Consider adding specialty paints like outdoor acrylics for weather-resistant finishes or chalk paints for vintage effects. Don't forget quality brushes in different sizes: flat brushes for broad coverage, round brushes for details, and angled brushes for edges. A primer or gesso helps create a smooth surface, especially on rough terracotta. Sealers are essential for protection; matte or glossy polyurethane works well for indoor pots, while outdoor pots need waterproof sealants. Other helpful tools include painter's tape for clean lines, sponges for textured effects, stencils for patterns, and palette knives for mixing. Remember to protect your workspace with newspaper or drop cloths, and keep a water container and paper towels handy for cleanup. With these basics, you're ready to transform plain pots into artistic masterpieces that showcase your unique style.
Creative Flower Pot Painting Techniques to Master
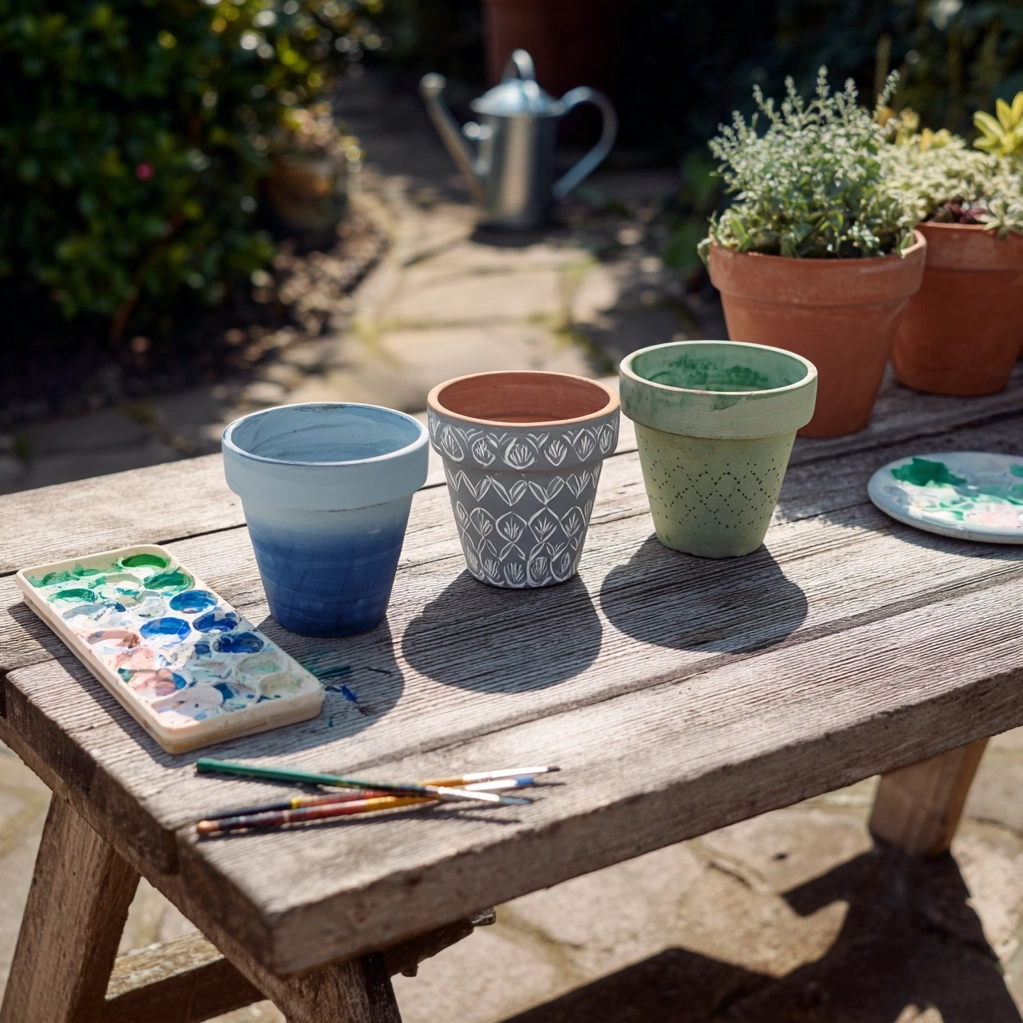
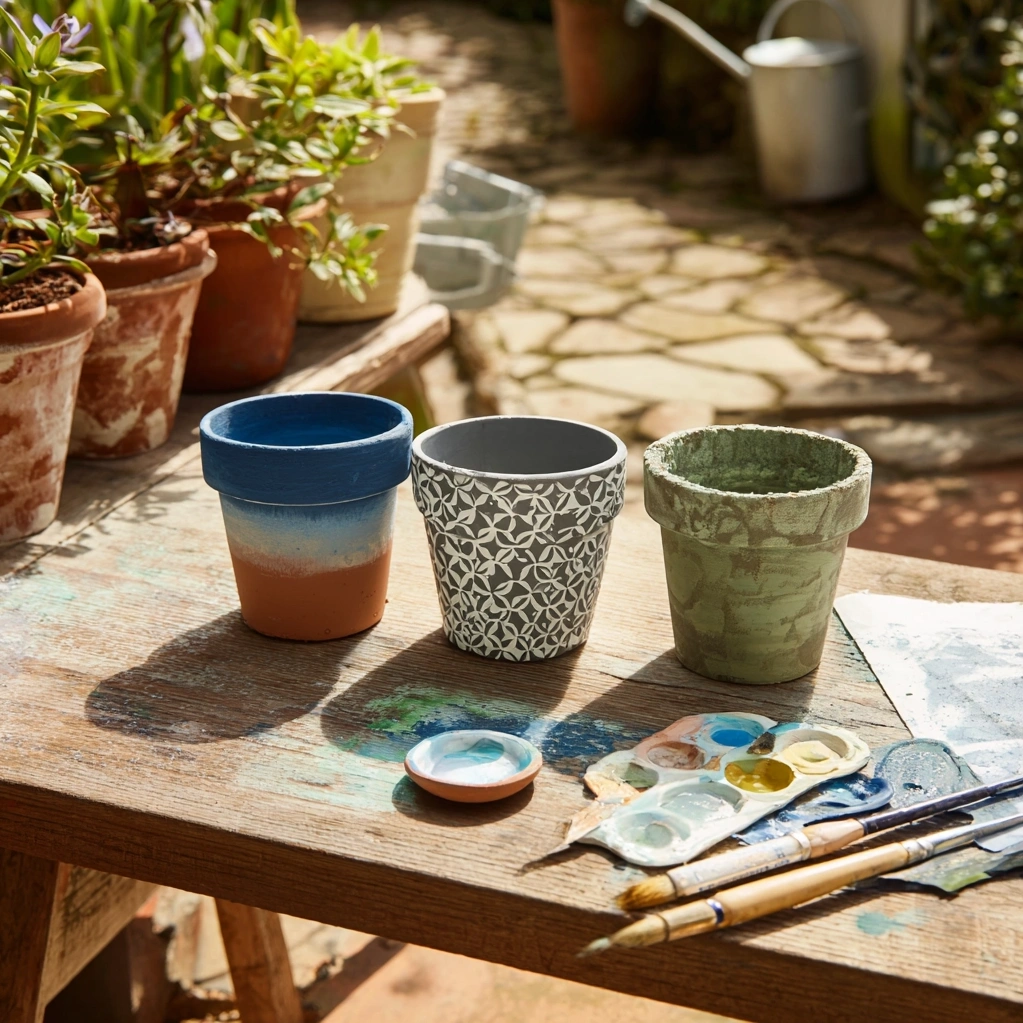
Mastering various flower pot painting techniques opens endless creative possibilities. Begin with solid colors—apply two thin coats rather than one thick layer to prevent drips and ensure even coverage. For ombre effects, blend two colors gradually from top to bottom using a damp brush. Stenciling offers precision; secure stencils with tape and dab paint gently with a stencil brush. Freehand painting allows organic expression—sketch designs lightly with pencil first, then fill with paint. Try sponge painting for texture: dab a natural sea sponge in paint and press onto the pot for a mottled look. Marbling creates stunning patterns by swirling multiple colors with a toothpick before they dry. For a rustic appearance, use dry brushing—lightly drag a nearly dry brush over raised surfaces to highlight texture. Consider adding dimensional elements with modeling paste or texture gels applied before painting. Don't overlook the power of simple details: painted rims, geometric patterns, or delicate florals can transform basic pots. When painting drainage holes, use small brushes or cotton swabs for precision. Allow each layer to dry completely before adding another to prevent smudging. Experiment with combining techniques, like stenciled patterns over ombre backgrounds. Remember that practice improves results—start with simple designs and gradually tackle more complex projects as your confidence grows.
Displaying Your Flower Pot Painting Creations Beautifully
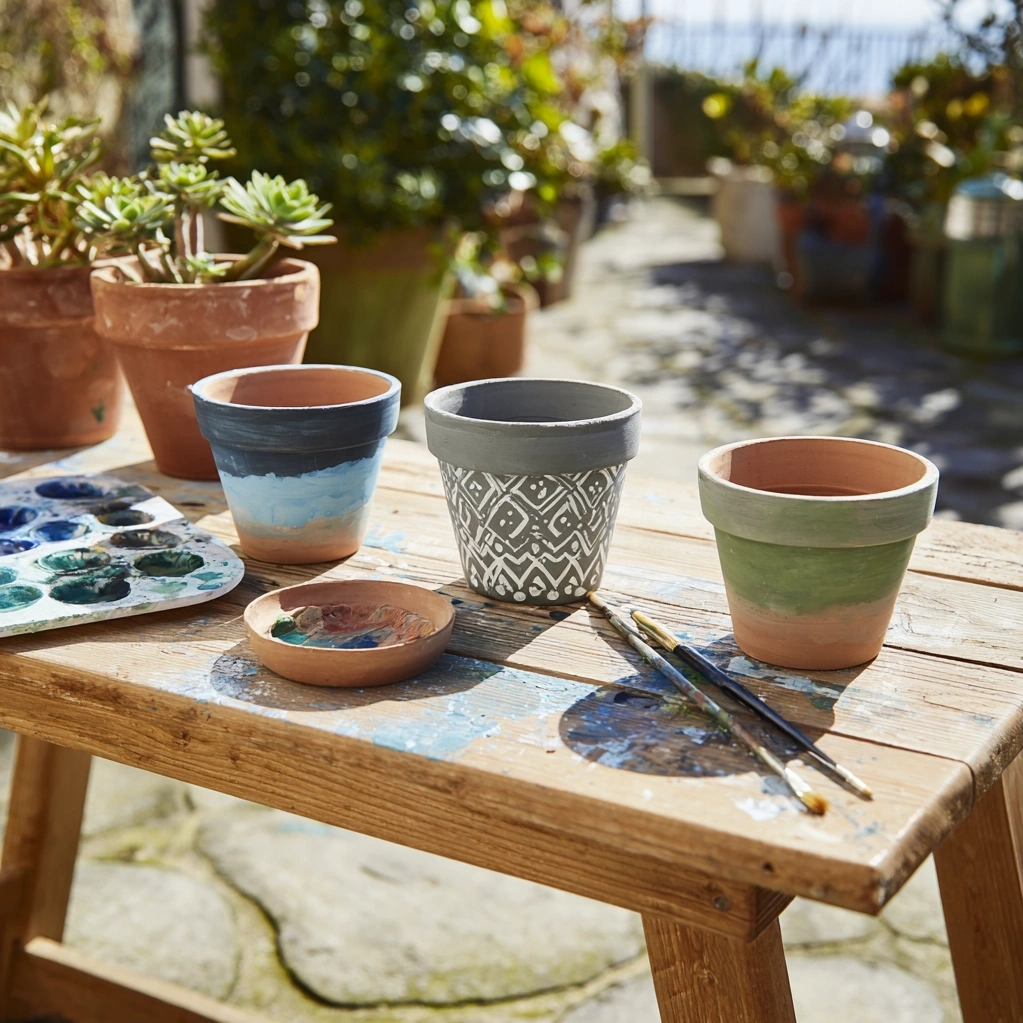
Once your flower pot painting is complete, thoughtful display maximizes their visual impact. Group pots in odd numbers—three or five create balanced arrangements with natural appeal. Vary heights using plant stands, shelves, or stacked pots to add dimension. Consider color coordination: monochromatic schemes feel cohesive, while complementary colors create vibrant contrasts. For indoor displays, place painted pots on windowsills where light highlights their designs, or cluster them on mantels and side tables. Outdoor arrangements benefit from strategic placement—line painted pots along pathways, arrange them on patio tables, or hang them with sturdy brackets. Mix painted pots with plain ones to let your artwork shine without overwhelming the space. Incorporate different plant types: trailing vines soften pot edges, while upright plants draw attention to painted surfaces. Use saucers beneath pots to protect surfaces and add another decorative element—paint these to match or complement your designs. Seasonal displays keep your decor fresh: bright colors for spring, earthy tones for fall, or metallic accents for holiday celebrations. Don't forget lighting—spotlights or solar lights can highlight your pots at night. For small spaces, vertical displays using wall-mounted planters or tiered stands maximize impact. Regularly clean painted pots with a soft cloth to maintain their beauty, and rotate plants occasionally to ensure even growth that complements your artwork.
Troubleshooting Common Flower Pot Painting Problems
Even experienced painters encounter challenges with flower pot painting, but simple solutions can save your projects. If paint chips or peels, the surface may not have been properly prepared. Always clean pots thoroughly before painting, removing dust and debris. For terracotta, a light sanding helps paint adhere better. Applying primer creates a stable base, especially important for outdoor pots exposed to moisture. When paint appears streaky, thin layers and proper drying time between coats prevent this issue—use a hairdryer on low heat to speed drying if needed. Bubbles in paint often result from shaking paint cans; stir gently instead. For smudged designs, allow paint to dry completely before adding adjacent colors or sealing. If sealant turns cloudy, it may have been applied in humid conditions—choose a day with moderate humidity and good ventilation. Faded colors on outdoor pots indicate insufficient UV protection; use sealants specifically formulated for outdoor use and reapply annually. When paint doesn't cover well, switch to higher-quality acrylics or apply additional coats. For intricate designs that bleed under stencils, ensure stencils are firmly secured and use minimal paint on brushes. If pots develop mold or mildew, improve drainage and avoid overwatering plants. Remember that imperfections can add character—slight variations make each pot unique. Keep a touch-up kit with small amounts of your paint colors for quick repairs, extending the life of your beautiful creations.
Conclusion
Flower pot painting transforms ordinary containers into extraordinary expressions of personal style, bringing joy and beauty to any space. This rewarding craft combines creativity with practicality, allowing you to customize your decor while enjoying the therapeutic benefits of artistic expression. From selecting supplies to mastering techniques and troubleshooting common issues, each step builds confidence and skill. The finished creations not only enhance your home but also make thoughtful gifts that carry personal meaning. As you continue exploring this craft, consider expanding your repertoire with new materials like ceramic or concrete pots, or experimenting with advanced techniques such as decoupage or metallic leafing. The future of flower pot painting looks bright, with sustainable options like upcycling old containers gaining popularity. Remember that every painted pot tells a story—whether through bold patterns, subtle textures, or cherished memories captured in design. Start small, embrace imperfections as part of the creative process, and watch as your painted pots become cherished elements of your living environment. Your journey in flower pot painting is just beginning, with endless possibilities waiting to bloom.
Frequently Asked Questions
Q: What type of paint is best for outdoor flower pot painting?
For outdoor flower pot painting, use acrylic paints specifically formulated for exterior use. These contain UV inhibitors and weather-resistant properties that prevent fading and peeling. Always seal outdoor pots with a waterproof polyurethane or outdoor-rated sealant, applying multiple coats for maximum protection. Reapply sealant annually to maintain durability against sun, rain, and temperature changes.
Q: How do I prepare terracotta pots before painting?
Proper preparation ensures paint adheres well to terracotta pots. First, clean pots thoroughly with warm water and a brush to remove dust and debris. Let them dry completely. Lightly sand the surface with fine-grit sandpaper to create texture for better paint adhesion. Apply a primer or gesso in thin, even coats, allowing each layer to dry. This creates a smooth base and prevents the porous terracotta from absorbing too much paint.
Q: Can I use regular acrylic paint for flower pot painting?
Yes, regular acrylic paint works well for indoor flower pot painting. It offers vibrant colors, easy application, and quick drying time. For best results, apply two to three thin coats rather than one thick layer. Always seal painted pots with a clear sealant to protect the paint from moisture and wear. For outdoor pots, choose exterior-grade acrylics and waterproof sealants for enhanced durability.