

Are you tired of staring at those plain, boring light switch covers in your home? You’re not alone. Many homeowners overlook these small details, but they can have a big impact on the overall look and feel of a room. That’s where light switch cover painting ideas easy come in—they offer a simple, affordable way to add personality and style without a major renovation. Painting light switch covers is a fantastic DIY project because it requires minimal tools, can be done in an afternoon, and allows for endless creativity. Whether you’re a seasoned crafter or a complete beginner, you can achieve stunning results that reflect your unique taste. Think of it as a mini-makeover for your walls, blending functionality with artistry. By customizing your covers, you can tie together color schemes, highlight themes, or even create focal points in otherwise dull areas. Plus, it’s a sustainable choice; instead of buying new covers, you upcycle what you already have, reducing waste. In this article, we’ll explore easy techniques, materials, and inspiration to get you started. From basic brush strokes to advanced stenciling, you’ll discover how a little paint can transform your space. So, grab your supplies and let’s dive into the world of customizable home decor that’s both fun and rewarding!
Simple Light Switch Cover Painting Ideas Easy for Beginners
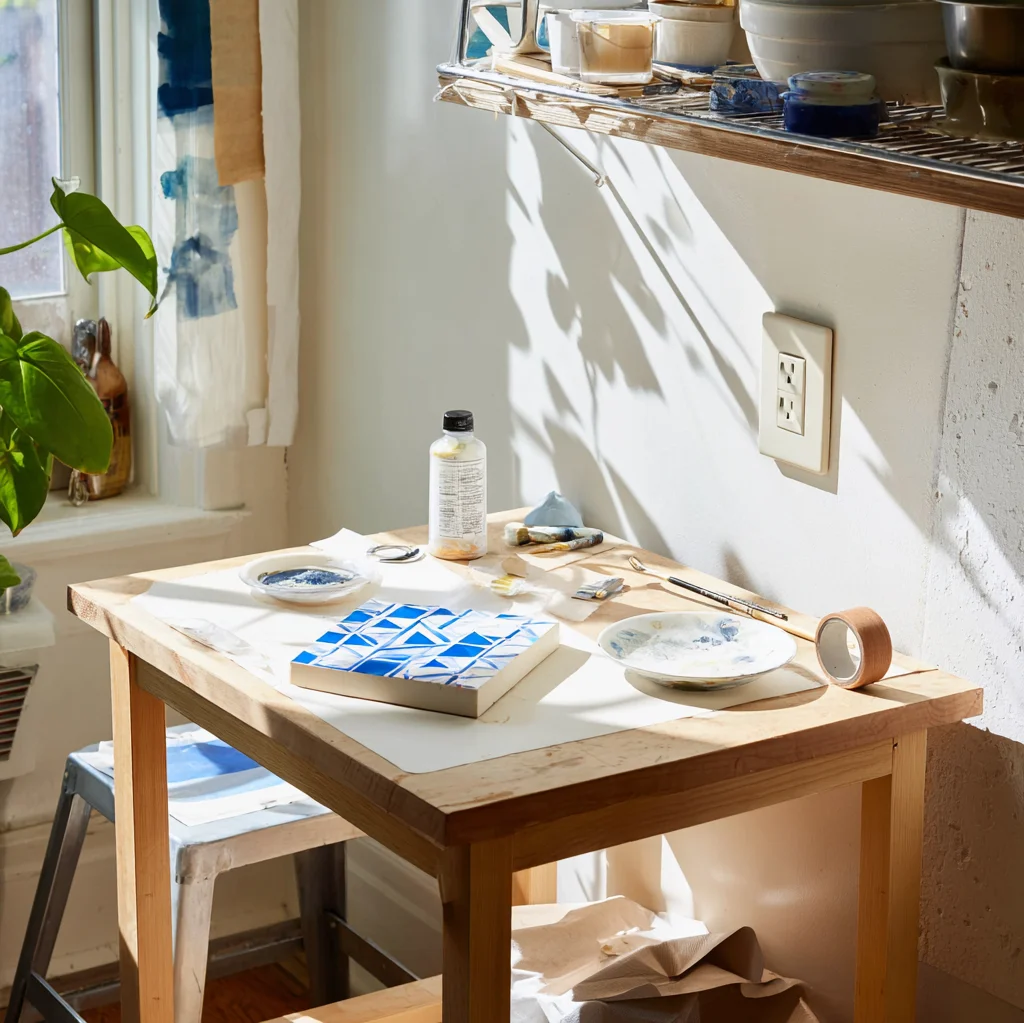
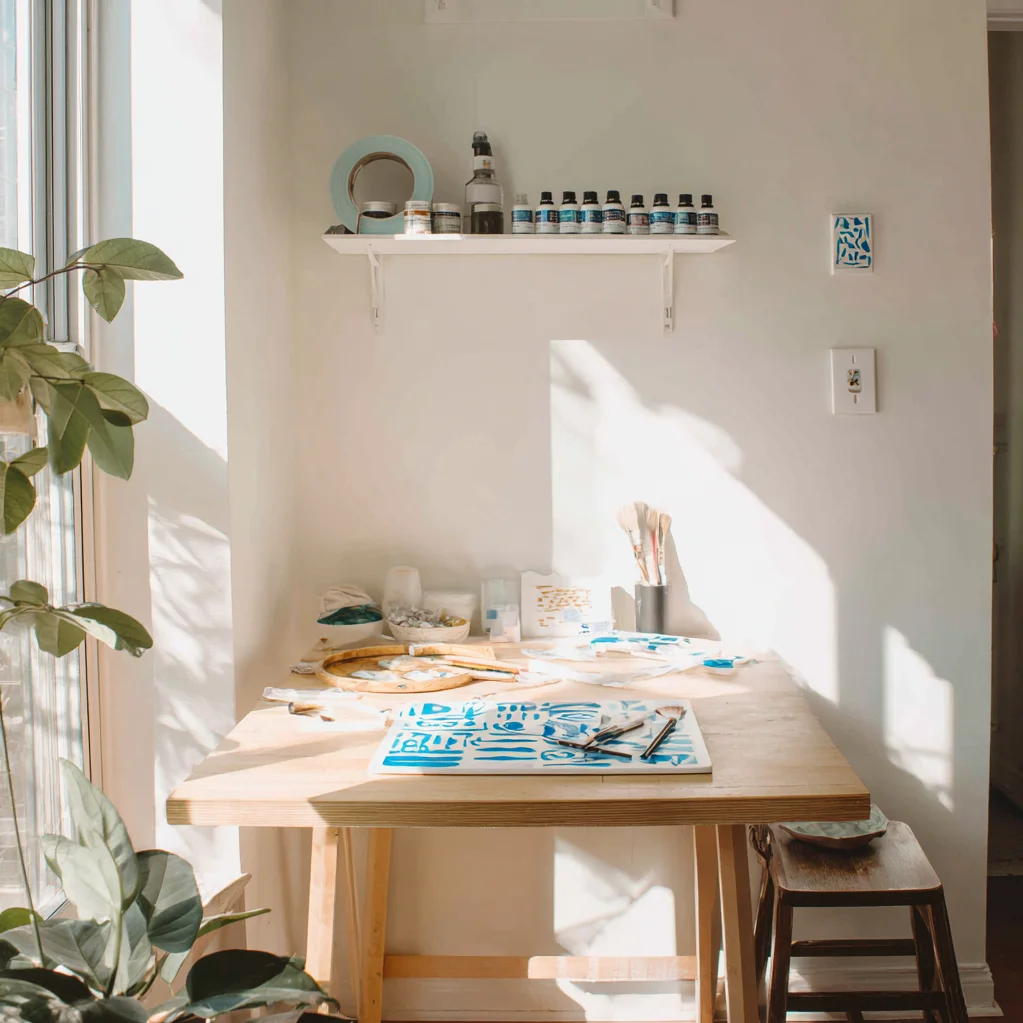
If you're new to DIY projects, starting with simple light switch cover painting ideas easy is the way to go. These approaches require basic supplies like acrylic paint, brushes, and primer, and they focus on techniques that are hard to mess up. For instance, a solid color coat is a great first step—just remove the cover, clean it, apply a primer to ensure adhesion, and paint it in a hue that matches your room's palette. This can instantly refresh a space, making switches blend in or stand out as accents. Another easy idea is using painter's tape to create geometric patterns, like stripes or checks. Tape off sections, paint over them, and peel the tape away for crisp lines. It's a low-risk method that yields professional-looking results. You can also try sponge painting for a textured effect; dab a sponge lightly in paint and press it onto the cover for a fun, mottled finish. These methods don't require artistic skill, just patience and a steady hand. To make it even easier, work in a well-ventilated area and let each coat dry completely to avoid smudges. Remember, the goal is to have fun and experiment—if you don't like the outcome, you can always sand it down and start over. For more inspiration on beginner-friendly DIYs, check out this guide from The Spruce, a trusted home improvement resource. With these simple ideas, you'll gain confidence and might even inspire other small upgrades in your home.
Creative Light Switch Cover Painting Ideas Easy with Stencils and Decals
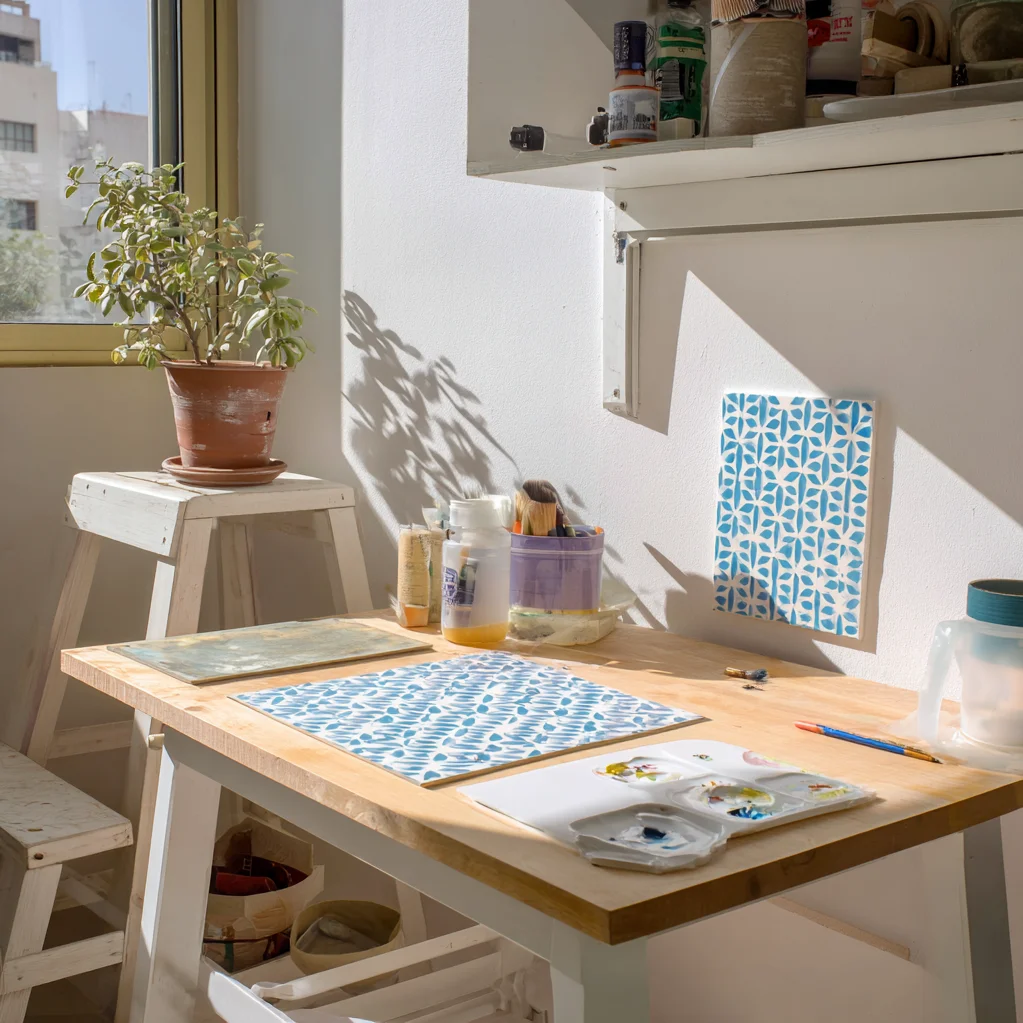
Once you've mastered the basics, take your light switch cover painting ideas easy to the next level with stencils and decals. Stencils are perfect for adding intricate designs without freehand drawing. You can buy pre-made stencils with patterns like florals, animals, or abstract shapes, or even cut your own from cardboard or vinyl. To use them, secure the stencil firmly over the cover and apply paint with a stencil brush or sponge, using dabbing motions to prevent bleeding. This method allows for consistent, repeatable patterns that look store-bought. Decals are another hassle-free option—they're pre-designed adhesive sheets that you simply stick onto the cover. They come in endless varieties, from metallic finishes to scenic images, and they're removable if you change your mind. For a painted effect, you can trace decals with paint pens for a custom touch. These techniques are ideal for themed rooms, like a nursery with cartoon characters or a kitchen with herb motifs. They're also great for renters who can't make permanent changes. When working with stencils, use light coats of paint to avoid seepage, and always clean the stencil between uses for sharp results. Incorporating these ideas can tie your decor together; for example, match the stencil pattern to your curtains or wall art. Explore more stencil projects on our site at https://chicaurahome.com/diy-stenciling-tips to expand your skills. With stencils and decals, you'll find that light switch covers become miniature canvases for your creativity.

Advanced Light Switch Cover Painting Ideas Easy for a Polished Look
For those ready to level up, advanced light switch cover painting ideas easy can deliver a truly polished finish that rivals professional decor. Techniques like faux finishes—such as marble, wood grain, or metallic effects—add depth and sophistication. To achieve a marble look, start with a base coat, then use a feather or dry brush to swirl in contrasting colors, mimicking natural stone veins. It's easier than it sounds and can elevate a room's elegance. Another advanced idea is incorporating mixed media; glue on small items like beads, fabric scraps, or even miniature tiles before painting to create texture and dimension. Just ensure any additions don't interfere with the switch's function. You can also experiment with glow-in-the-dark or chalkboard paint for interactive covers—perfect for kids' rooms or kitchens where notes are handy. These methods might take a bit more time, but they're still accessible with online tutorials and practice. Always seal your work with a clear varnish to protect it from wear and tear, especially in high-traffic areas. This not only preserves the design but also makes cleaning easy. Advanced projects often inspire broader home makeovers; for instance, a metallic switch cover could complement hardware accents in your living space. Remember, the key is to plan ahead—sketch your design and test colors on a spare piece first. With these ideas, you'll turn ordinary covers into conversation starters, proving that DIY doesn't have to mean DIY-looking.
Conclusion
In summary, light switch cover painting ideas easy offer a wonderful opportunity to infuse personality into your home without breaking the bank or requiring expert skills. We've explored a range of techniques, from simple solid colors and geometric patterns for beginners to stencils, decals, and advanced faux finishes for those seeking a more refined look. Each method demonstrates how small changes can make a big impact, transforming mundane switches into artistic statements that reflect your style. The beauty of these projects lies in their accessibility—anyone can pick up a brush and start creating, and the results are instantly gratifying. As you experiment, remember to prioritize safety by working in well-lit, ventilated spaces and using non-toxic paints where possible. Looking ahead, consider how these ideas can evolve; perhaps integrate smart home elements by painting around new tech-friendly covers or involve family members in group painting sessions for a fun bonding activity. The future of home decor is leaning towards personalization and sustainability, and upcycling items like light switch covers aligns perfectly with that trend. So, don't underestimate the power of these tiny canvases—they're a stepping stone to bigger DIY adventures. Start with one cover today, and you might find yourself inspired to tackle entire rooms. For more inspiration, keep exploring our blog and share your creations; your home deserves those little touches that make it uniquely yours.
Frequently Asked Questions
Q: What type of paint is best for light switch cover painting ideas easy?
Acrylic paint is highly recommended for light switch cover painting because it's versatile, easy to clean up, and dries quickly. It adheres well to plastic, metal, or wood covers with proper priming. For durability, especially in high-use areas, consider using enamel paint or sealing with a clear varnish to prevent chipping. Always opt for non-toxic options if painting in children's rooms or kitchens. Test a small area first to ensure compatibility with your cover material.
Q: How do I prepare a light switch cover for painting to ensure it lasts?
Proper preparation is key to long-lasting results. Start by removing the cover from the wall and turning off the power for safety. Clean it thoroughly with soap and water to remove dirt and grease, then sand it lightly with fine-grit sandpaper to create a rough surface for better paint adhesion. Apply a primer suitable for your cover material—this helps the paint stick and prevents peeling. Let the primer dry completely before painting. After painting, seal with a clear topcoat to protect against scratches and moisture. This process ensures your design stays vibrant and intact for years.
Q: Can I use light switch cover painting ideas easy in rental homes without causing damage?
Absolutely! Light switch cover painting is a renter-friendly DIY because it's temporary and reversible. Use paints that can be easily covered or removed, and avoid permanent adhesives if adding decals. When it's time to move out, you can repaint the covers to their original color or simply reinstall the old ones if you saved them. Always check your lease agreement first, but in most cases, this is a low-risk way to personalize your space without violating terms. It's a great alternative to more permanent changes like wall painting or drilling.