
Imagine walking through your garden and seeing not just plants, but vibrant expressions of your personality. Painted terracotta pots offer exactly that—a simple, affordable way to inject color, creativity, and charm into any outdoor or indoor space. These humble clay containers, once plain and functional, become stunning works of art with just a few brushstrokes. The importance of this DIY trend goes beyond aesthetics. It connects us to our living environments in a tangible way, allowing for personal expression that store-bought decor often lacks. Whether you’re a seasoned crafter or a complete beginner, painting terracotta pots provides a satisfying creative outlet with immediate, visible results. This activity isn’t just about beautifying your garden; it’s about transforming ordinary moments into opportunities for artistic expression. As more people seek meaningful ways to personalize their homes, painted terracotta pots have emerged as a beloved project that combines practicality with creativity. They’re durable, breathable for plant health, and endlessly customizable. From minimalist patterns to elaborate scenes, each pot tells a story. This article will guide you through everything you need to know to start your own painted terracotta pot journey, helping you create pieces that reflect your unique style while enhancing your living spaces.
Essential Materials for Painting Terracotta Pots
Before you dive into painting terracotta pots, gathering the right materials is crucial for success. Start with clean, dry terracotta pots—new or thoroughly cleaned used ones work well. You'll need acrylic paints, which are versatile, quick-drying, and water-resistant when sealed. Choose brushes in various sizes: small detail brushes for intricate designs and larger brushes for base coats. Primer or gesso helps paint adhere better and prevents the terracotta from absorbing too much paint. Sealant is non-negotiable; use outdoor-rated polyurethane or acrylic sealer to protect your designs from weather and wear. Other useful items include painter's tape for crisp lines, stencils for consistent patterns, and sandpaper to smooth rough surfaces. Consider adding decorative elements like glitter, mosaic tiles, or rope for texture. A well-stocked workspace with newspaper or drop cloths keeps messes manageable. Remember, quality materials don't have to be expensive—many affordable options yield beautiful results. Proper preparation ensures your painted terracotta pots last for seasons, maintaining their vibrant appeal. Investing time in selecting materials pays off in durability and satisfaction, making your creative efforts truly worthwhile.
Step-by-Step Techniques for Painting Terracotta Pots
Creating stunning painted terracotta pots involves following clear techniques. Begin by cleaning your pot with soapy water to remove dust and debris. Let it dry completely—this prevents paint from peeling. Apply a coat of primer or gesso, allowing it to dry as per product instructions. This step ensures smooth paint application and vibrant colors. Next, sketch your design lightly with pencil if needed. Start painting from the background to the foreground, using thin layers to avoid drips. For geometric patterns, use painter's tape to create sharp edges. Stencils offer precise shapes for beginners. Blend colors while wet for gradient effects, or layer them for depth. Don't forget the pot's rim and interior top for a polished look. Once your design is complete, let the paint dry thoroughly—usually 24 hours. Then apply 2-3 coats of sealant, allowing drying time between each. This protects against moisture and UV rays. For textured effects, try techniques like sponge painting or adding dimensional paint. Practice on paper first if you're unsure. Each painted terracotta pot becomes easier with experience, so start simple and build confidence. These techniques ensure professional-looking results that enhance your garden's beauty.
Creative Design Ideas for Painted Terracotta Pots
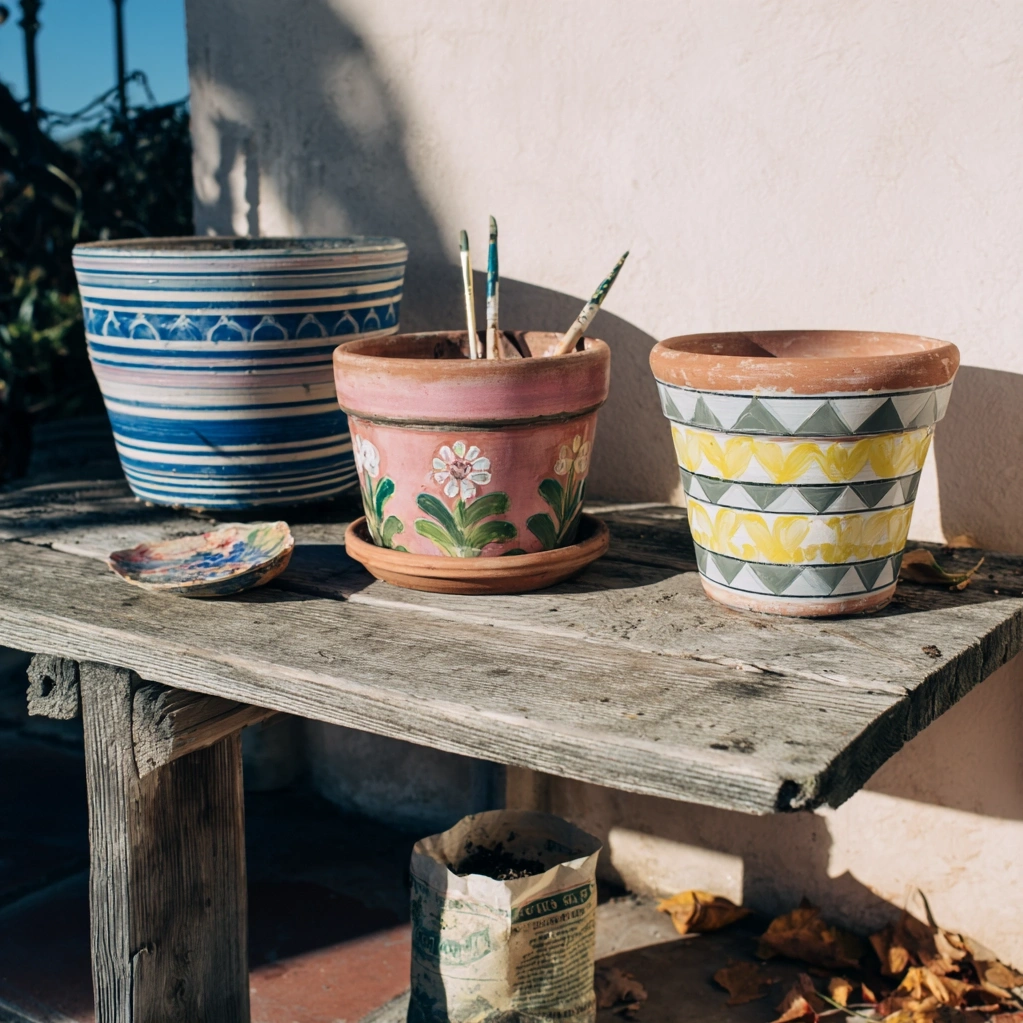
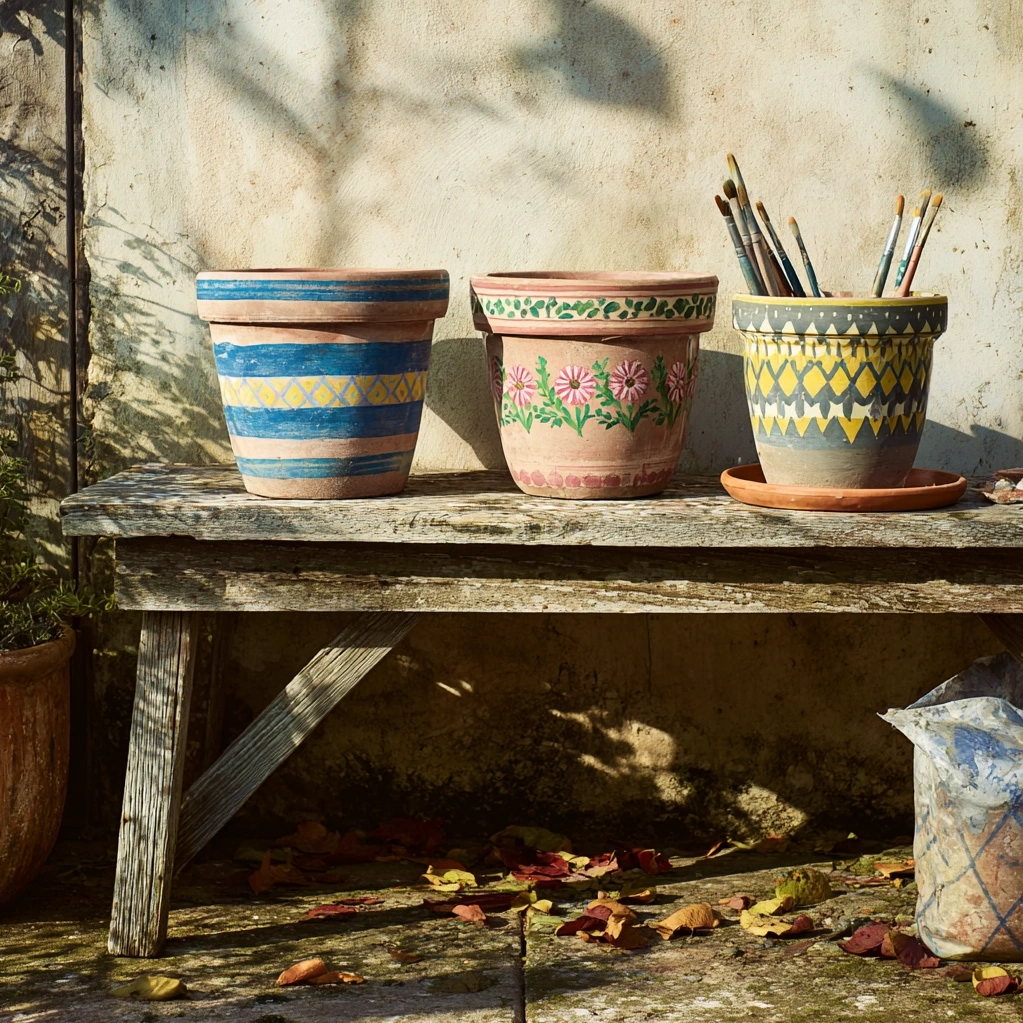
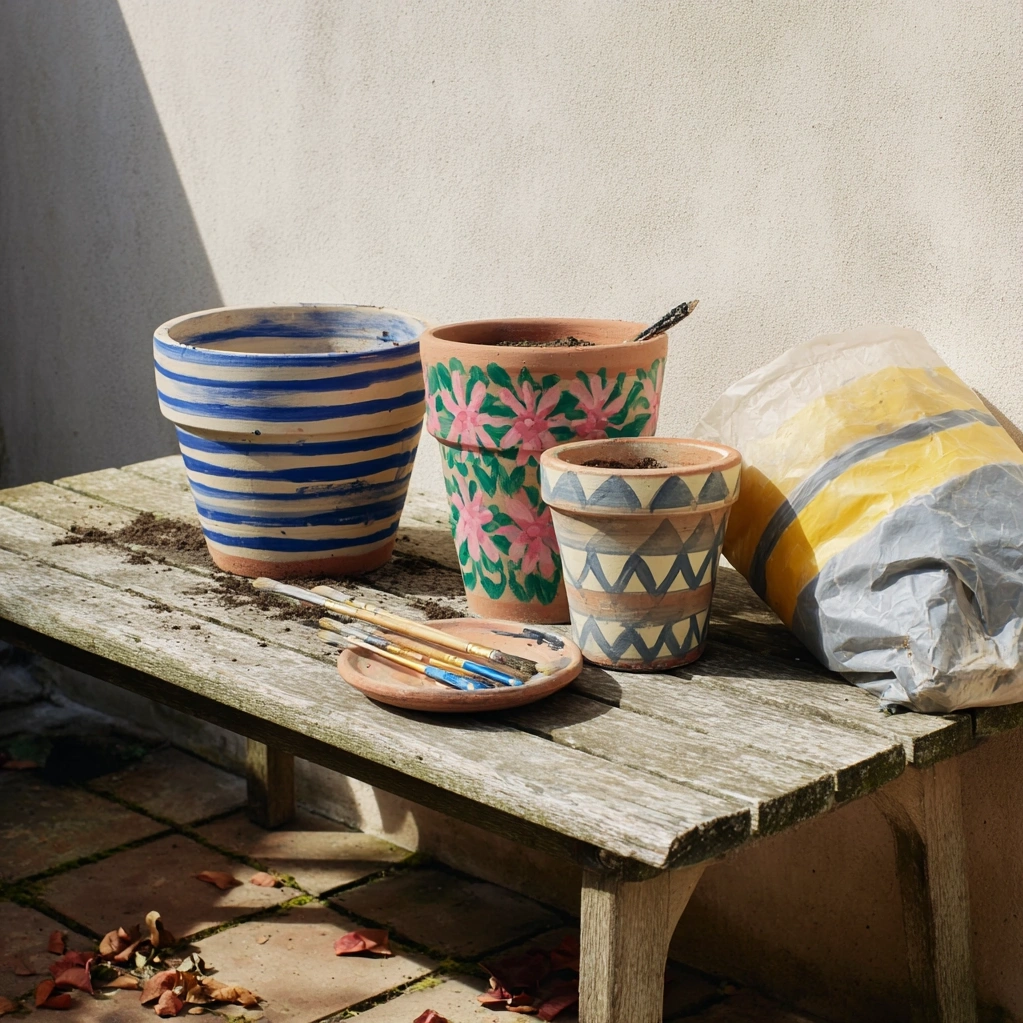
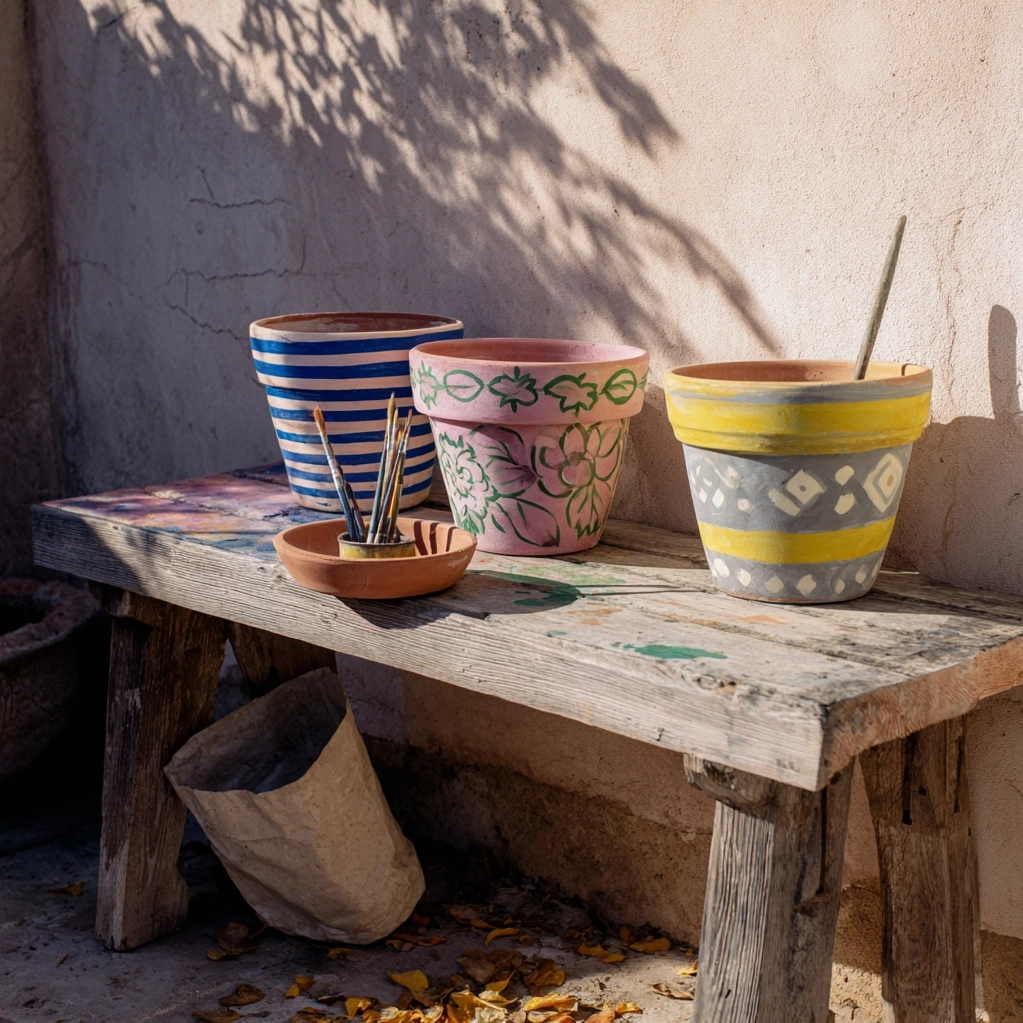
The design possibilities for painted terracotta pots are endless, catering to every style. For a modern look, try minimalist patterns like stripes, dots, or geometric shapes in neutral tones. Nature-inspired designs, such as floral motifs, leaves, or animal prints, blend seamlessly into garden settings. Seasonal themes—think pumpkins for fall or snowflakes for winter—add timely charm. Personalized pots with names, quotes, or handprints make heartfelt gifts. Consider color schemes: monochromatic for elegance, complementary colors for vibrancy, or pastels for softness. Texture can elevate your designs; use techniques like dry brushing for a weathered effect or add glitter for sparkle. Mosaic designs with broken tiles or glass pieces create stunning visual interest. For themed gardens, coordinate painted terracotta pots with your plant choices—succulents in desert-themed pots, herbs in kitchen-inspired designs. Don't limit yourself to the exterior; paint the saucers too for a cohesive set. Draw inspiration from your home's decor, favorite art, or travel memories. Sketch ideas beforehand to visualize the final product. Remember, imperfections add character, so embrace the handmade feel. These creative ideas transform ordinary pots into unique statements that reflect your personality.
Conclusion
Painted terracotta pots are more than just decorative items; they're a gateway to personalizing your space with creativity and joy. Throughout this article, we've explored the essential materials, step-by-step techniques, and inspiring design ideas that make this DIY project accessible and rewarding. By transforming plain clay pots into vibrant artworks, you not only enhance your garden's aesthetics but also engage in a fulfilling activity that reduces stress and boosts creativity. The versatility of painted terracotta pots means they can adapt to any style—from rustic to modern—and suit any skill level. As you continue your journey, consider experimenting with new colors, patterns, and textures to keep your designs fresh. Share your creations with friends or host painting parties to spread the joy. Looking ahead, this trend shows no signs of slowing down, with innovations in eco-friendly paints and sustainable materials making it even more appealing. Embrace the process, learn from each project, and watch as your collection grows into a beautiful testament to your artistic expression. Start small, dream big, and let your painted terracotta pots tell your unique story.
Frequently Asked Questions
Q: How do I prepare terracotta pots for painting?
To prepare terracotta pots for painting, start by cleaning them thoroughly with soapy water to remove any dirt, dust, or residues. Scrub gently with a brush if needed, then rinse and let them dry completely—this may take 24 hours. If using old pots, ensure no mold or mildew is present. Once dry, sand any rough spots lightly with fine-grit sandpaper for a smooth surface. Apply a coat of primer or gesso to help the paint adhere better and prevent the terracotta from absorbing too much pigment. Let the primer dry according to the product instructions before painting. Proper preparation ensures your designs last longer and look more vibrant.
Q: What type of paint is best for terracotta pots?
Acrylic paint is the best choice for painting terracotta pots due to its versatility, quick drying time, and durability when sealed. It's water-based, easy to clean up, and available in a wide range of colors. For outdoor use, select acrylic paints labeled as weather-resistant or pair them with a high-quality outdoor sealant. Avoid using watercolor or oil-based paints, as they may not adhere well or could damage the pots. Always apply a sealant after painting to protect against moisture, UV rays, and wear—this step is crucial for longevity, especially if the pots will be exposed to the elements.
Q: How can I make my painted terracotta pots last outdoors?
To ensure your painted terracotta pots last outdoors, follow these key steps. First, use high-quality acrylic paint and apply a primer beforehand for better adhesion. After painting, let the pots dry completely for at least 24 hours. Then, apply 2-3 coats of an outdoor-rated sealant, such as polyurethane or acrylic spray sealer, allowing each coat to dry thoroughly. This protects against rain, sun, and temperature changes. Place the pots in sheltered areas if possible, like under eaves or on covered patios, to reduce direct exposure. Avoid overwatering plants, as excess moisture can seep through and cause peeling. With proper care, your painted terracotta pots can remain vibrant for multiple seasons.